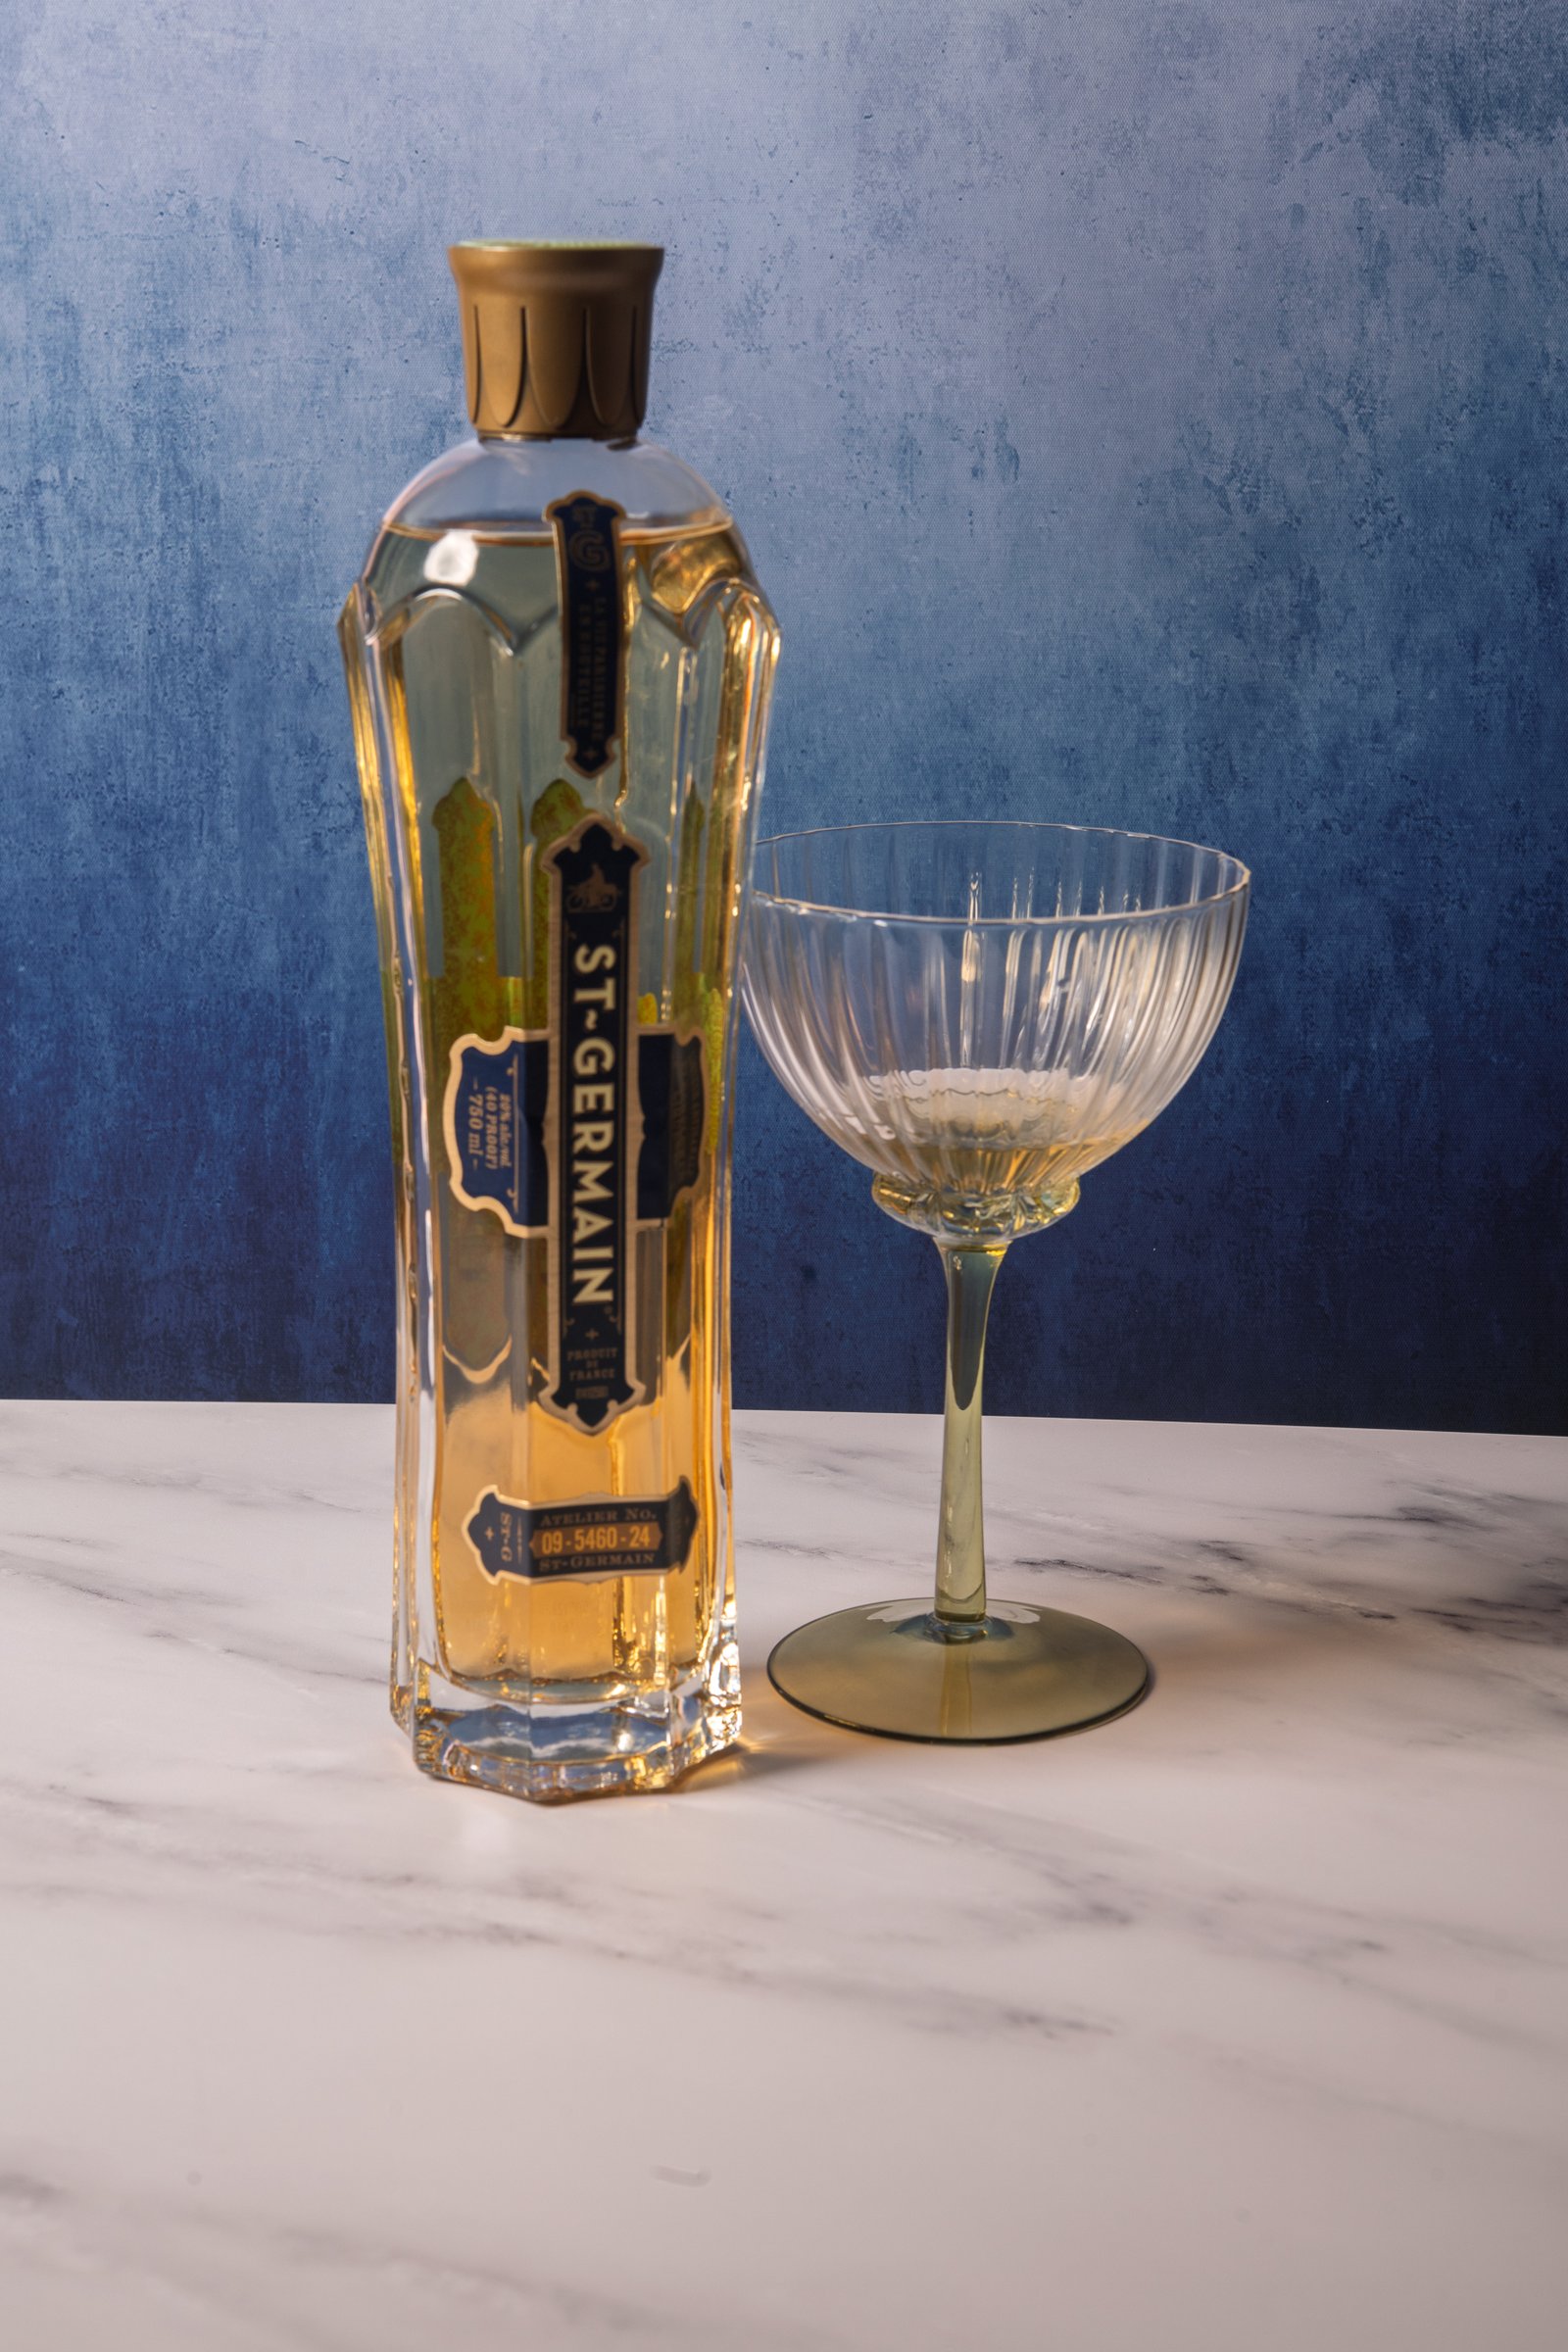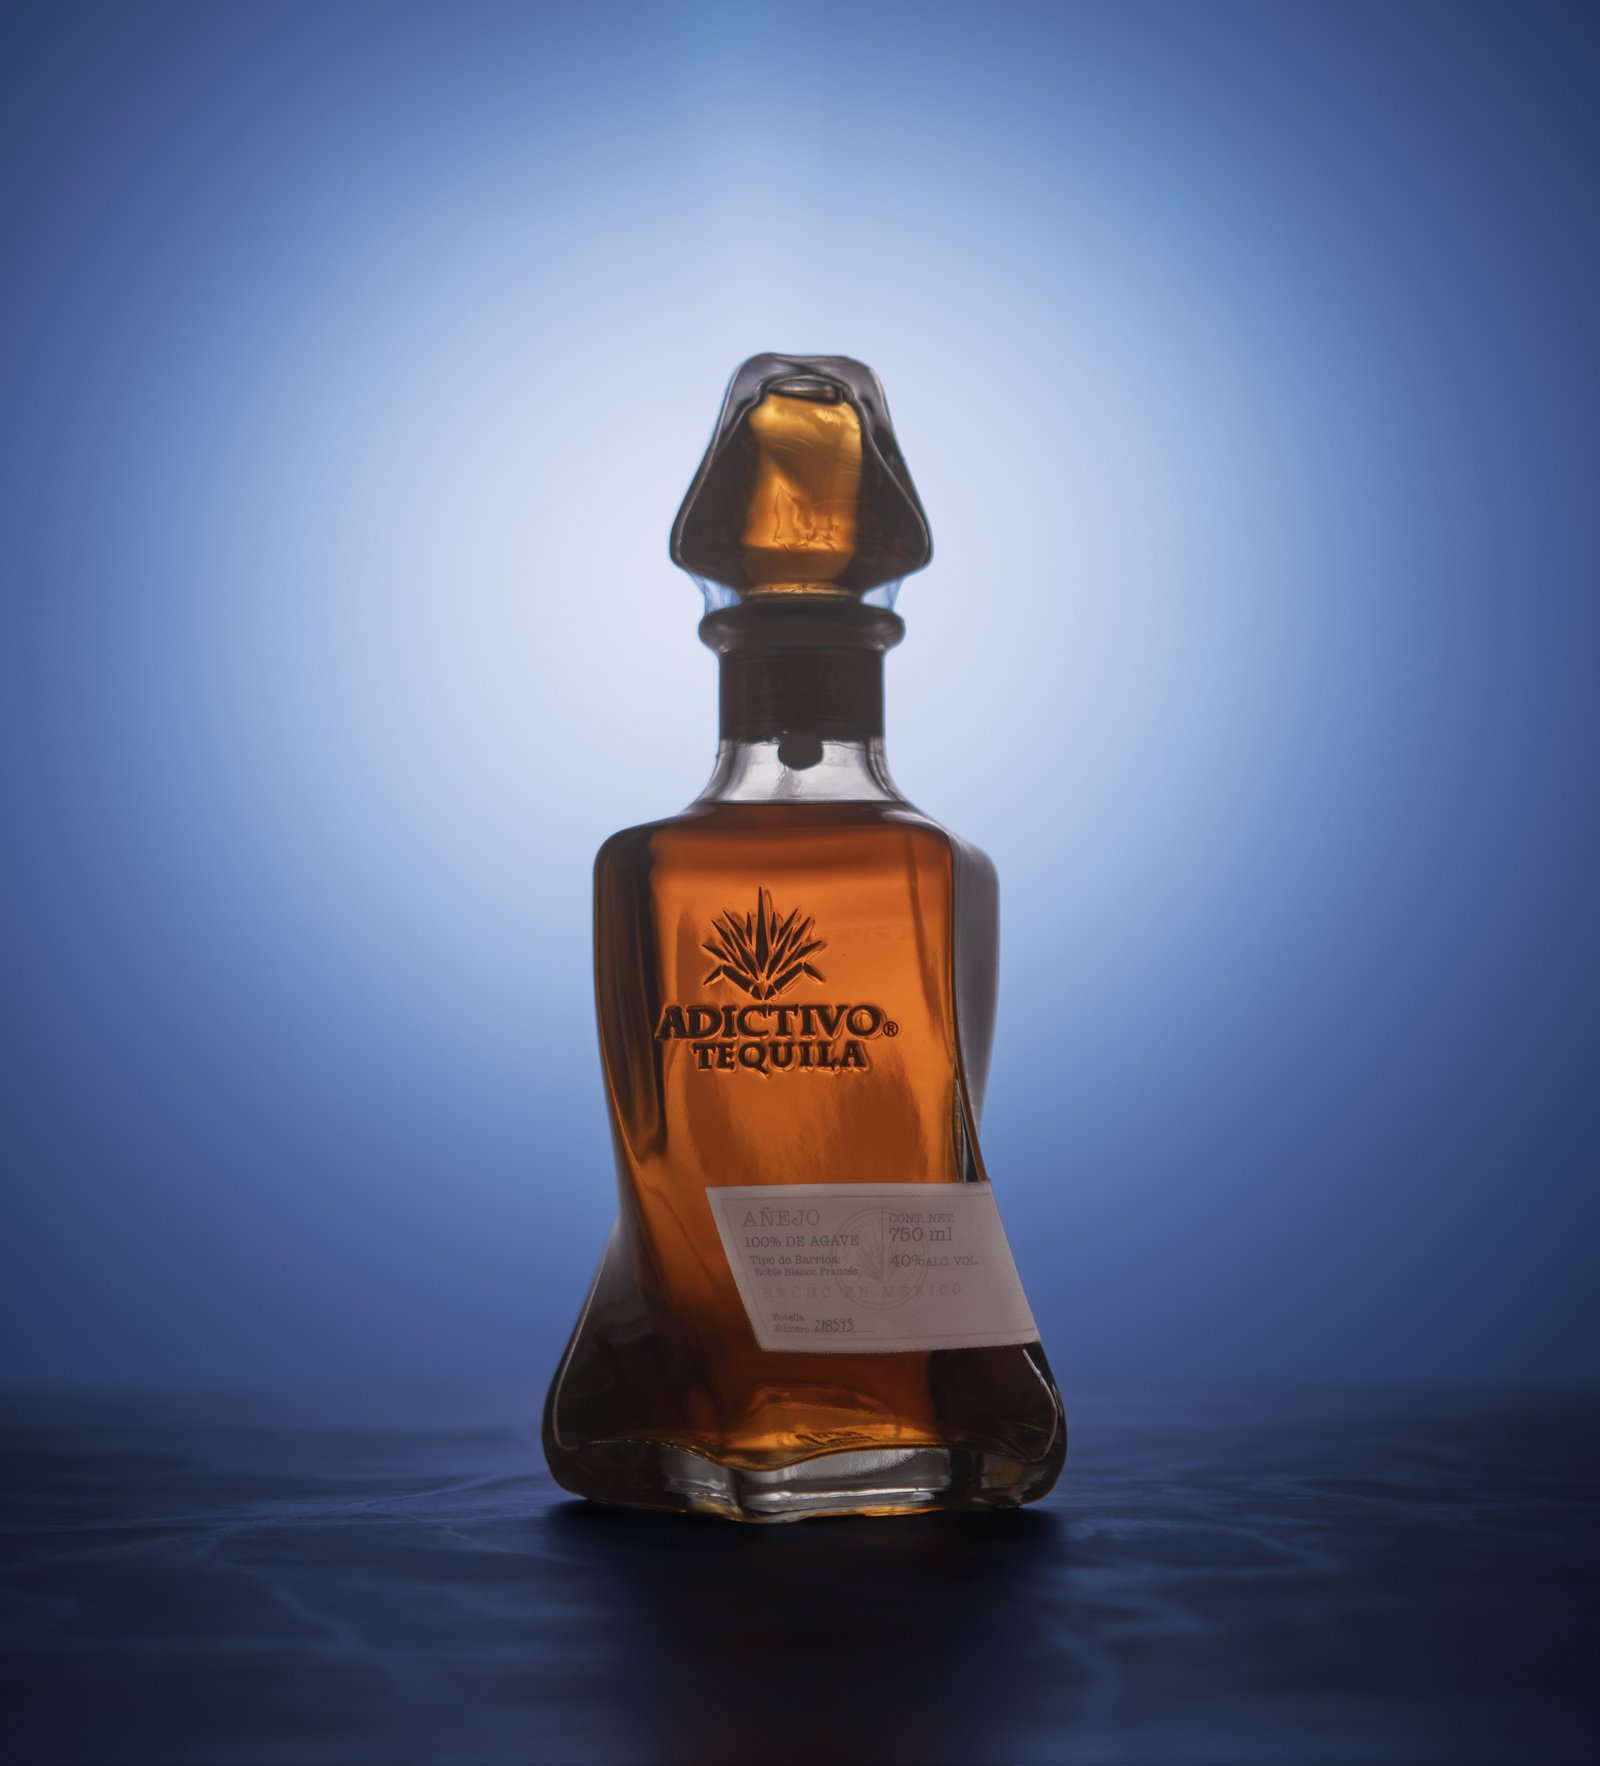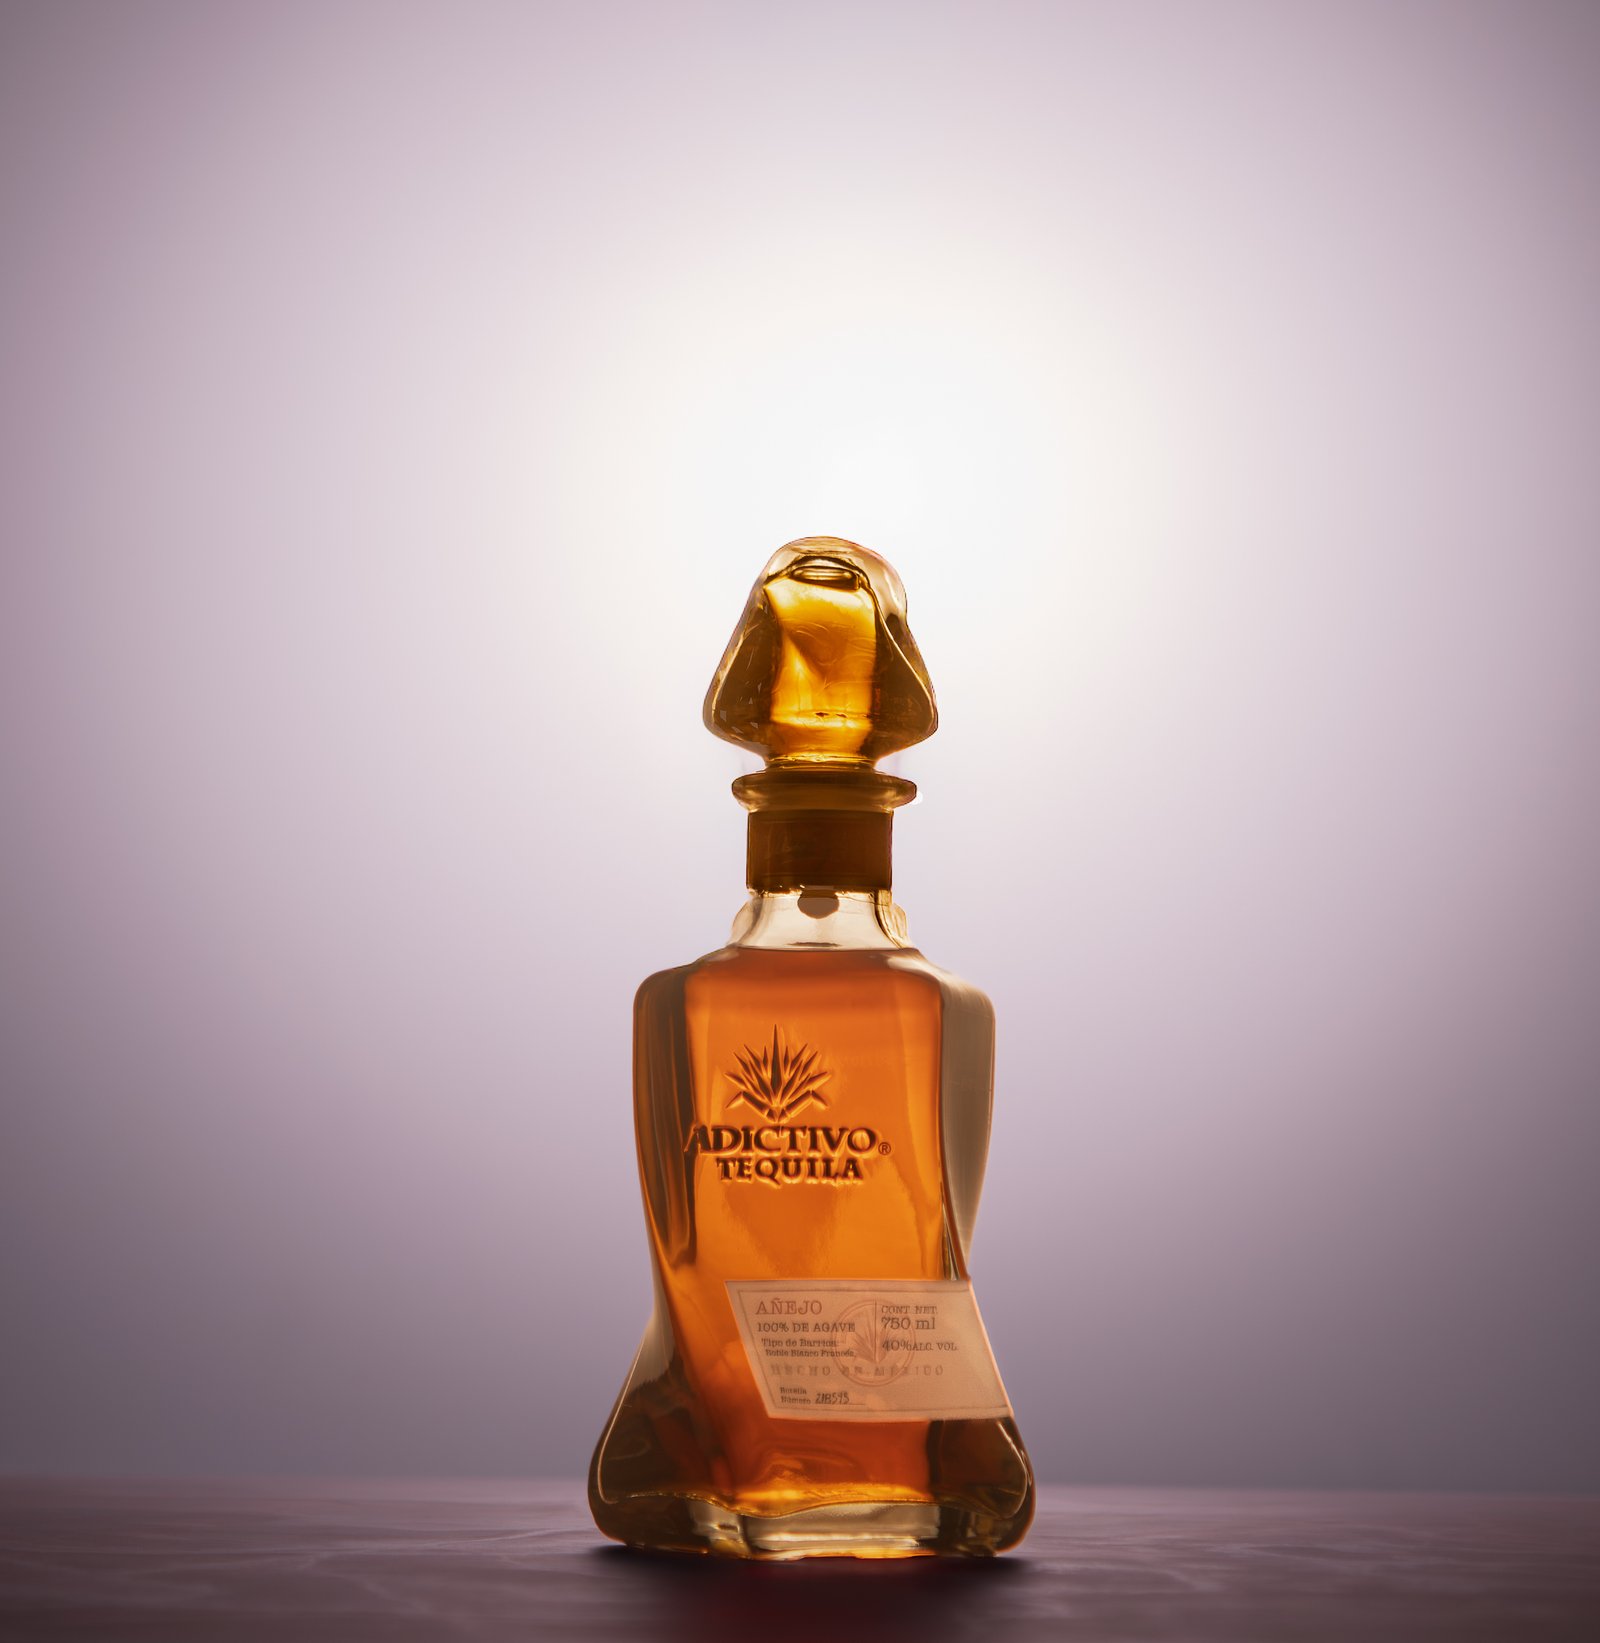
LUXURY PRODUCTS
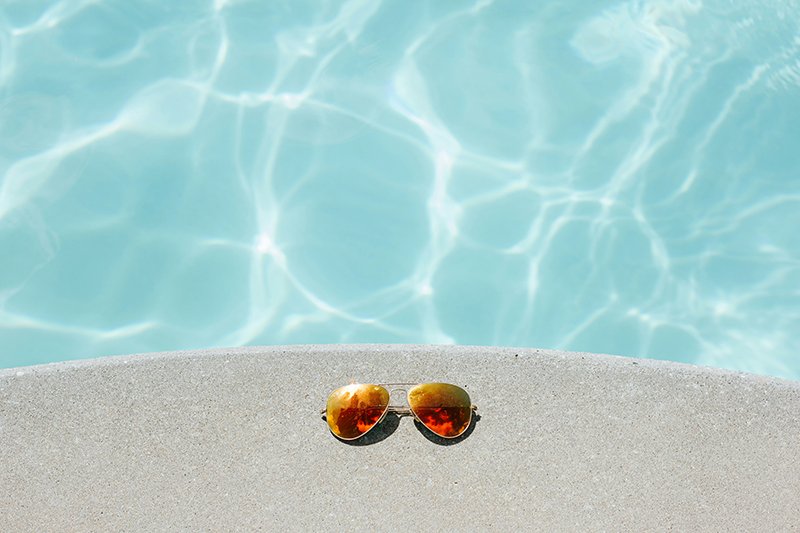
The $2 Sunglasses Experiment
Meeting Notes
Quick recap
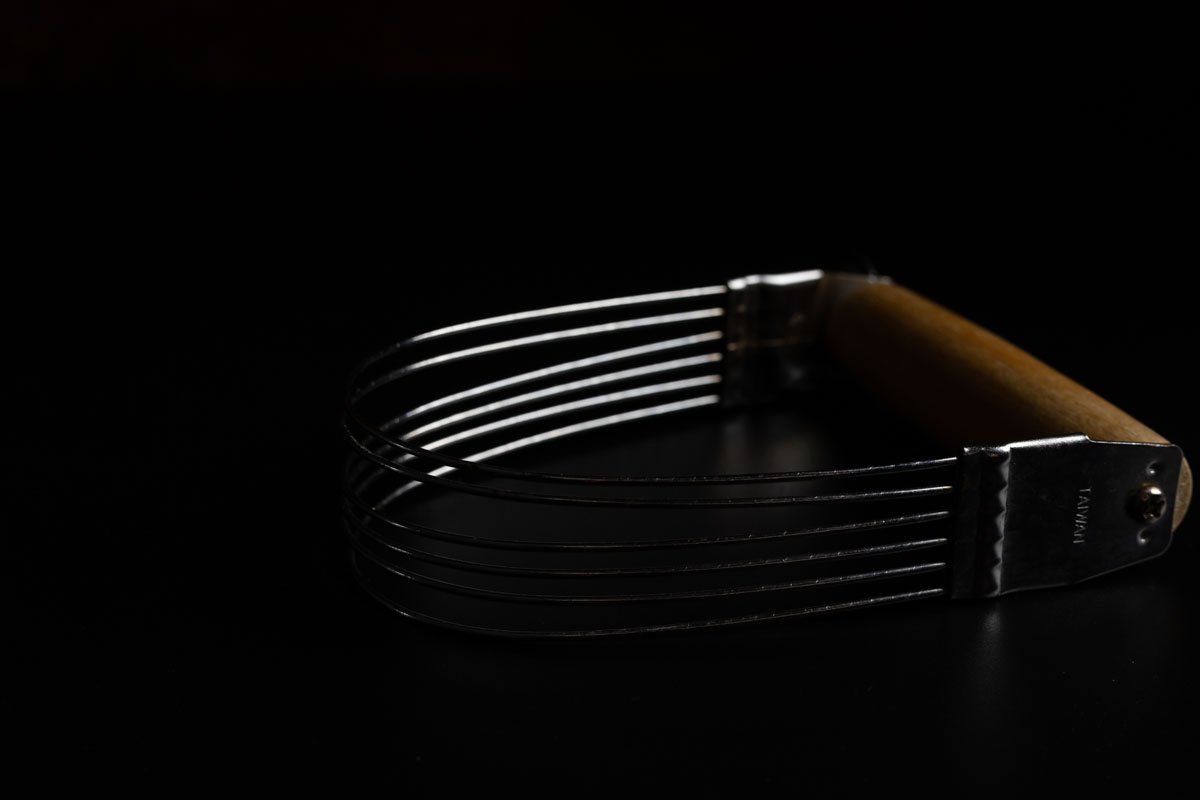
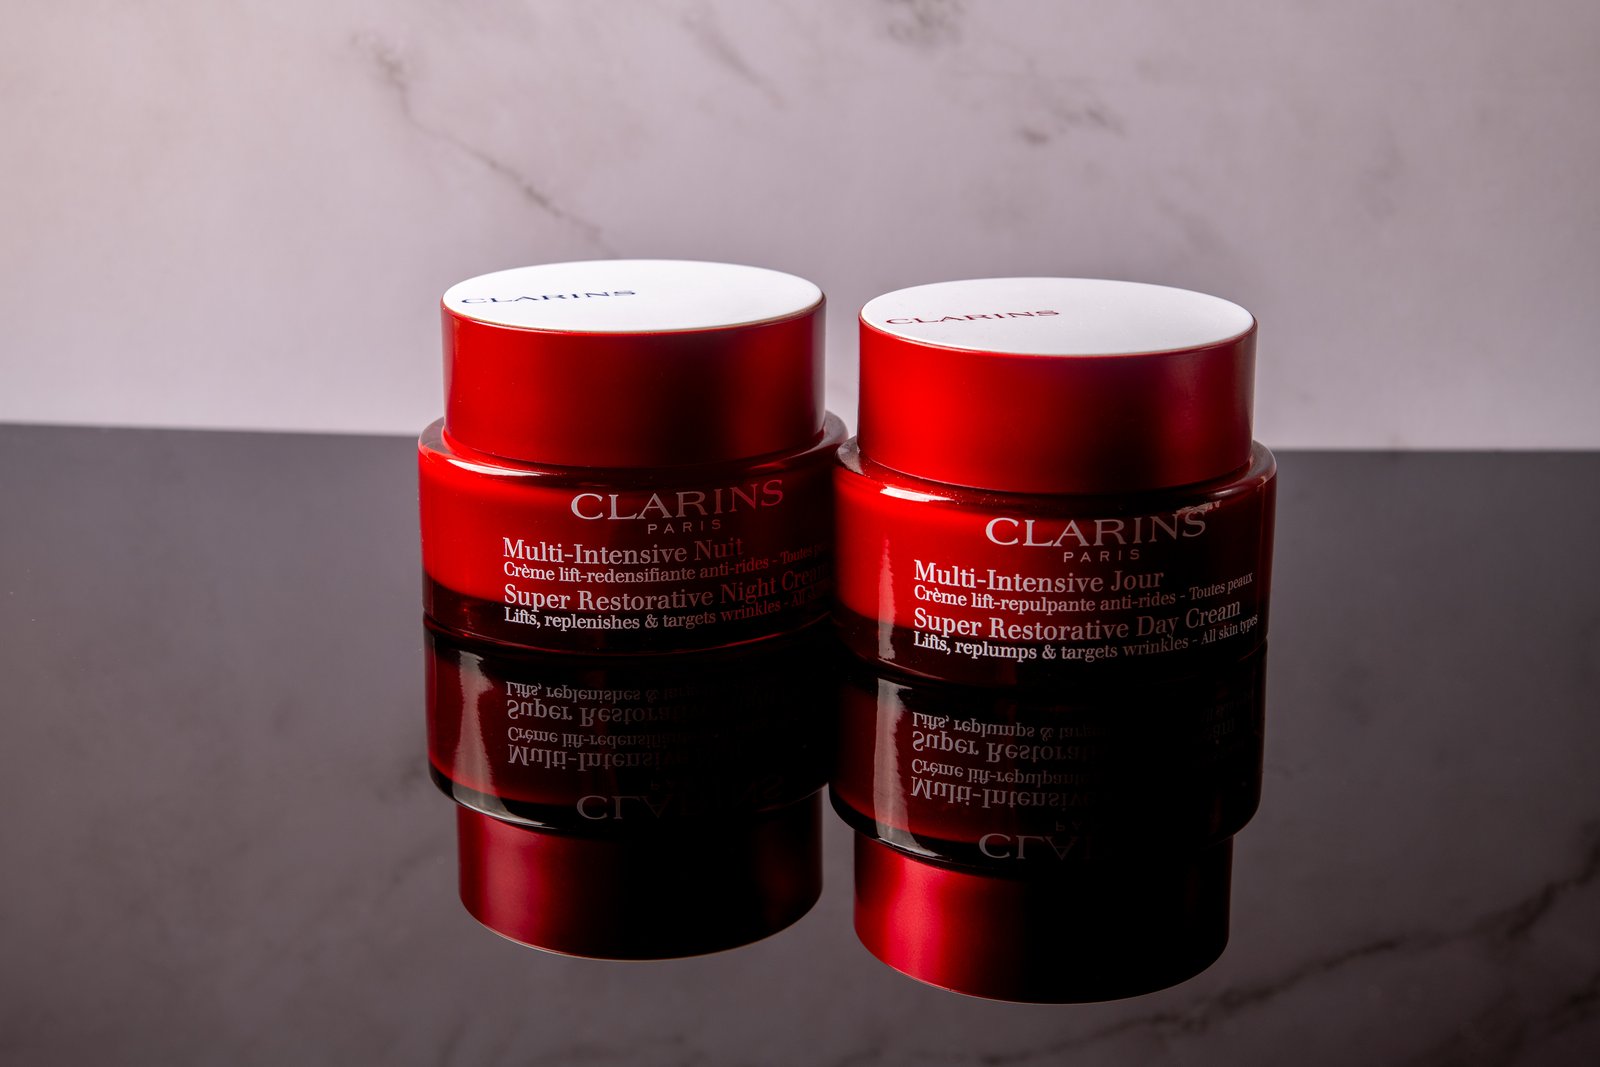
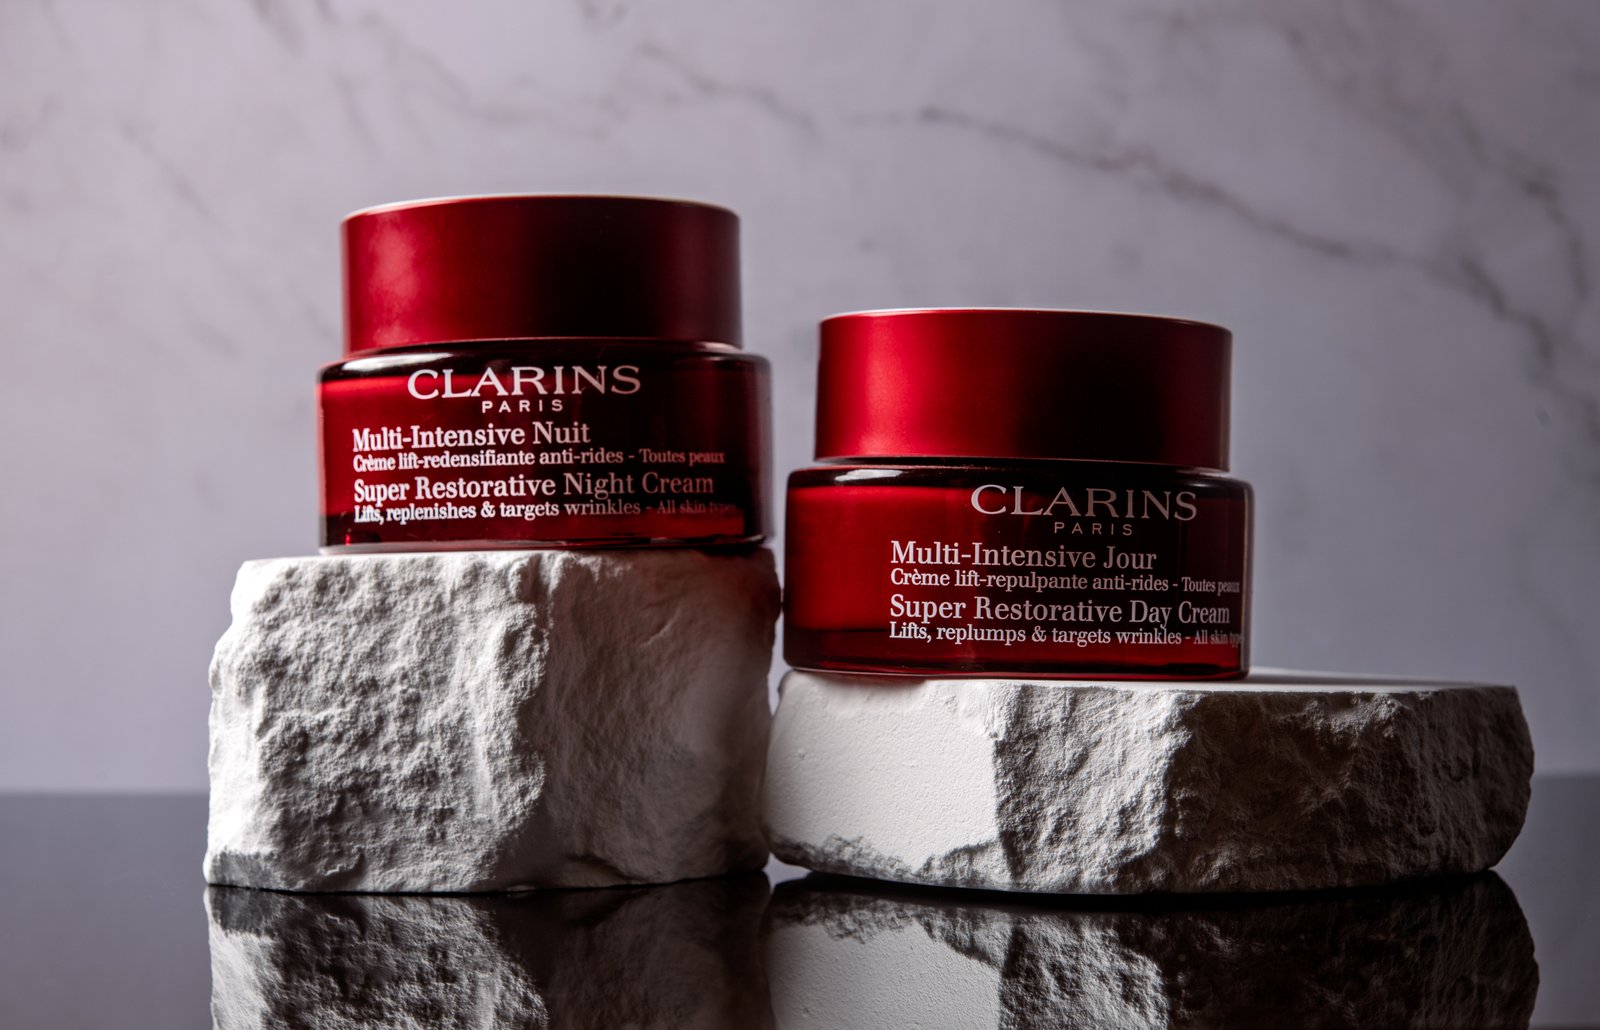
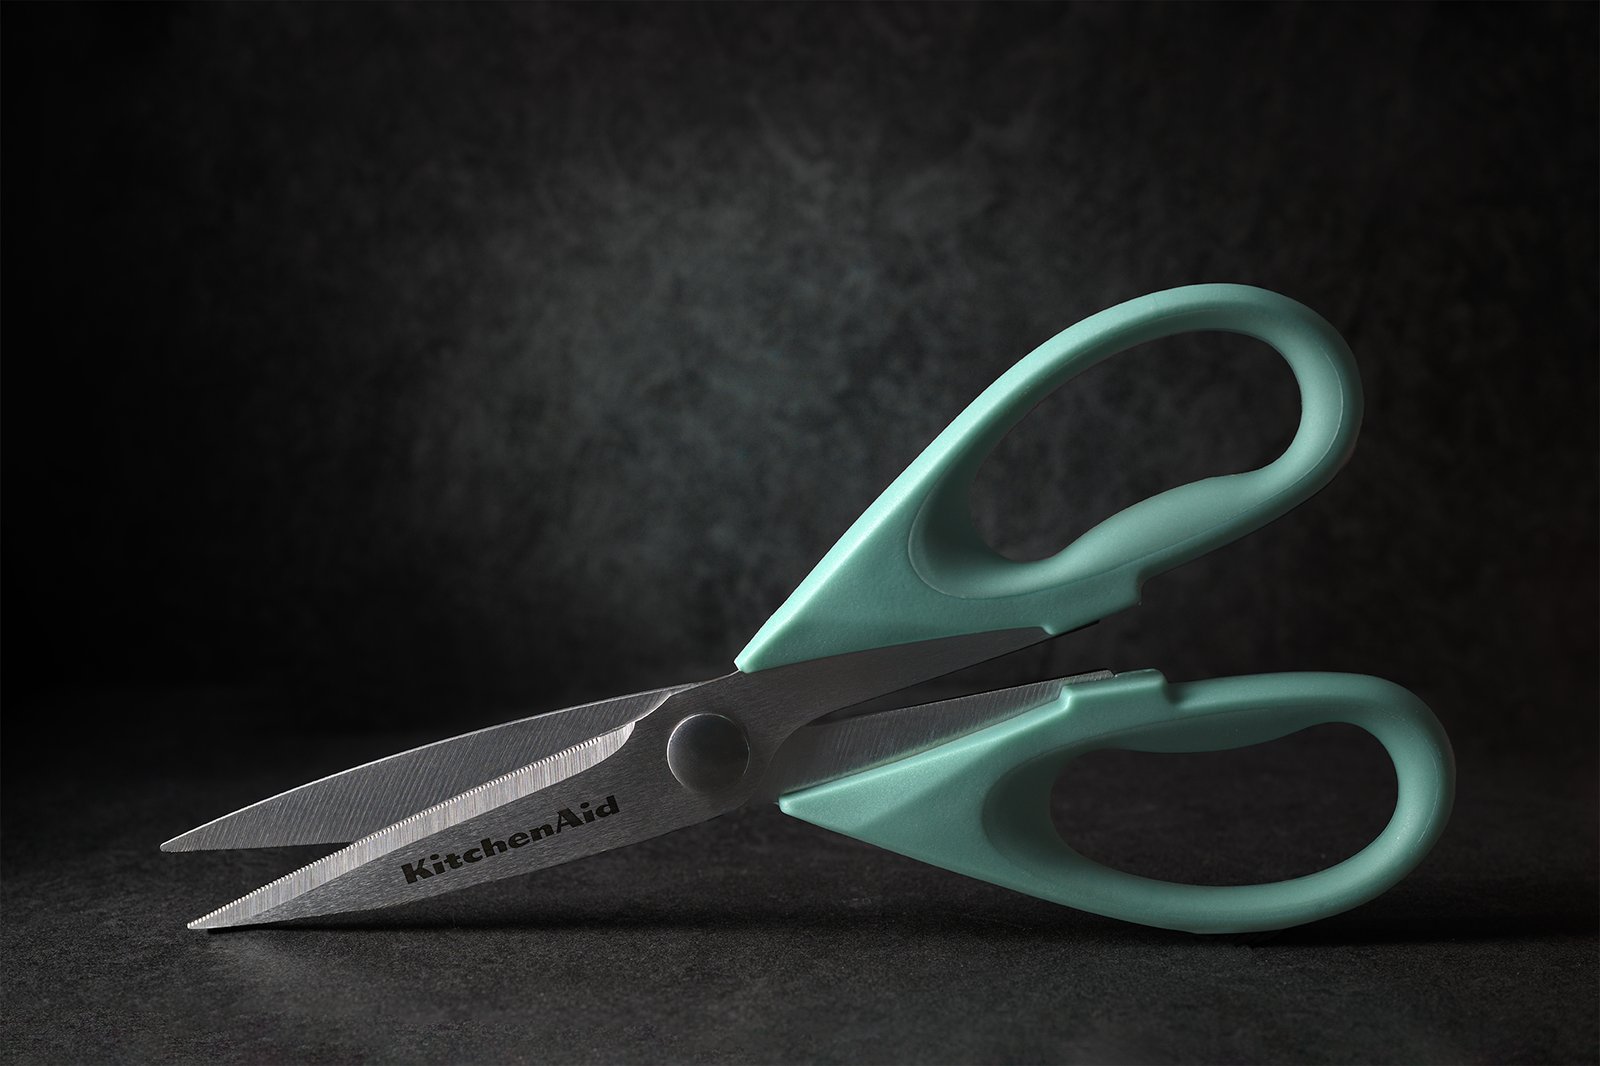
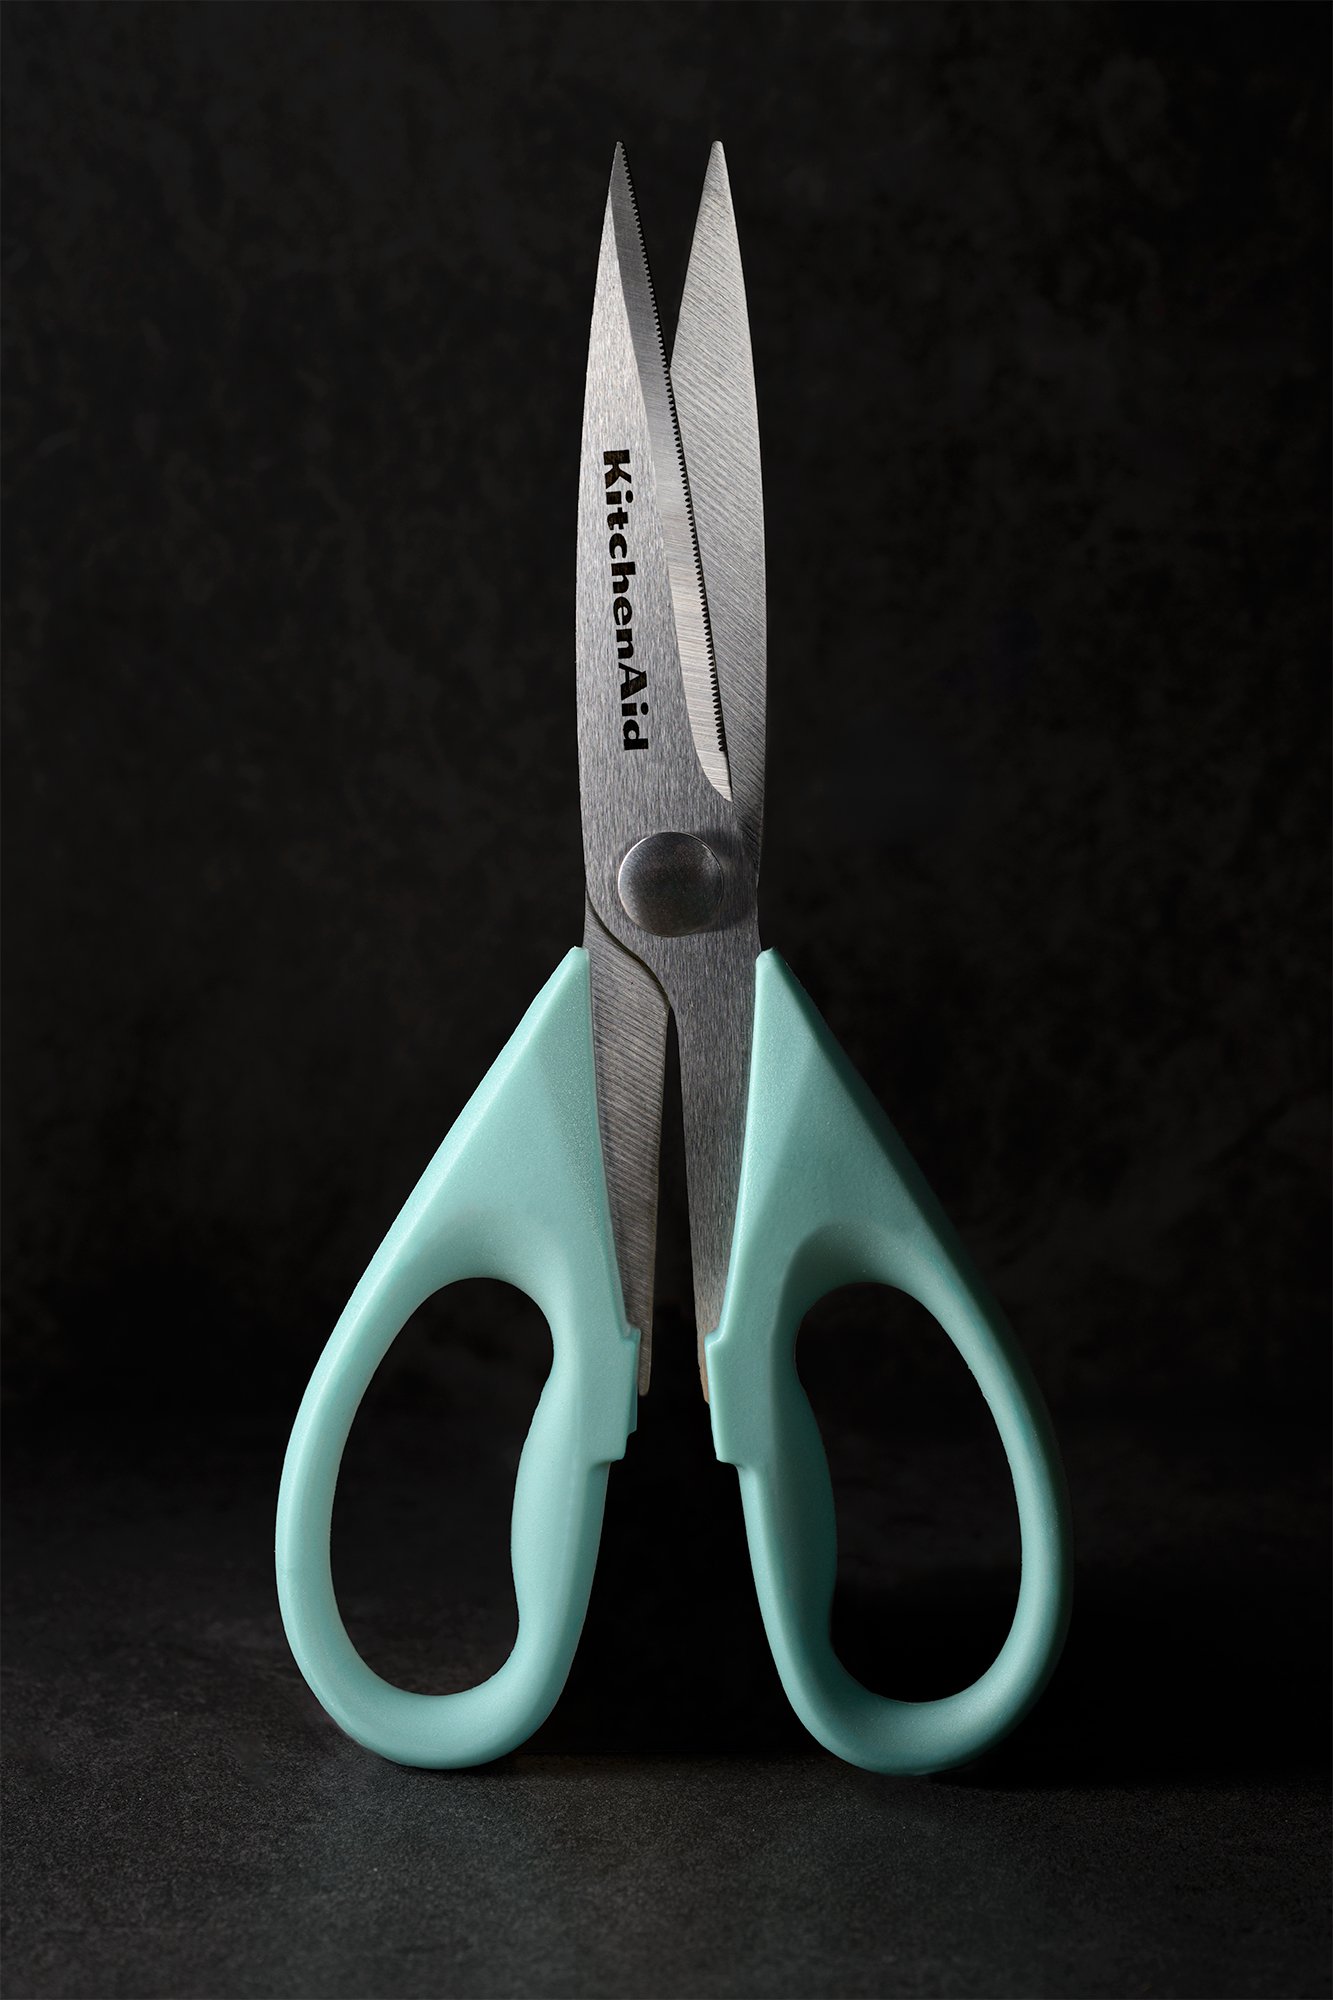
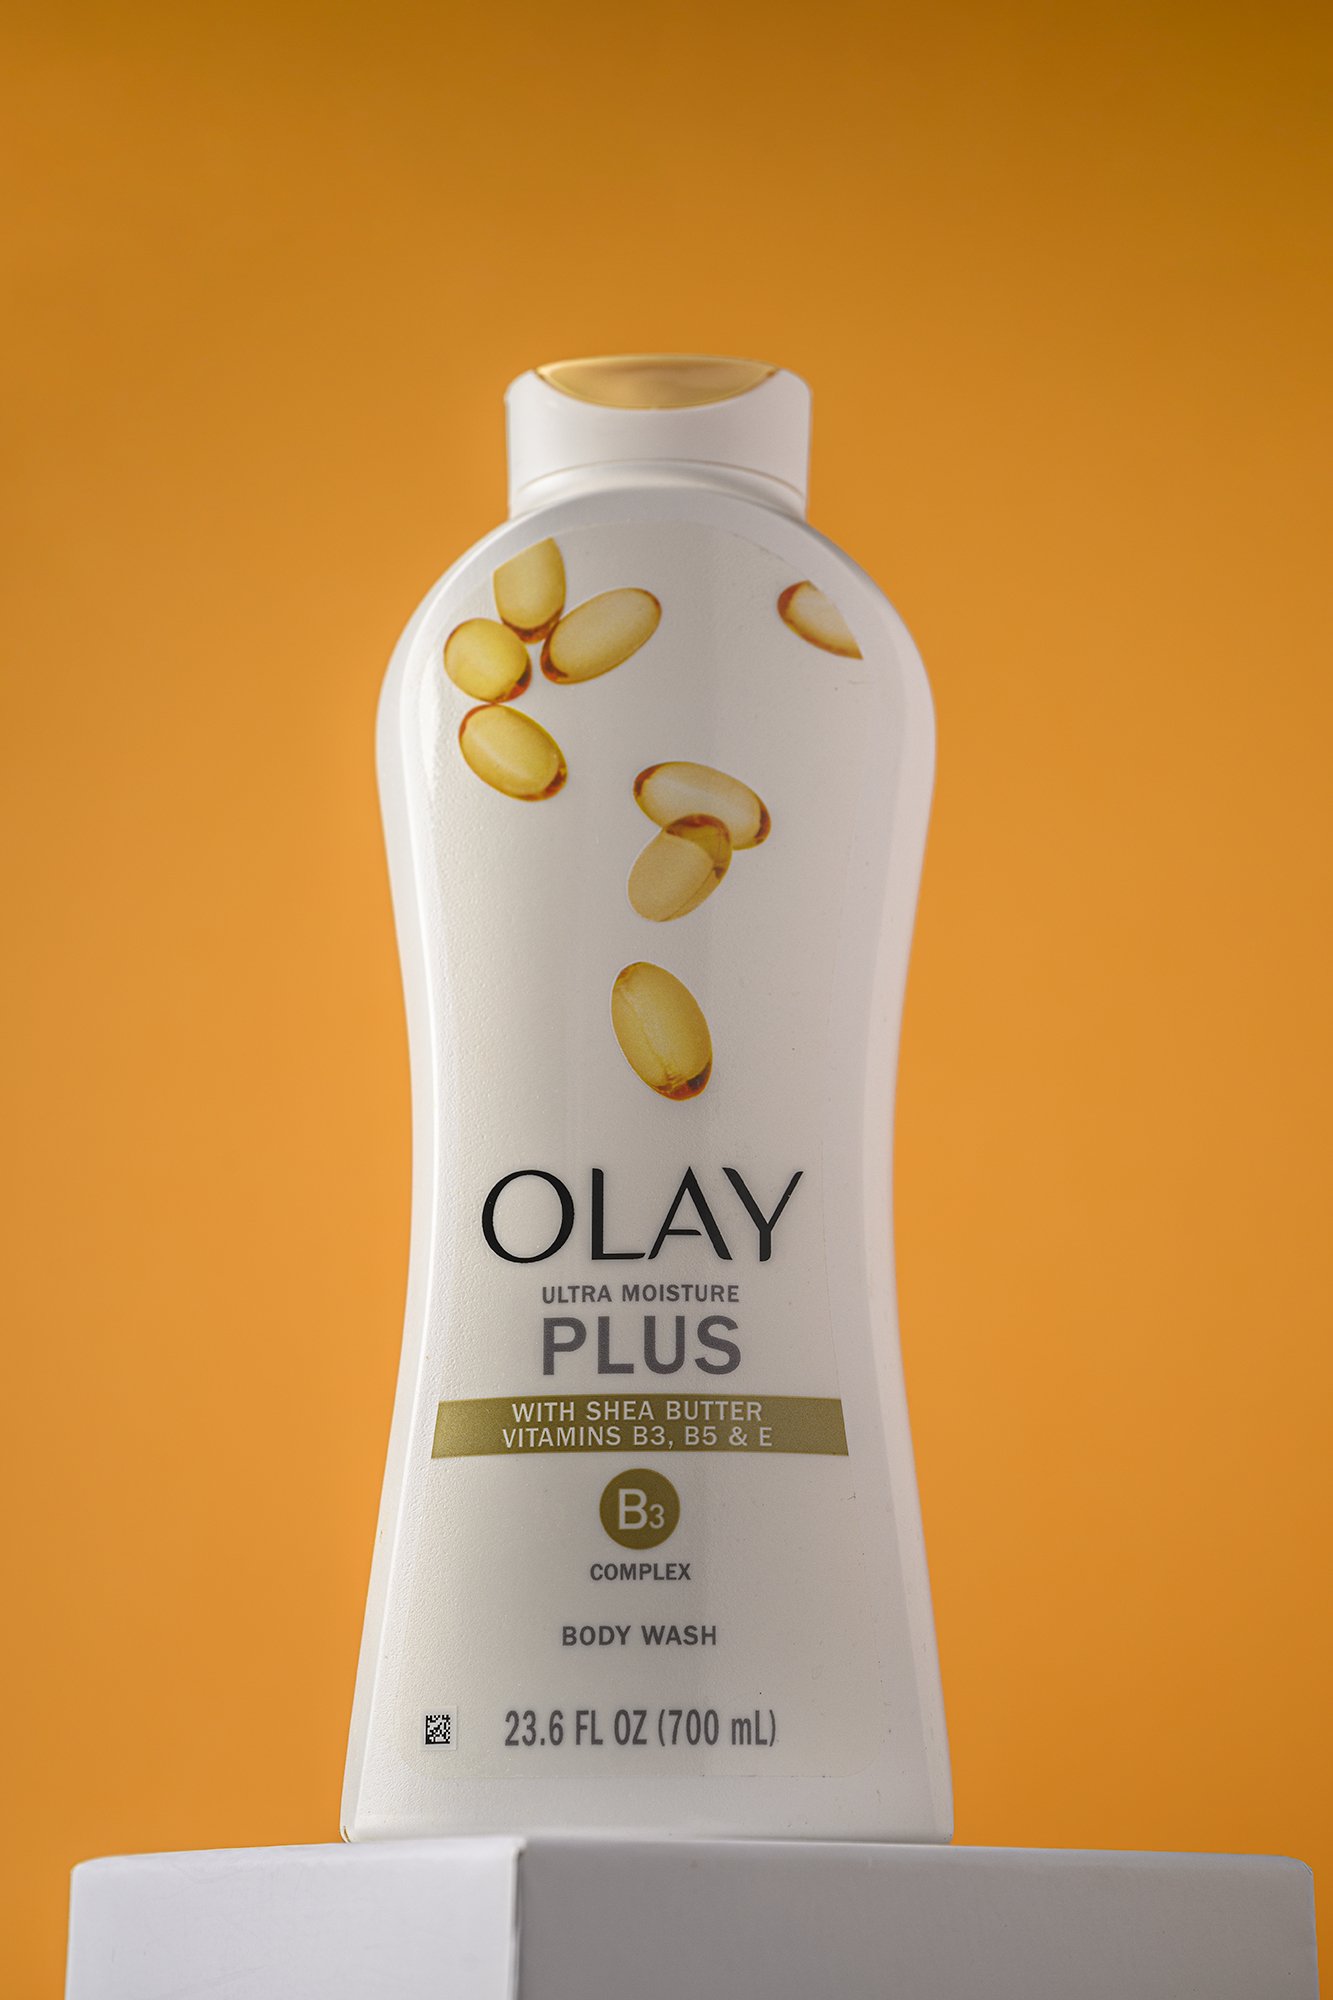
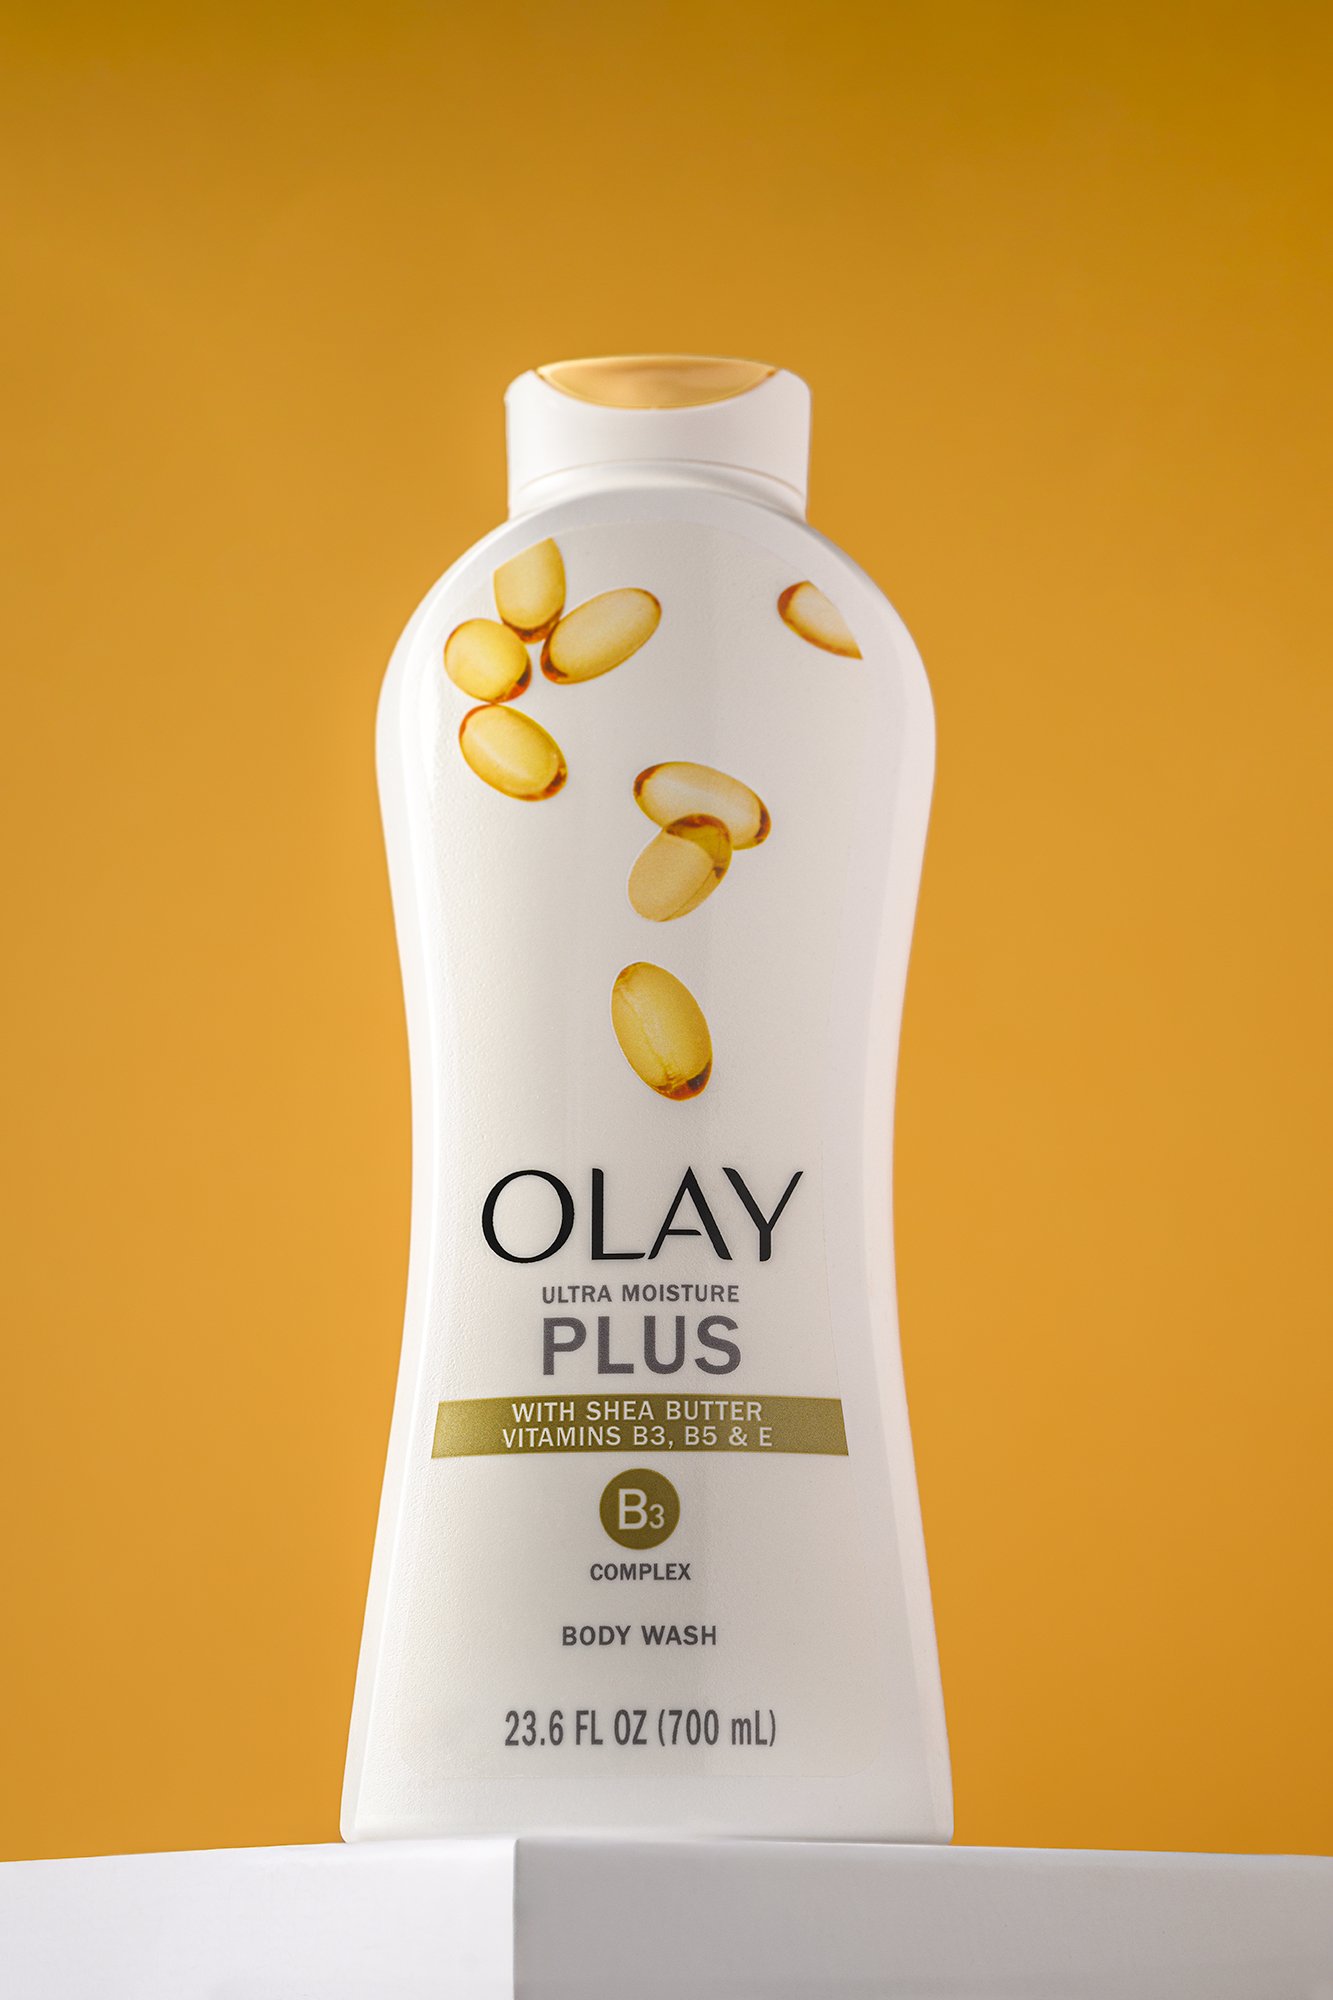
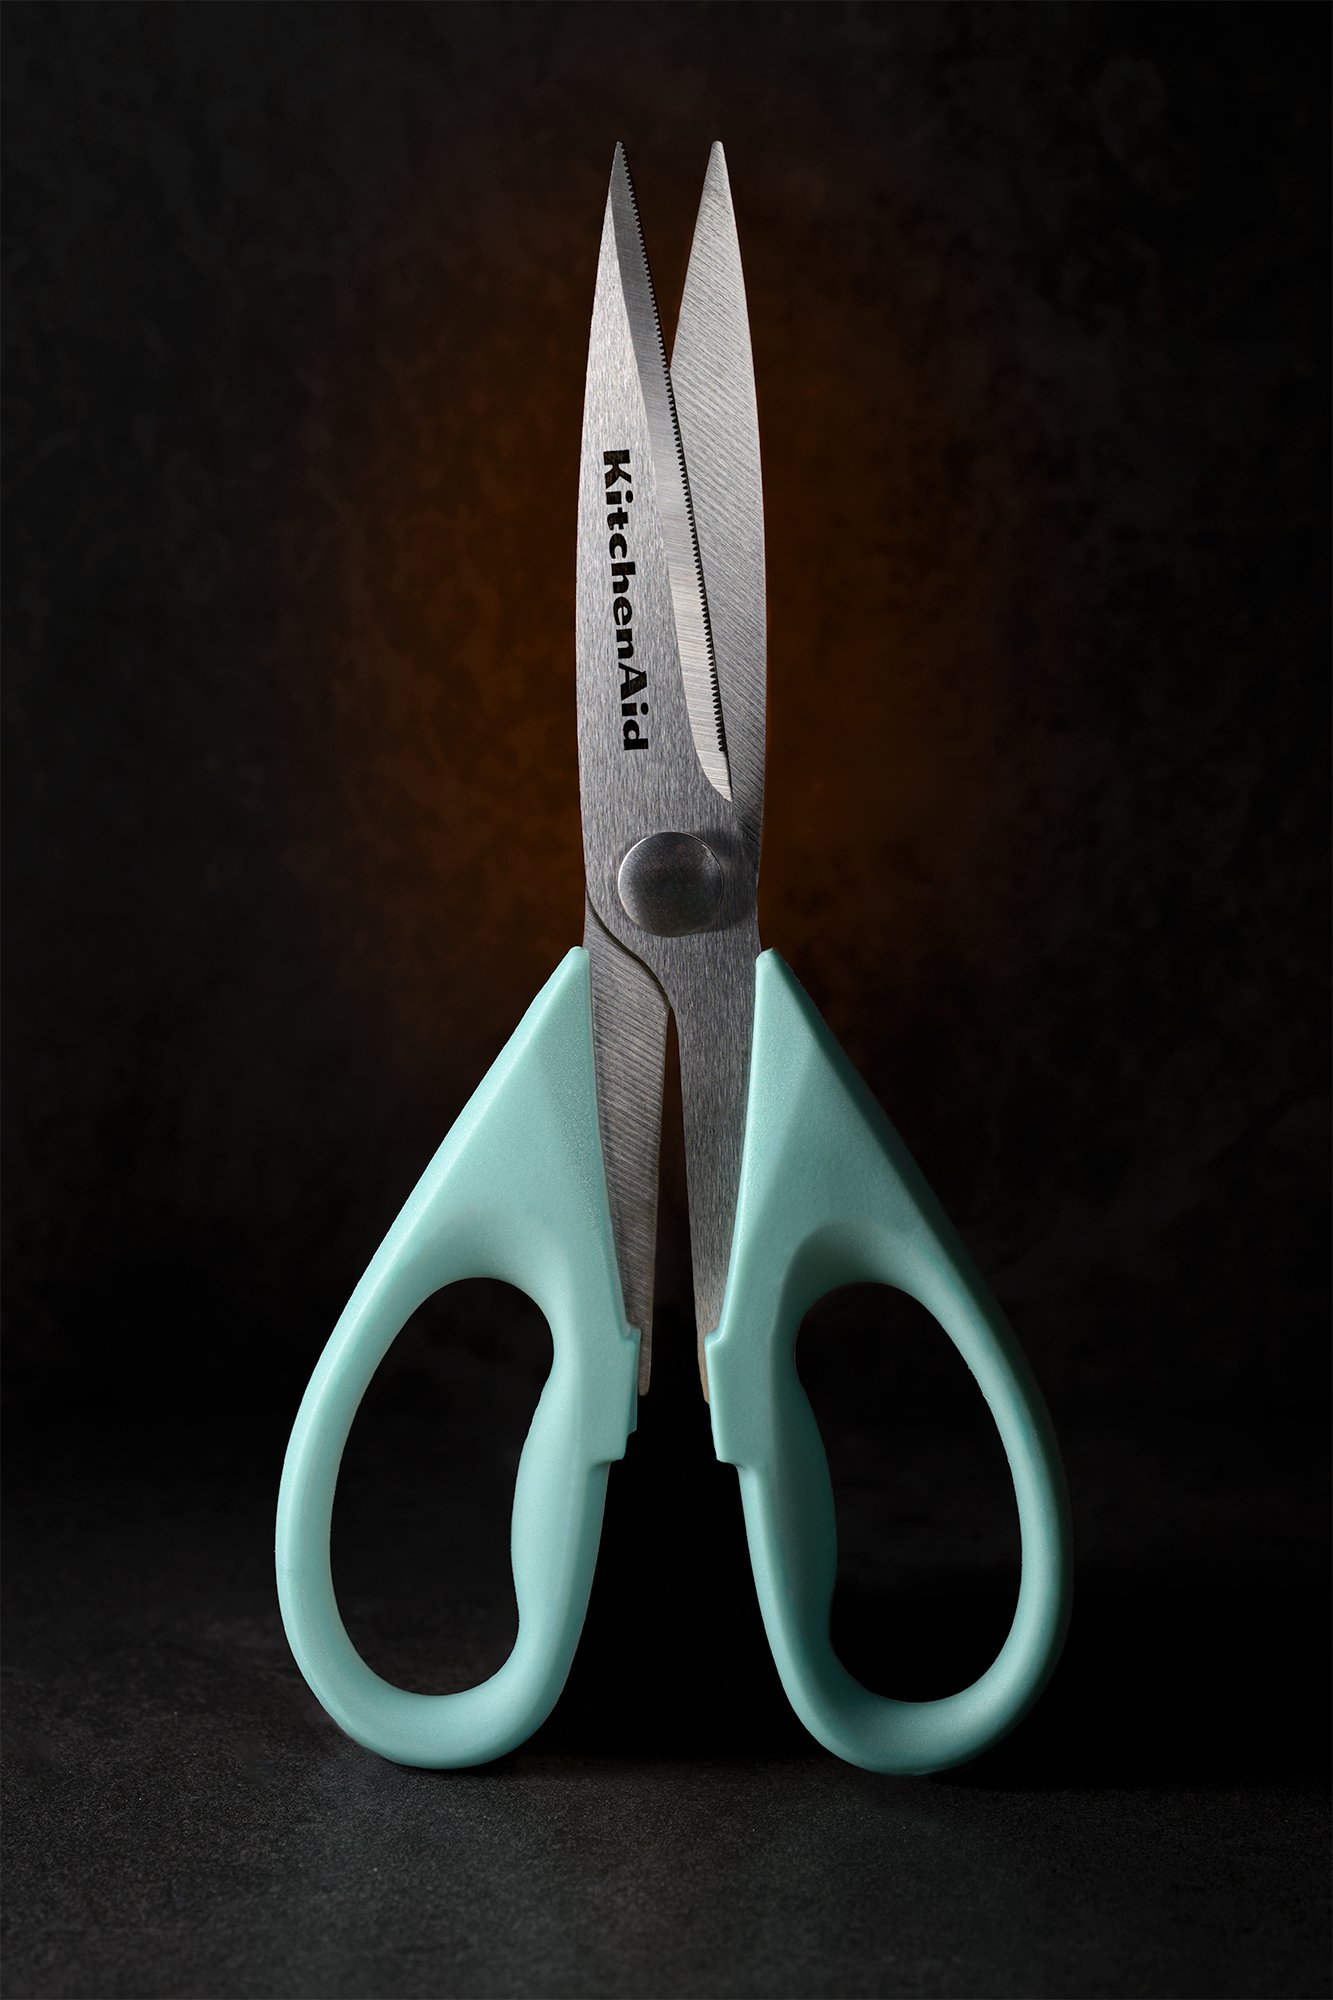
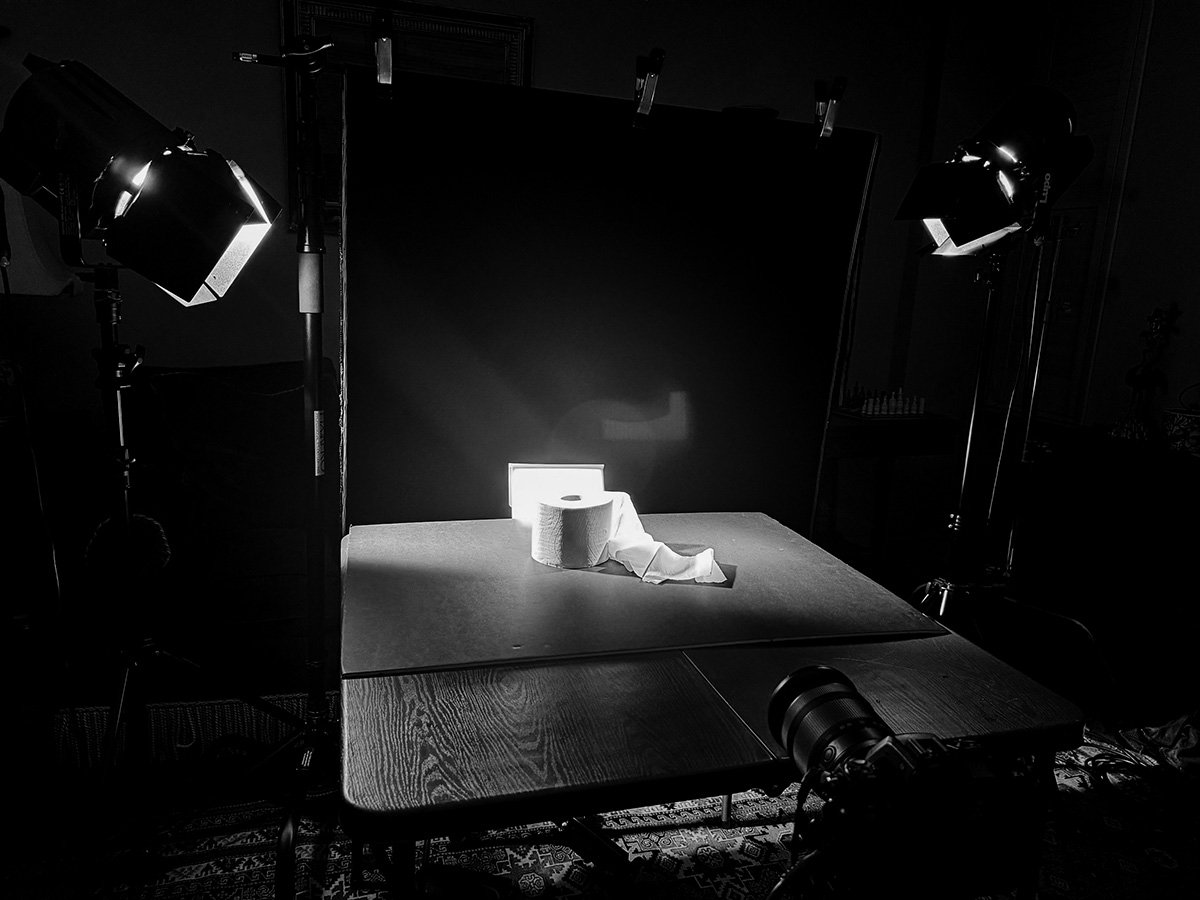
The meeting was a class critique and discussion on product photography, led by Don with participants Debra, Trish, Luciana, and Morgane. They reviewed each other’s recent product shots, including Debra’s work on scissors and Olay cream, Luciana’s images of a luxury-looking toilet paper set, Trish’s old pastry cutter, and Morgane’s cream jars on various surfaces. Don demonstrated retouching techniques in Photoshop, Lightroom, and Camera Raw, focusing on gradients, masking, and enhancing highlights and textures. The group discussed lighting setups, the use of Fresnel lights, and challenges with reflective surfaces and keeping horizons level. Don introduced the next assignment: making cheap sunglasses look luxurious, showing examples of high-end sunglass ads and discussing creative lighting, props, and set building. They also talked briefly about stop motion pours, video work, and Don’s upcoming trip and plans to bring in guest Jennifer Schuetz for a future class.
Next steps
Don
- Contact Jennifer Schuetz to invite her as a guest for the motion class to discuss stop motion pours.
Morgane
- Reshoot the creams on the white blocks, ensuring the jars are level and properly aligned for readability.
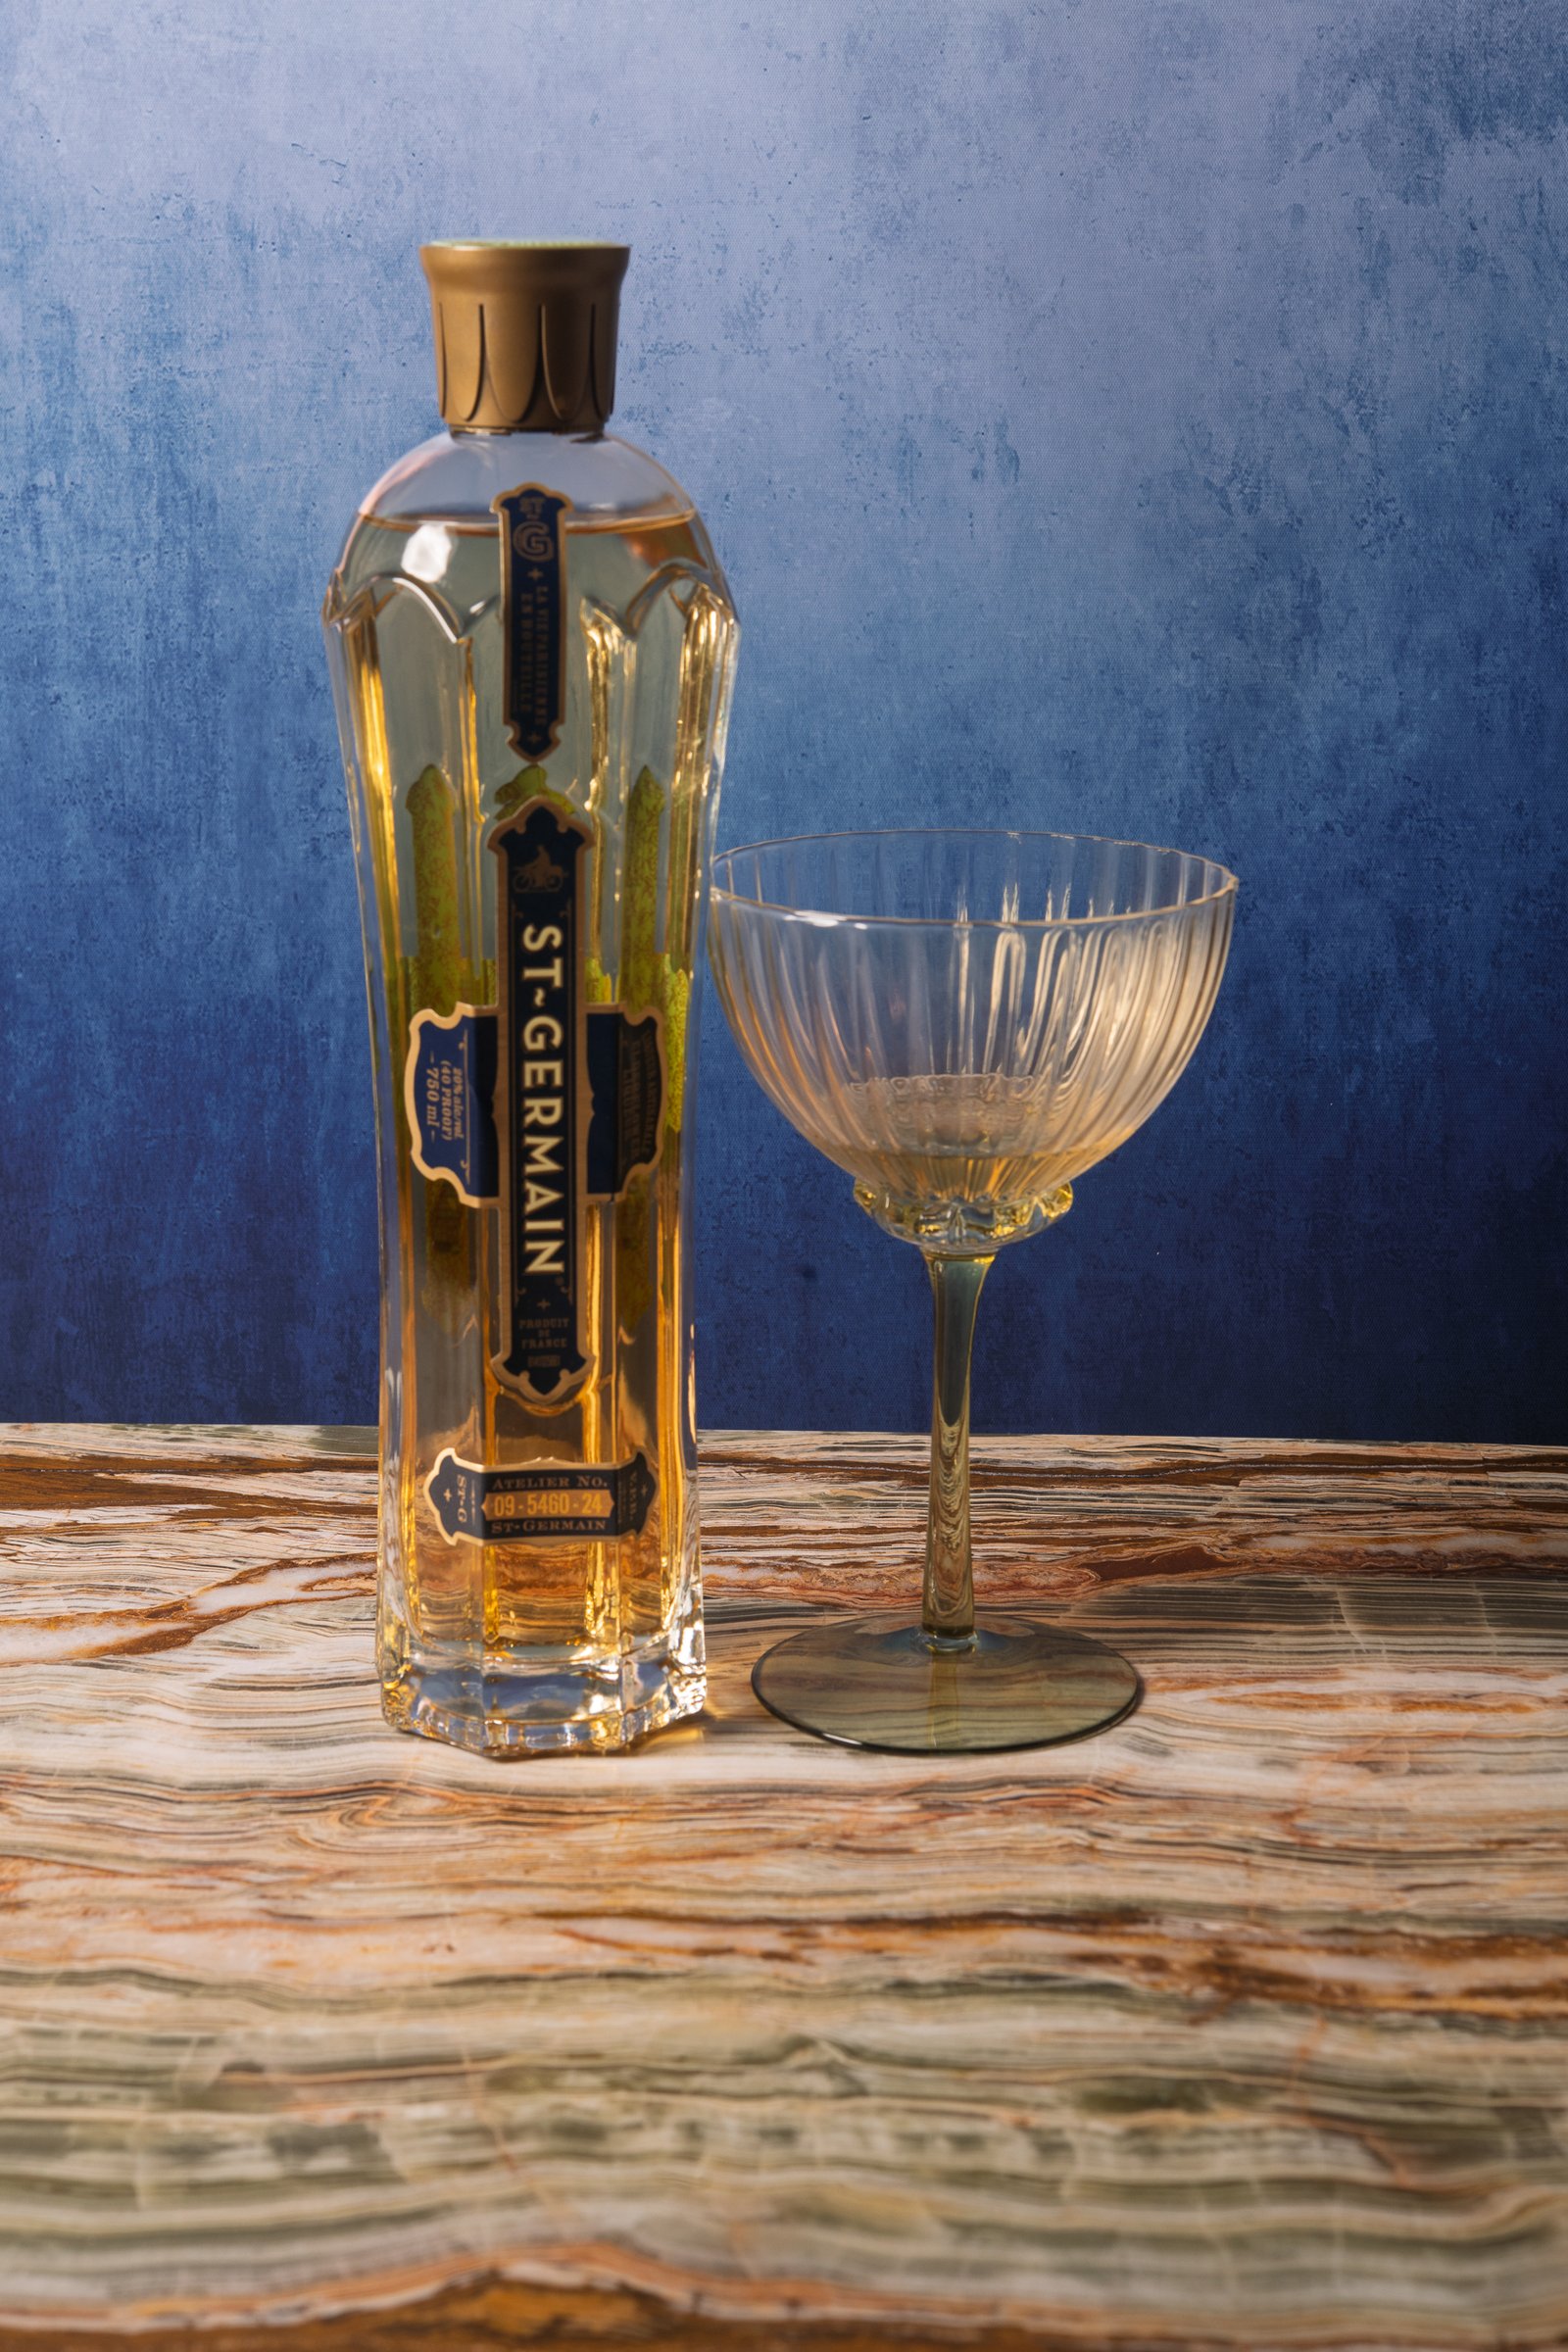
- Brighten the glass in the image with the painting background to make it more distinct.
Trish
Collaboration
Summary
Photography Workflow and Techniques
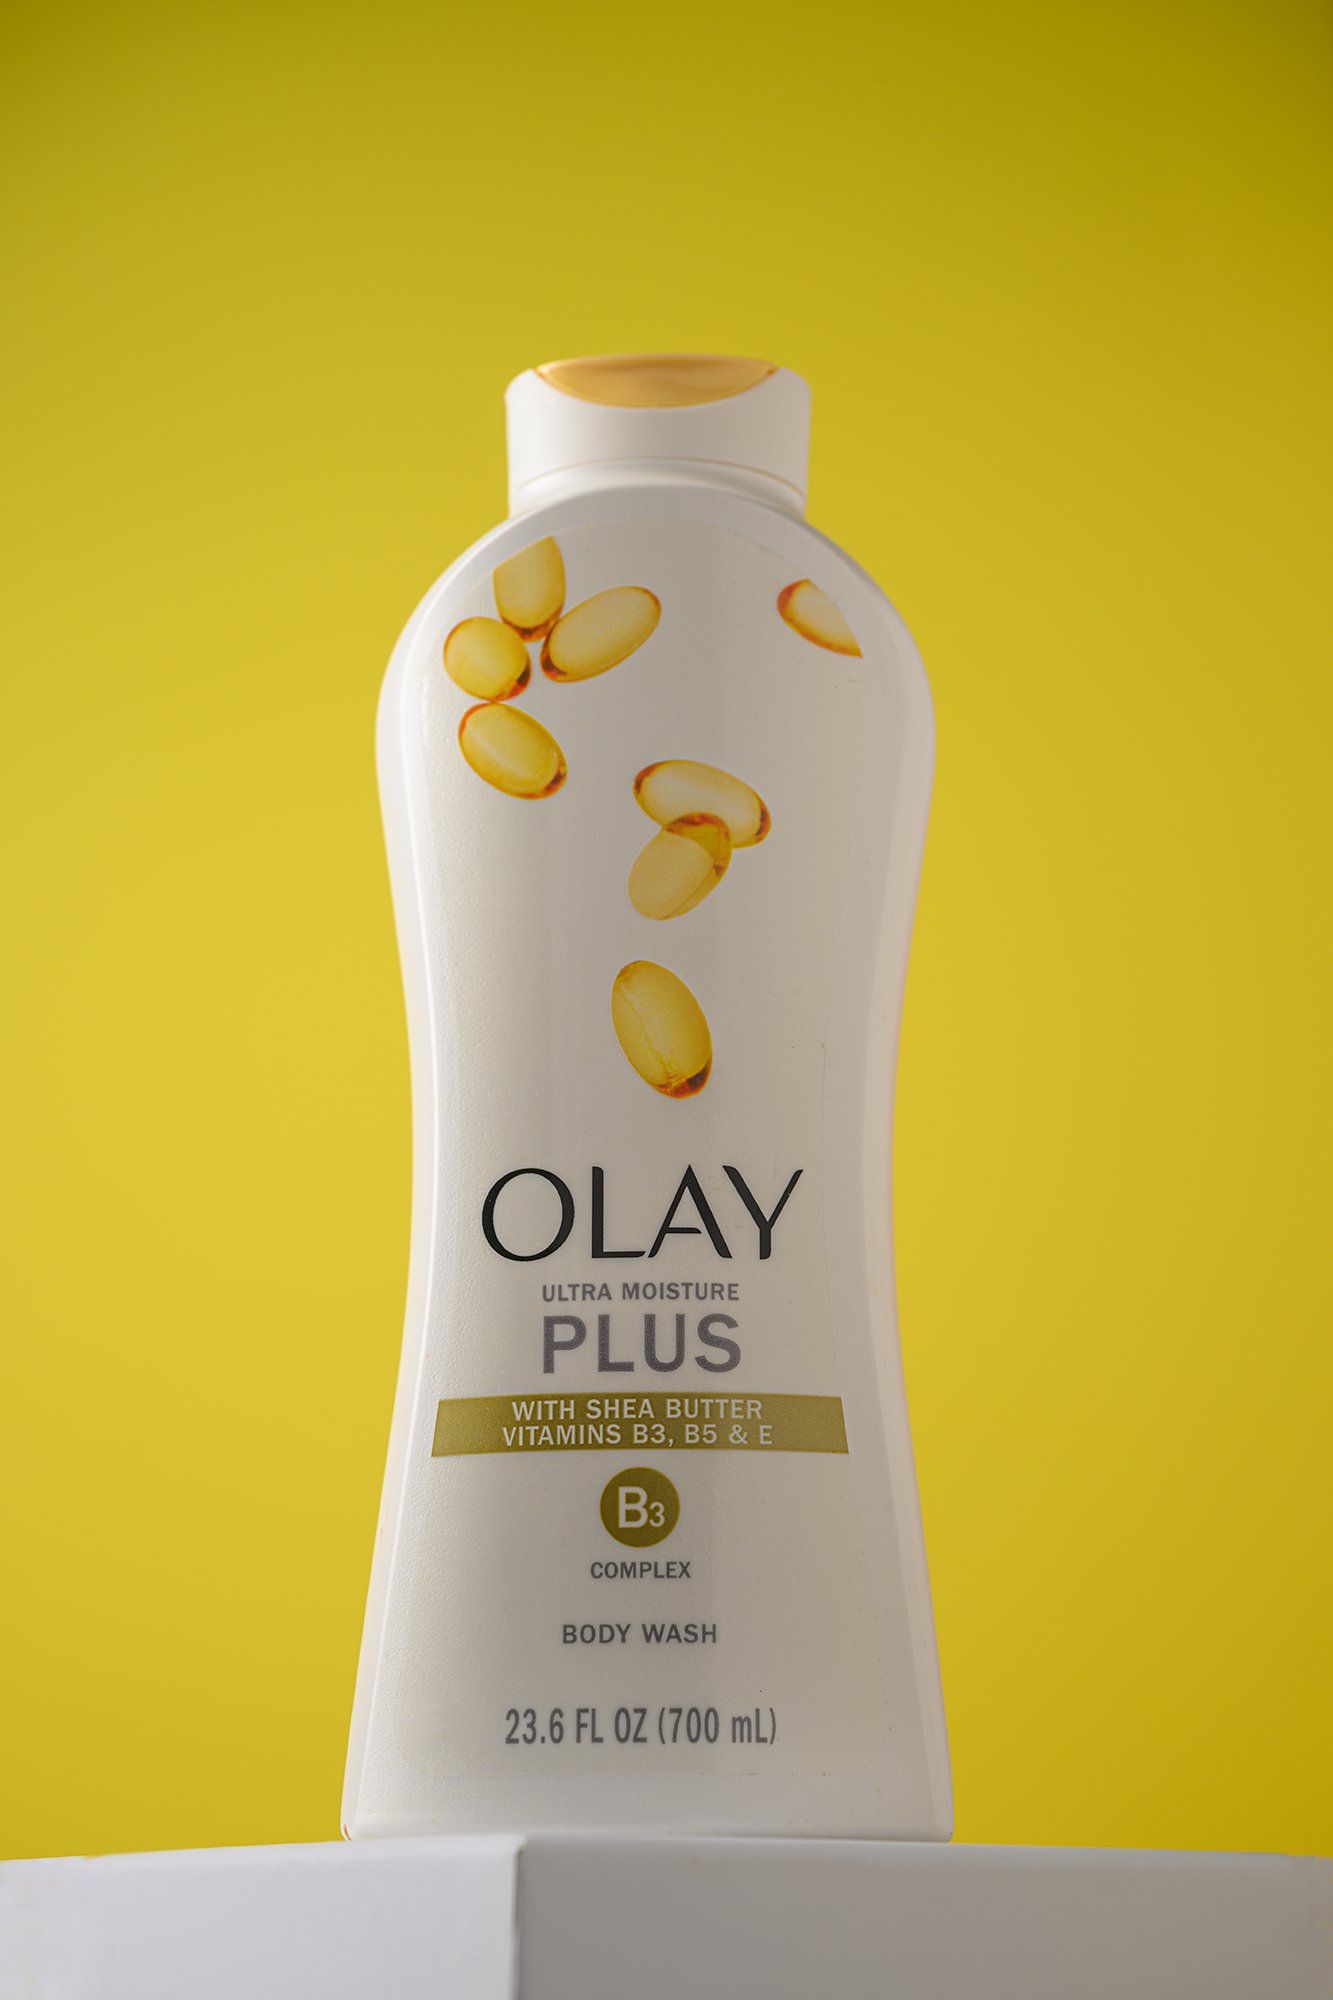
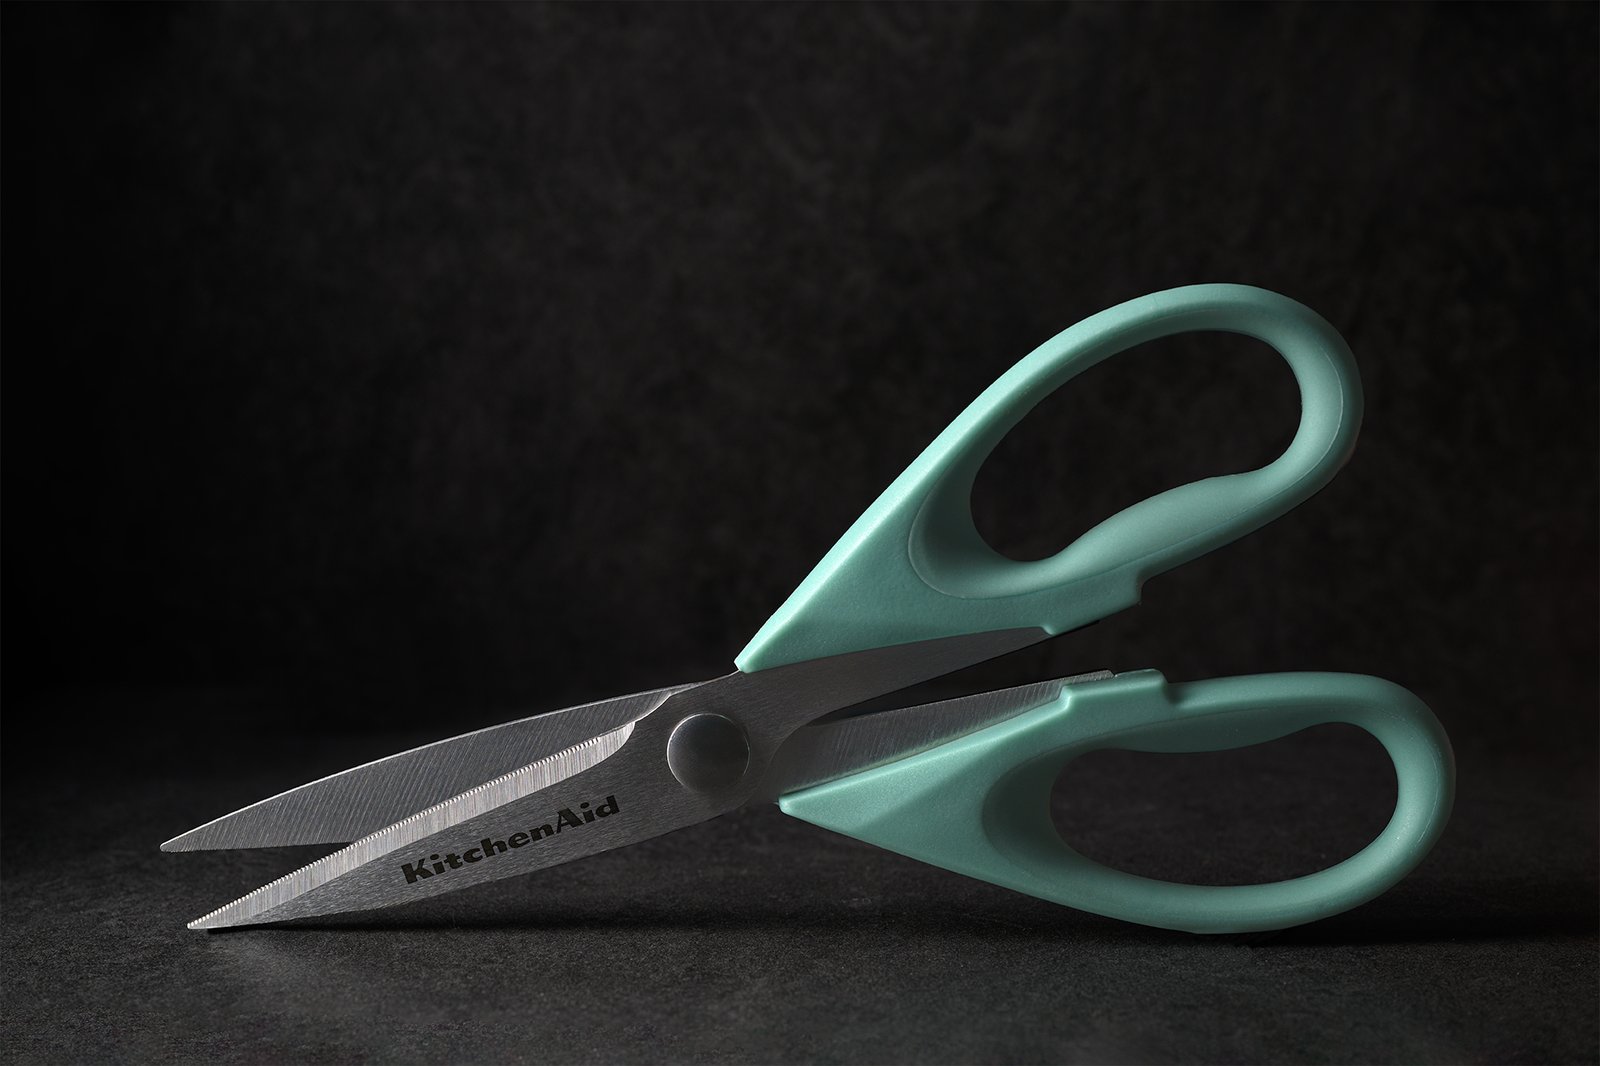
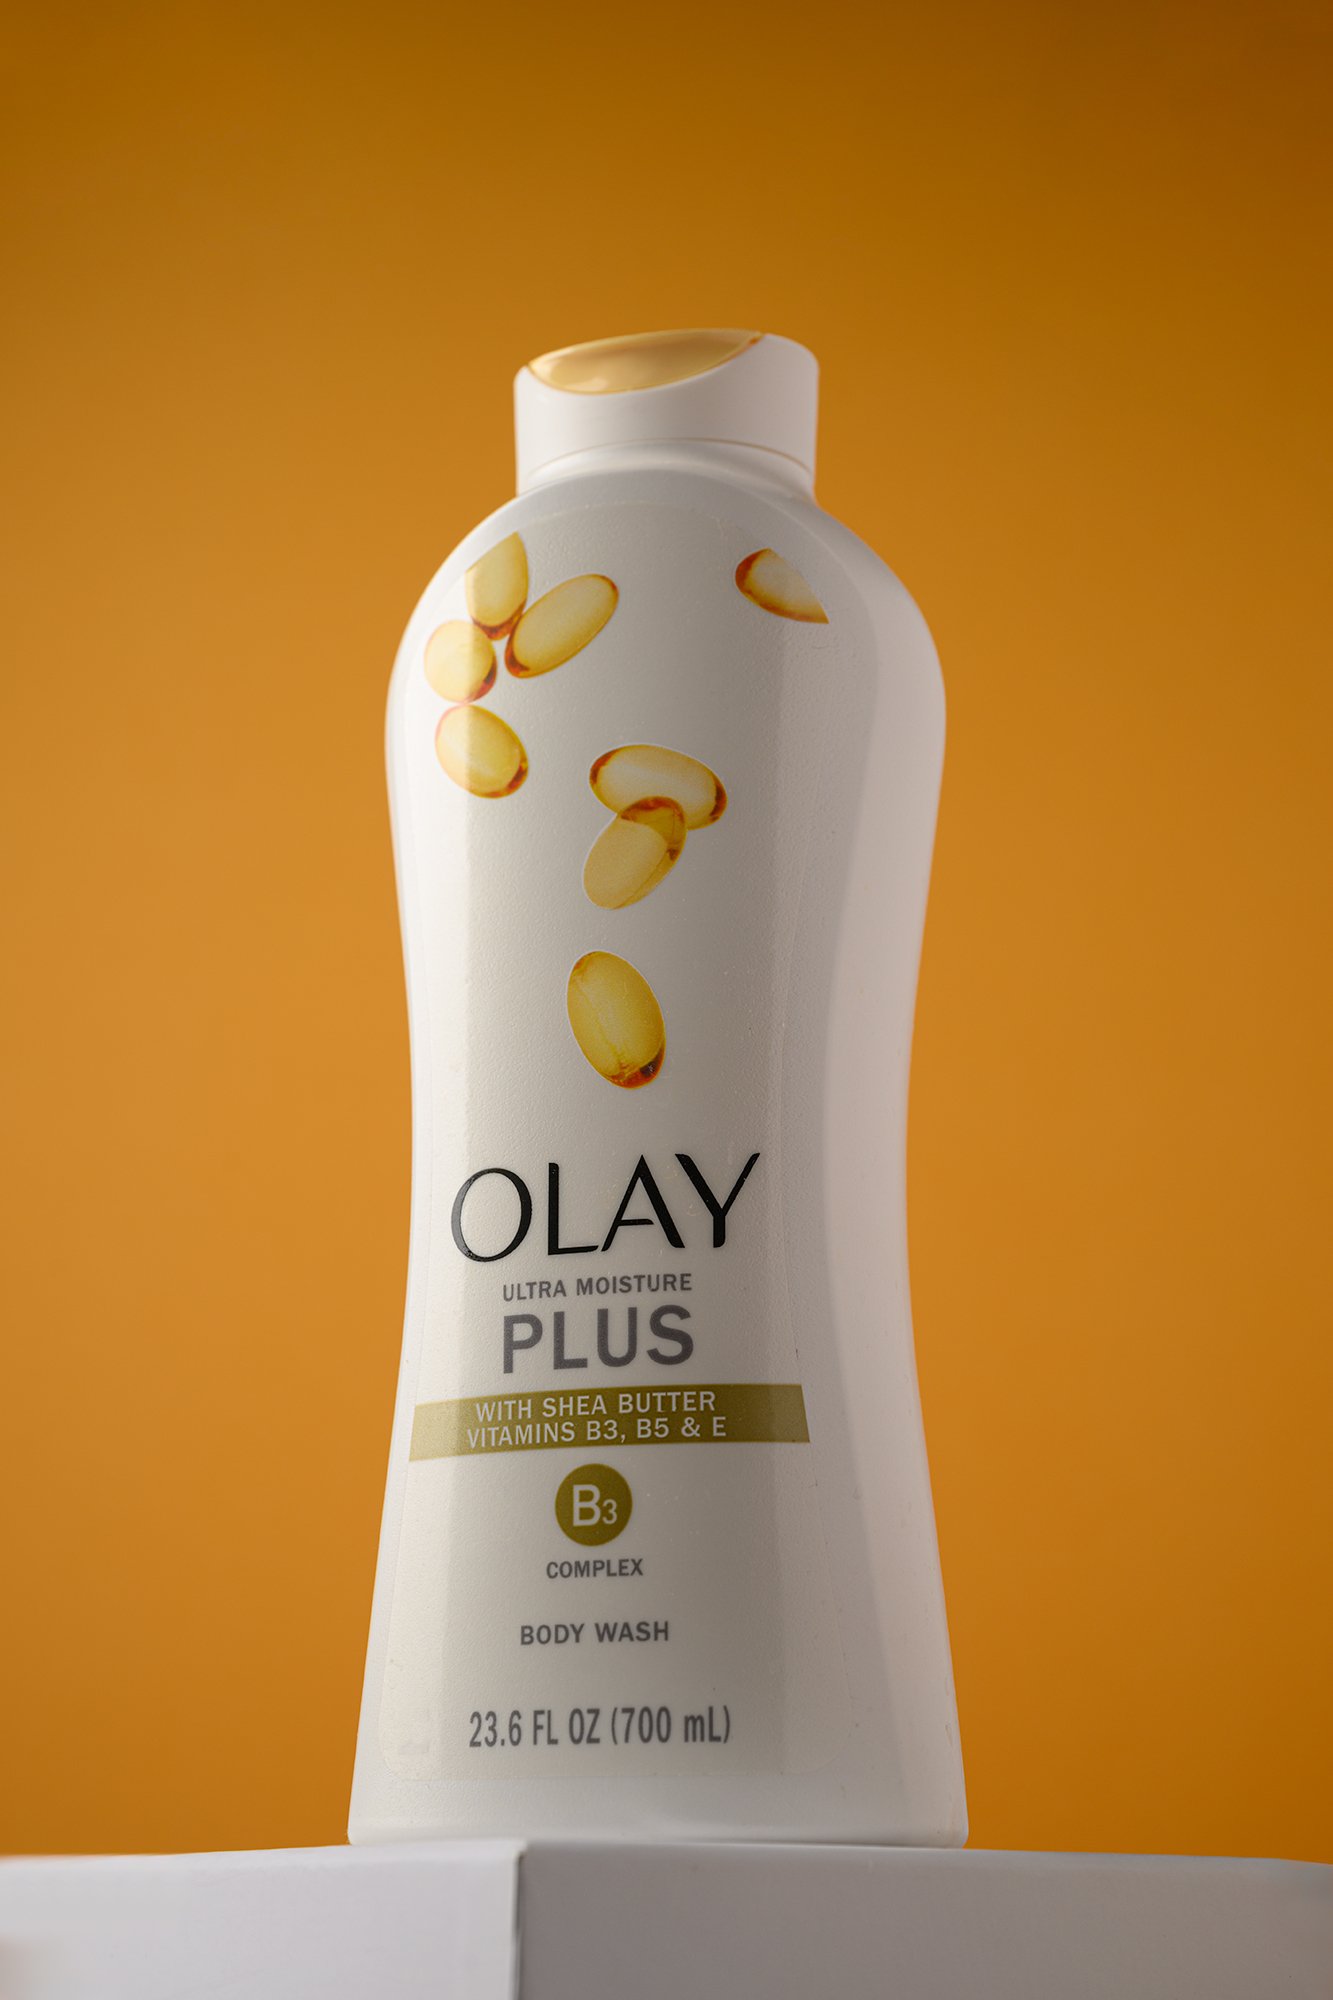
The group discussed technical issues with uploading images to a shared gallery, with Don requesting that members upload their photos by noon so he could process them in the afternoon. Debra presented her photography work featuring scissors and Olay products, demonstrating her experimental approach with different backgrounds and lighting techniques. Don provided real-time feedback and demonstrated post-processing techniques using Photoshop tools like radial gradients and masking, showing how to enhance the background lighting effects in Debra’s images.
Product Photography Techniques Discussion
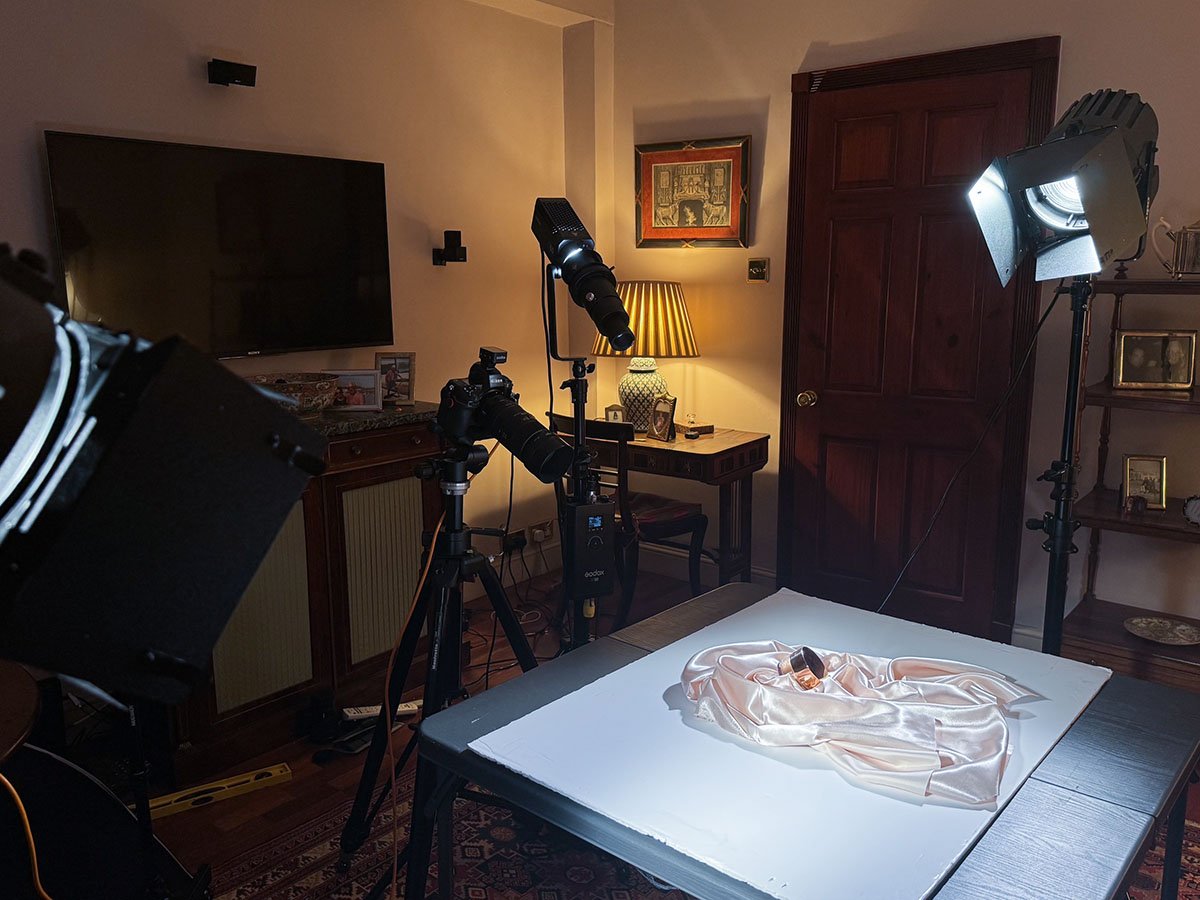
Luciana presented her product photography work featuring a bronze-looking product on silk, demonstrating her focus stacking technique and use of Fresnel lights with barn doors for precise lighting control. She explained her lighting setup using two Fresnel lights and a Godox SL60 to highlight the product label, while choosing a Japanese non-reflective black material for the background. Don approved Luciana’s work for use on her website and provided historical context about focus stacking techniques, while Debra inquired about the advantages of using Fresnel lights, which Luciana explained were suitable for product photography due to their adjustable white balance and barn doors for focused lighting.
Photographing Pastry Cutter Techniques
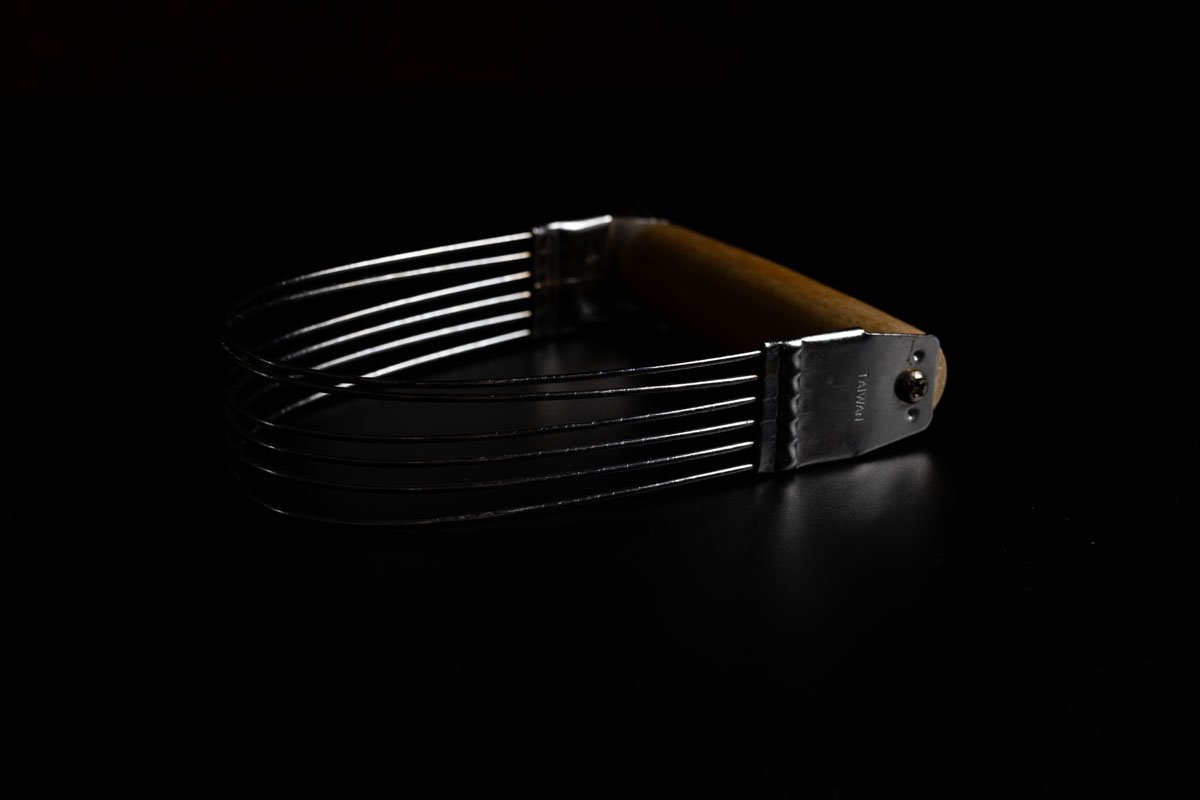
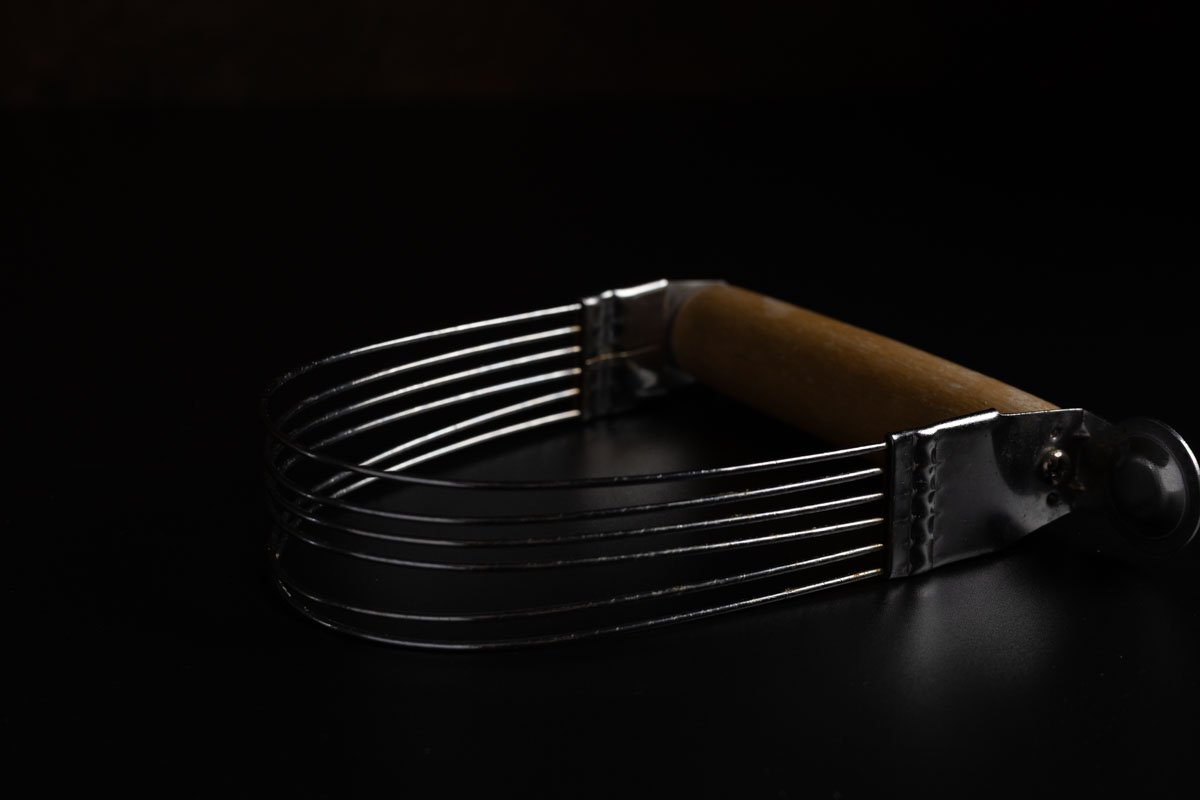
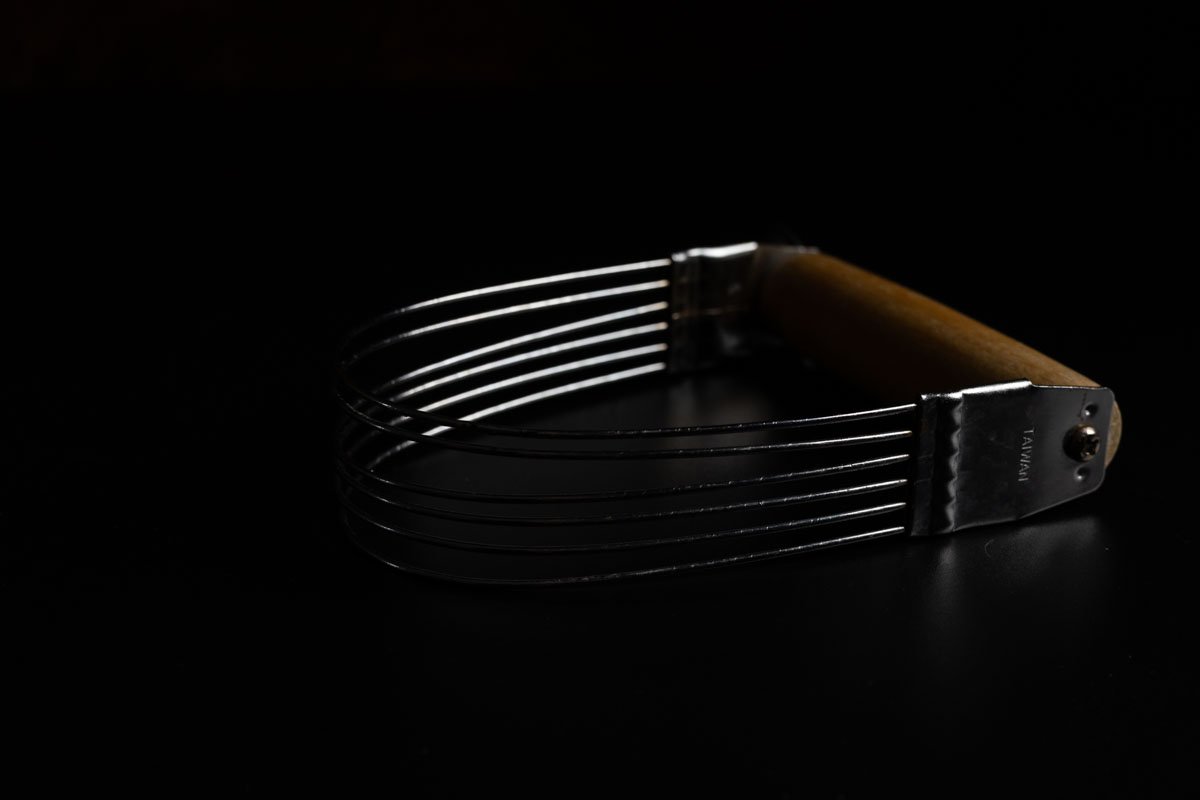
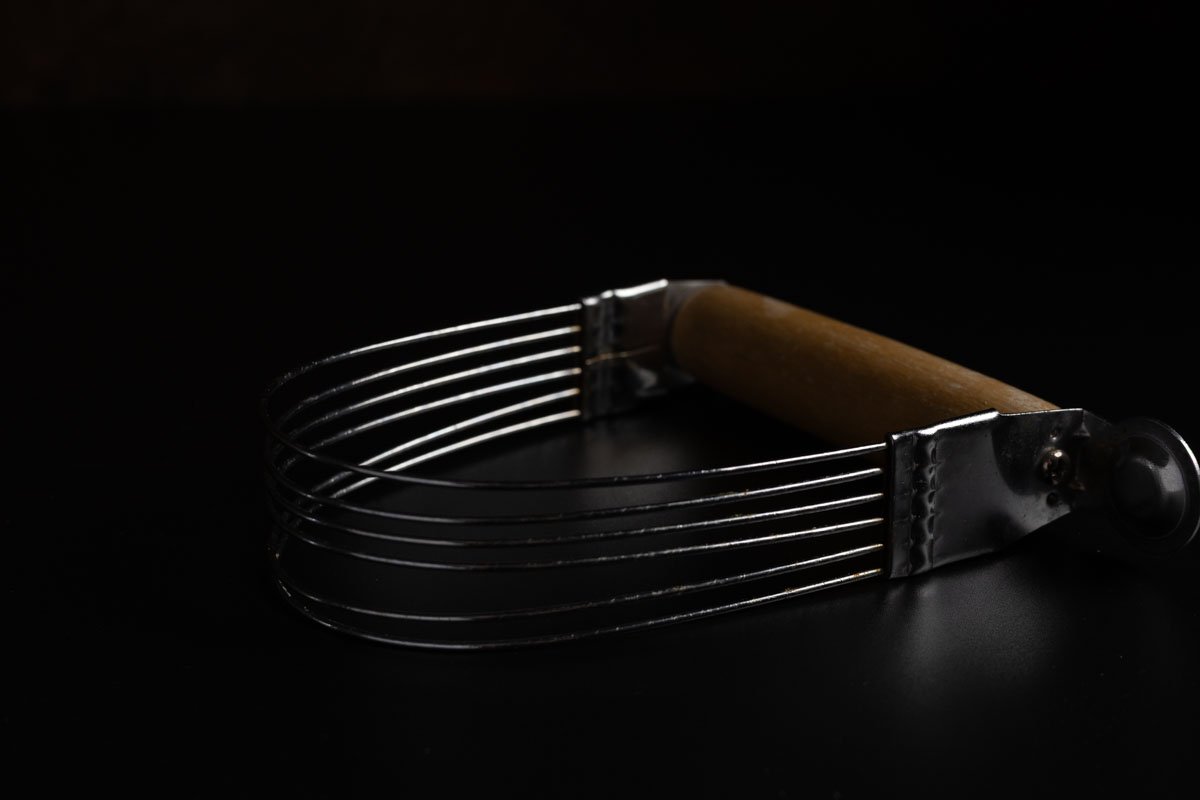
The team discussed issues with photographing an old pastry cutter, with Don providing feedback on the wire visibility in the image. Don suggested adding a small fill card to better show the wire curve and reflection in that area. The group also shared experiences about cleaning and handling acrylic/perspex surfaces, with Don recommending thin gloves from Nursing Supply and Debra suggesting rubbing alcohol on microfiber cloth as the best cleaning method. Trish advised against using Clorox wipes on acrylic surfaces, as they can leave streaks.
Product Photography Feedback Session
Don reviewed product photography shots with Morgane, focusing on horizon lines and product positioning issues. He advised adjusting the camera angle to better showcase the jars and suggested using beeswax instead of museum wax for leveling products. Don also recommended adding a card for better highlighting and keeping whites bright, while Trish suggested moving the background further from the table edge to improve horizon lines in future shots.
Product Transformation Techniques Training
Don demonstrated techniques for creating object masks and discussed the quality of Morgane’s photography work, particularly praising the surface texture and patina effects achieved with a vinyl background from West Coast Backgrounds. The team received their next assignment to transform inexpensive sunglasses from under $5 into luxury items worth $500, with Don emphasizing the importance of demonstrating skill in elevating pedestrian products to appear high-end through proper lighting, casting, and props. Don referenced previous projects including a 4-plug outlet extender from Project 52 as an example of transforming ordinary items into desirable products.
Product Photography Techniques for Sunglasses
Don explained techniques for creating product photography shots with sunglasses, including using wire suspension systems and boom setups made from paint cans. The group discussed building a set that looks luxury rather than drugstore-quality, with Don suggesting textured cardboard from art stores as an affordable option. Don clarified that while there are five different approaches described, students only need to complete three shots for the assignment, with the fifth approach being more advanced post-production work.
Photographing Premium Sunglasses Strategy
Don led a discussion about photographing premium sunglasses, emphasizing the challenge of telling a premium story without over-selling the product, and shared examples of luxury brands like Gucci and Louis Vuitton using outdoor settings to imply elegance. The group discussed how luxury products are often manufactured in the same facilities but differ in packaging and presentation. Don confirmed the class will continue next week after his return from a trip on Saturday, and he committed to inviting Jennifer Schuetz as a guest to demonstrate stop motion techniques, particularly pour shots, which Debra had been seeking to learn.
If the UpLoader does not work, zip your files and send them to me:
don.giannatti@gmail.com
|
Upload files
|
|
|
|
|
|
|



|
|
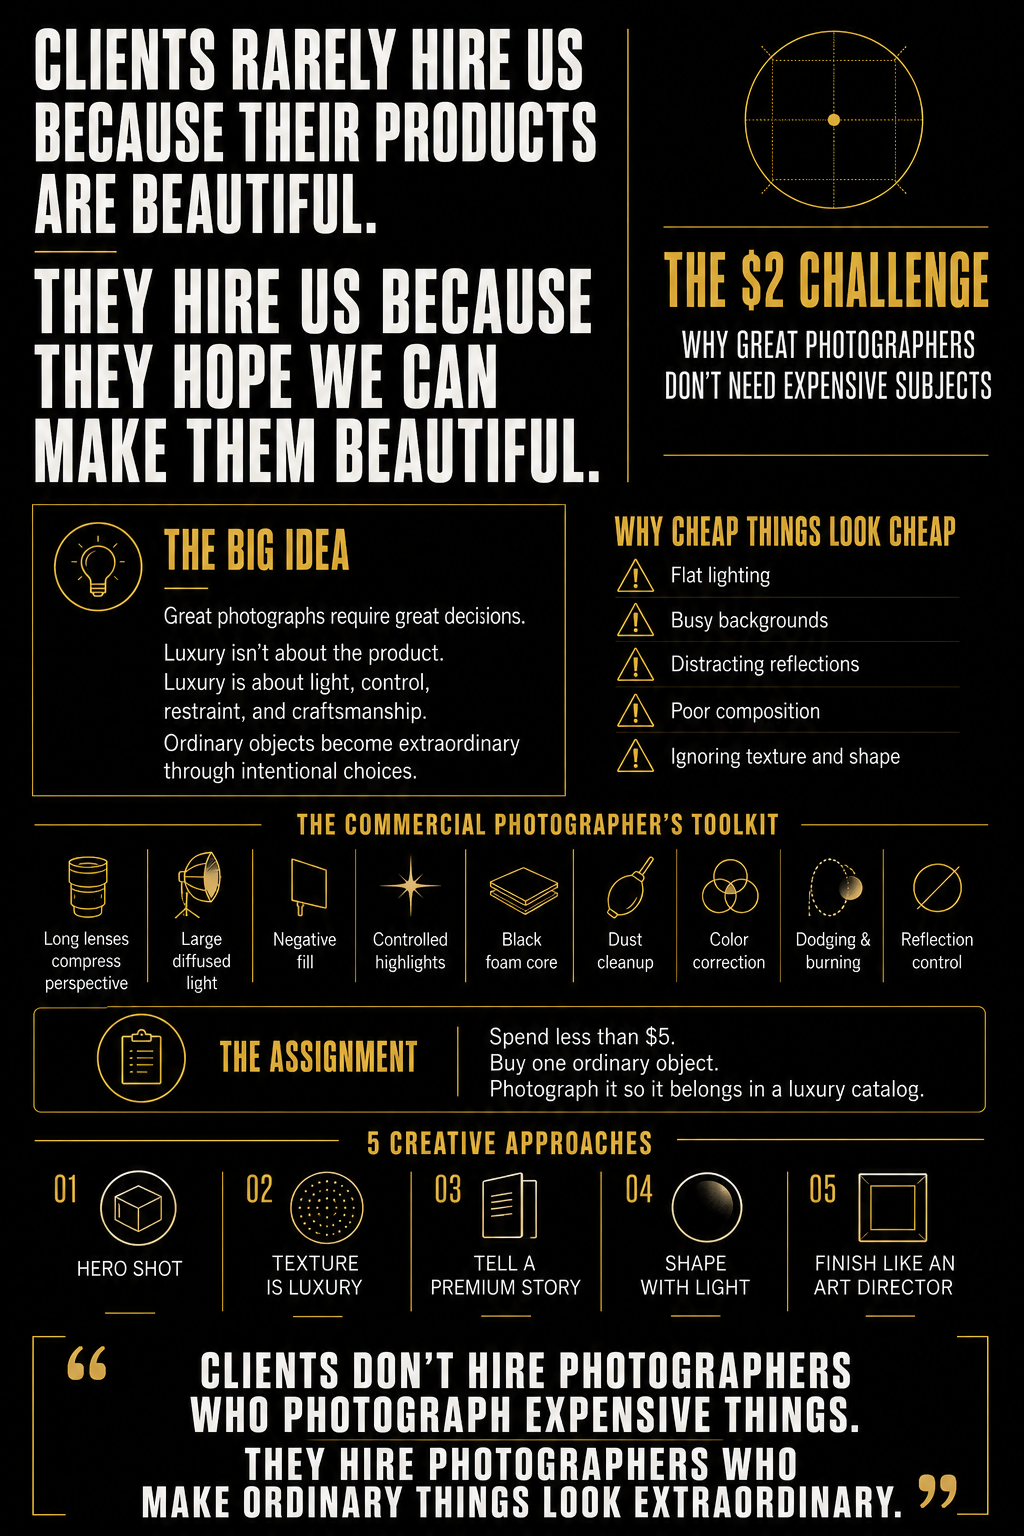
The $2 Sunglasses Challenge
Why Great Photographers Don’t Need Expensive Subjects
One of the biggest myths in photography is that great photographs require great subjects.
They don’t.
Great photographs require great decisions.
A world-class advertising photographer can walk into a dollar store, buy a pair of sunglasses, a coffee mug, a plastic toy, or a kitchen spatula, and create an image that feels worthy of a luxury campaign. Not because the object changed—but because the photographer changed the way we see it.
That is one of the most valuable skills you can develop.
Luxury isn’t always about the product.
Luxury is often about light.
It’s about control.
It’s about restraint.
It’s about understanding where people look, what they notice, and how to remove everything that makes an object feel ordinary.
A cheap object usually looks cheap because we photograph it cheaply.
- Flat lighting.
- Busy backgrounds.
- Distracting reflections.
- Poor composition.
- No attention to texture or shape.
Remove those problems, and something interesting begins to happen.
The object starts carrying more visual weight than its price tag ever suggested.
Professional photographers know dozens of little tricks.
A longer lens compresses perspective and makes products feel more elegant.
Large diffused light creates beautiful gradients instead of harsh hotspots.
Negative fill deepens shadows and increases contrast.
Carefully placed highlights define shape.
A piece of black foam core can be more valuable than another expensive light.
Then comes post-production.
Cleaning dust.
Perfecting edges.
Controlling color.
Removing distractions.
Adding subtle contrast.
Building depth with dodging and burning.
None of those techniques are dishonest.
They are simply craftsmanship.
Every commercial photograph you’ve ever admired has been shaped through hundreds of tiny decisions.
That’s exactly what this assignment is about.
Not making something fake. Making something intentional.
Your assignment is simple.
Visit a dollar store, thrift shop, or discount aisle.
Spend less than five dollars..
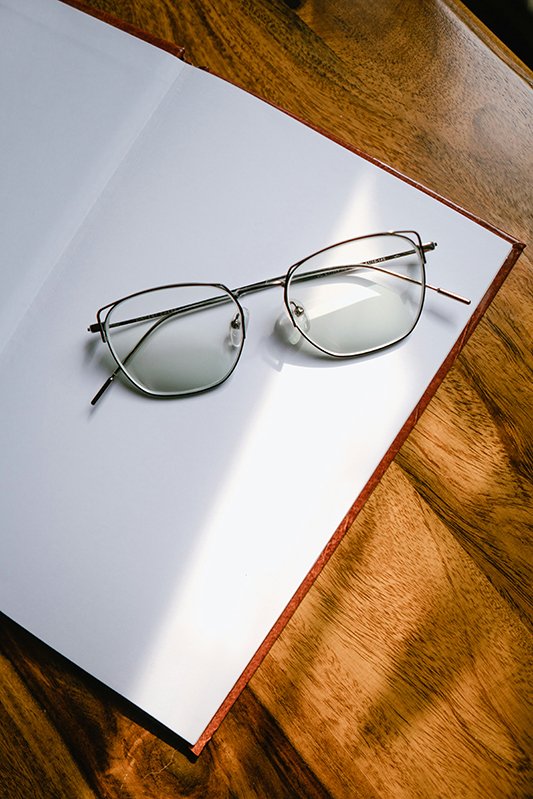
Buy a pair of sunglasses.
(Make sure they are in good condition so you can save in retouching.)
Then make people believe it belongs in a luxury catalog.
Don’t rely on logos.
Don’t rely on expensive props.
Rely on photography.
_________
Because that’s what clients actually hire.
Not someone who photographs expensive things.
Someone who can make ordinary things look extraordinary.
_________
Five Ways to Approach the Assignment
1. The Hero Shot
Imagine your object is the cover image for an international advertising campaign.
Simple.
Elegant.
One perfect angle.
Every reflection controlled.
Every edge intentional.
2. Texture is Luxury
Forget the entire object.
Photograph only the details.
Find textures, curves, finishes, and surfaces that become abstract works of art.
Luxury often lives in the close-up.
3. Tell a Premium Story
Place the object in an environment that elevates it.
Beautiful stone.
Rich wood.
Soft linen.
Elegant shadows.
The setting should support the illusion without overwhelming the product.
4. Shape with Light
Create three completely different moods using only lighting.
High key.
Low key.
Hard dramatic light.
No new props.
Only light.
You’ll quickly discover that lighting changes the perceived value of almost everything.
5. Finish Like an Art Director
Assume this image is going to print as a two-page magazine spread.
Zoom in to 100%.
Remove every speck of dust.
Refine every reflection.
Adjust every highlight.
Perfect every color.
The difference between amateur and commercial photography is rarely the camera.
It’s usually the willingness to obsess over the last five percent.
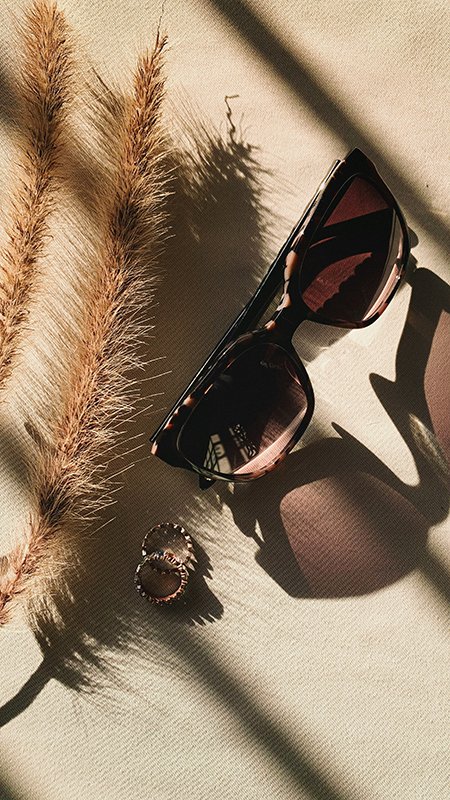
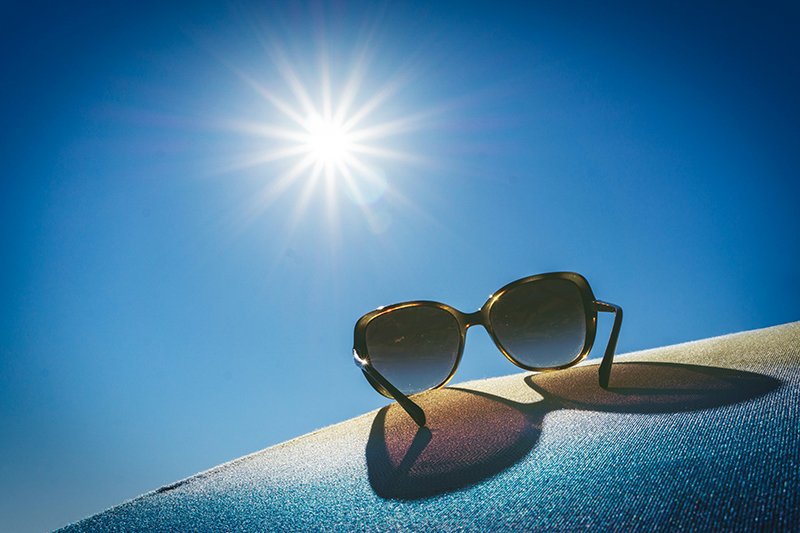
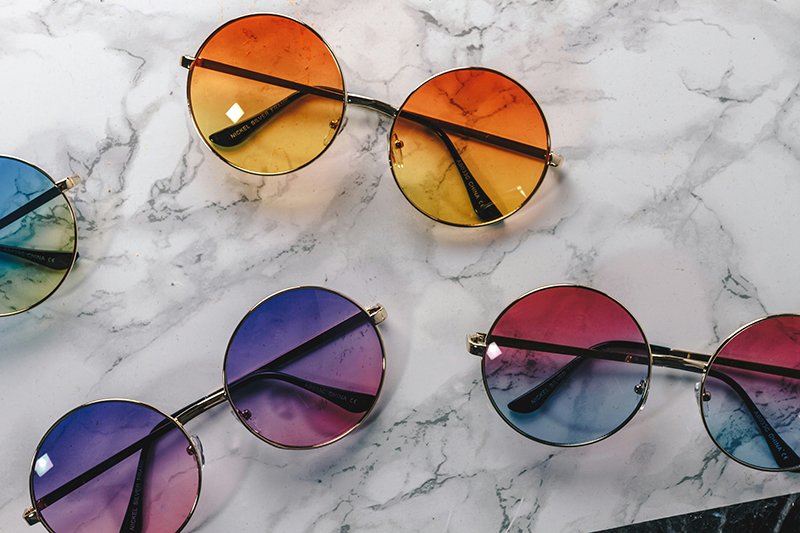
Check out this page for inspiration:

ASSIGNMENT ONE:
-
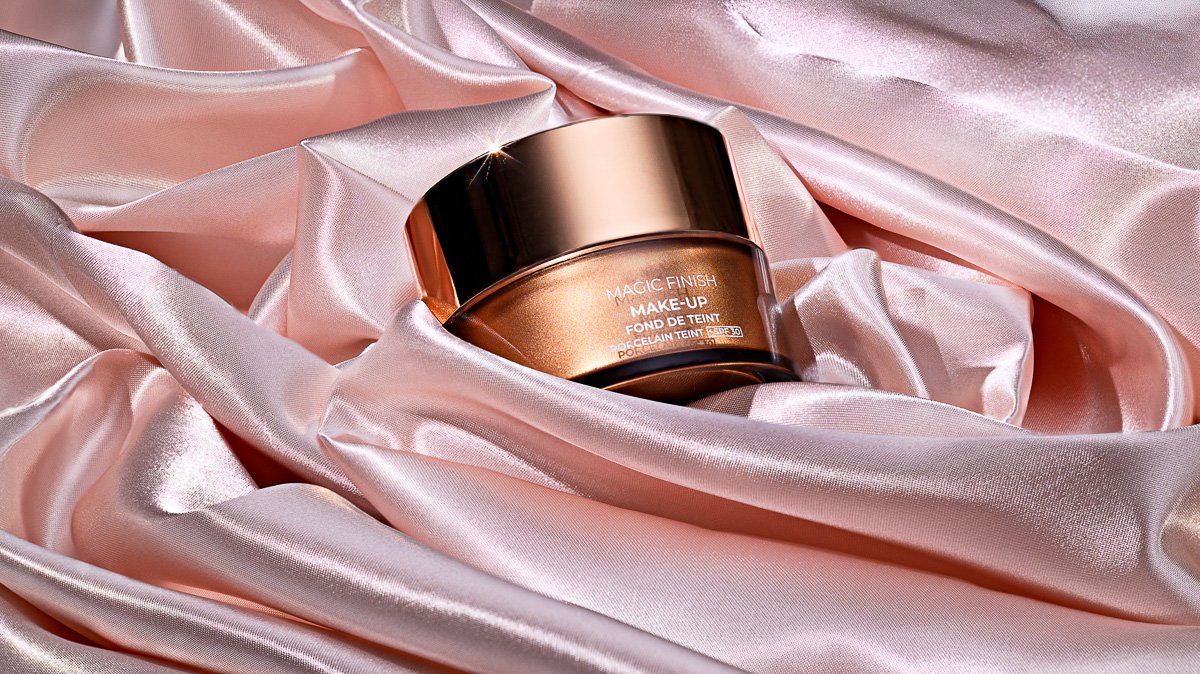
- Stacked from 8 images. Method=B (R=8,S=4)
-
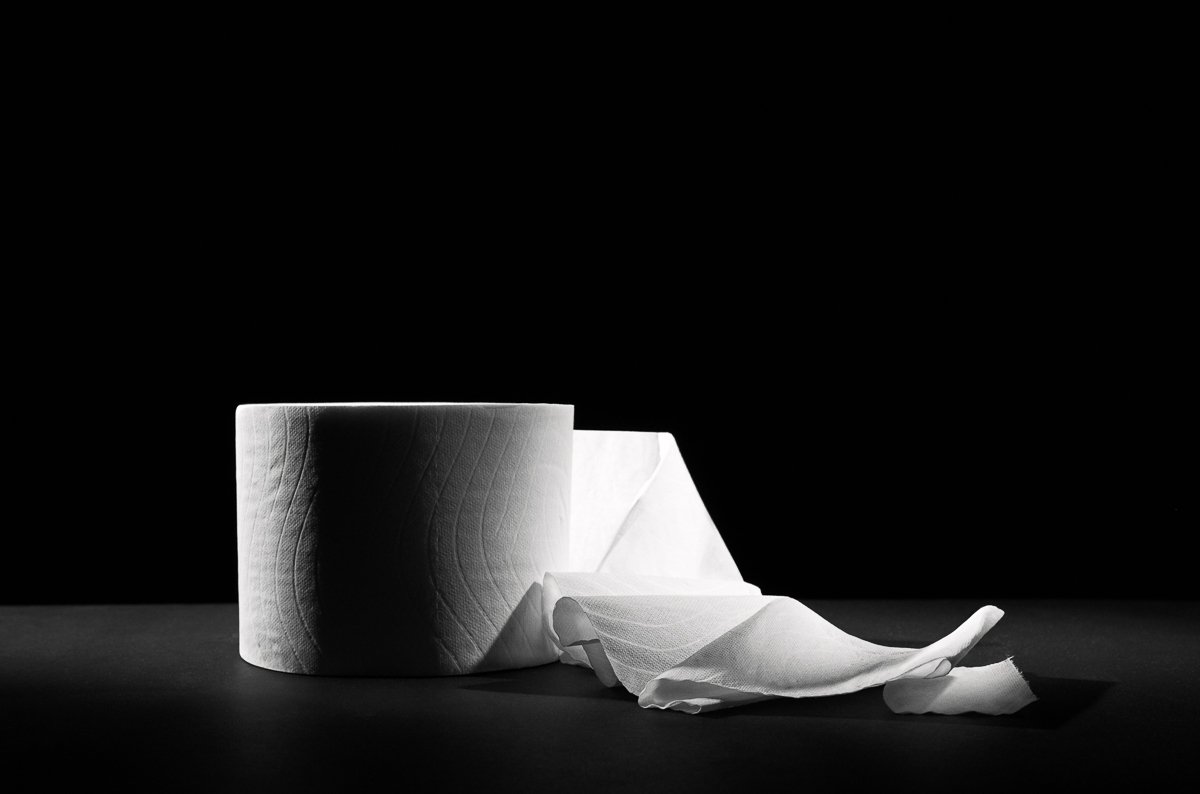
- www.LUCIANARIZZIPHOTOGRAPHY.COM