
LUXURY PRODUCTS
OUR HOME PAGE
Meeting Notes
Quick recap
This meeting was a photography class session focused on luxury product photography techniques. Don taught the class about creating perception of luxury through careful visual decisions rather than expensive equipment, covering topics like restraint in color palette, precise lighting, and meticulous post-processing. The class discussed technical approaches including using diffusion filters, focus stacking, and compositing multiple shots to achieve high-end results. Don shared examples from photographers like Nicholas Dewars and Adrian Mueller to demonstrate professional techniques for making ordinary objects appear luxurious. The assignment was set for students to create two perfect images using items from dollar stores or thrift shops, documenting their planning process with three shots showing how they achieved the final results.
Next steps
Debra
Don
- Approve Luciana, Morgane, and Debra’s requests to join the Project 52 Facebook group.
- Provide two Photoshop tutorials for the next class on Wednesday.
Trish
Collaboration
- All participants (Trish, Debra, Luciana, Morgane): Complete the luxury product photography assignment by creating two perfect images, with three shots showing the process from start to finish.
- All participants: Upload the completed assignment to the Project 52 Facebook group page.
Summary
Website Access and Video Project
Trish and Debra discussed technical issues accessing a website, with Trish eventually finding an alternative way to navigate to the luxury homes section. They clarified the assignment details for a project involving two sequences (8 and 12 seconds) that need to be combined into one complete 20-second video, with options to use stop motion or video for both sequences. Debra agreed to ask Don for clarification about whether the sequences should tell one overarching story or two separate stories, as there was uncertainty about the exact requirements.
Video Assignment and Luxury Products
Don clarified that Saturday’s assignment requires delivering two separate stories, one 8-second clip and one 12-second clip, which can be the same story or different stories. He explained that while video clips should include sequencing with 3-4 sequences, stop motion does not require sequencing as it consists of individual frames. Don then began explaining the approach for the Luxury Products assignment, emphasizing a philosophical and forward-thinking perspective rather than focusing on specific high-end items, and mentioned he would share additional materials to support the discussion.
Luxury Product Photography Principles
Don discussed the principles of photographing luxury products, explaining that luxury is created through intentional decisions rather than the actual cost of the items. He outlined five key approaches: restraint in color and styling, careful lighting that makes items appear valuable, precise camera positioning, focusing on materials over props, and using Photoshop for perfect results through careful editing and layering. Don emphasized that while shooting expensive products requires technical precision, the same principles can be applied to more affordable items when creating luxury perceptions through careful composition and lighting.
Photoshop Techniques for Photo Retouching
Don led a discussion on Photoshop techniques for photo retouching, focusing on frequency separation and spot healing brushes for removing dust and imperfections, particularly on metal and glass surfaces. He emphasized the importance of meticulous work and asked the team to analyze reference images of products they want to replicate, rather than focusing solely on specific brands. Don presented Nicholas Dewar’s photography portfolio as an example of the desired quality level for the project.
Photography Techniques and Lighting Approaches
Don discussed Nicholas’s photography techniques, focusing on his use of focus stacking and unique lighting approaches. He explained how Nicholas creates dreamy backgrounds through techniques like using soft focus filters in camera rather than post-processing methods like Gaussian blur in Photoshop. Don emphasized the importance of capturing proper reflections and negative space around shiny objects to make them appear realistic.
Photography Filters and Lighting Techniques
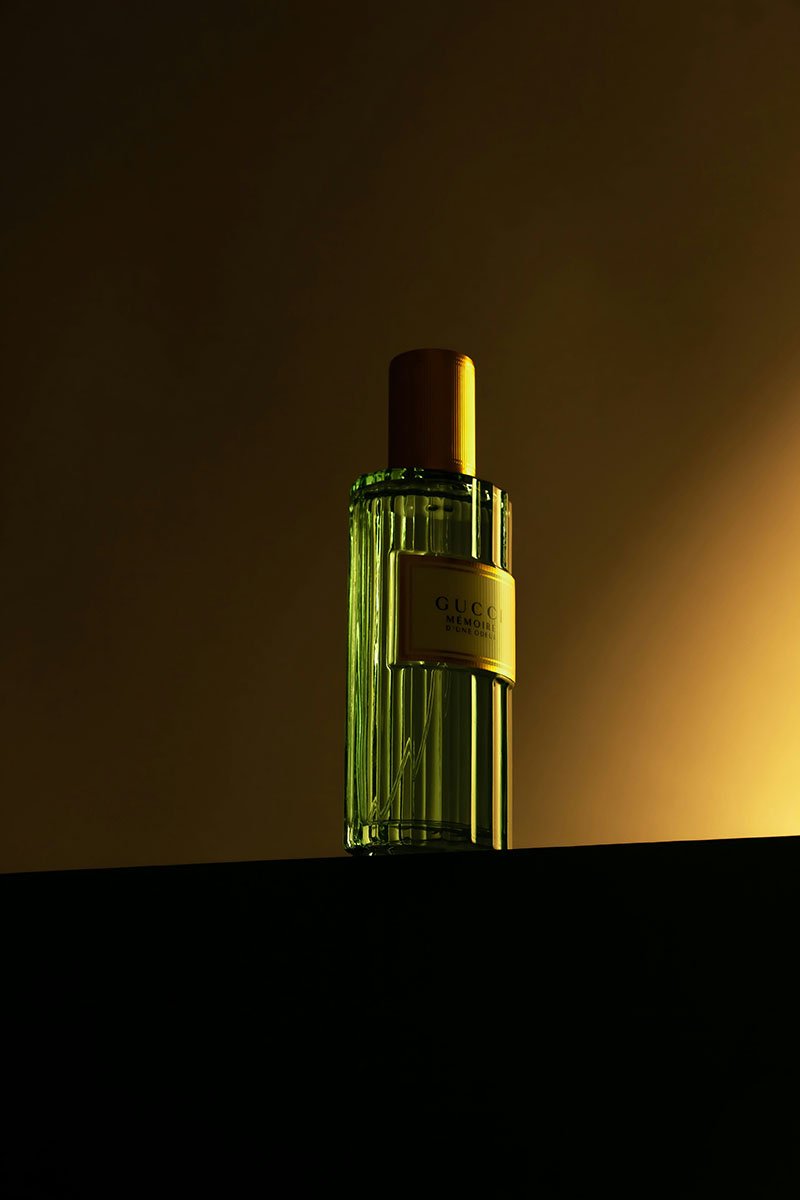
Don explained the differences between diffusion filters and black dot filters, noting that black dot filters are more expensive but maintain sharpness better. He demonstrated how high-end photography requires showing the entire item, contrasting this with luxury retail practices like Barney’s where prices are not displayed. Don analyzed a professional photography example, identifying techniques including the use of a mocha background, multiple lights, and a scrim to create the perfect lighting effect with a hotspot on the subject.
Photo Lighting Techniques Discussion
Don explained lighting techniques used in a photo shoot, describing how multiple light sources including scrims, ambient lighting, and focused lights create different effects. He analyzed the composition and lighting setup, concluding that the image likely required multiple shots taken from specific positions to achieve the proper perspective and depth. Don emphasized the importance of shooting objects in their actual positions rather than centered for more realistic results.
Luxury Product Photography Techniques
Don discussed the importance of planning for luxury product photography, explaining techniques like using a 50mm lens and shooting from a straight-on angle to create a more luxurious look. He analyzed specific lighting and composition elements in examples from Gulco’s work, emphasizing the use of controlled shadows and black backgrounds. Don also mentioned the technical aspects of using tilt-shift lenses and shooting high-resolution files to achieve the desired effect.
Luxury Product Photography Techniques
Don explained lighting techniques used in luxury product photography, demonstrating how scrims, black cards, and silk materials create elegant shadows to make products appear more expensive. He assigned three photography exercises to the group: creating a $100-looking item from a dollar store, photographing a $1 hero item, and capturing cheap packaging with an expensive product. The group agreed to upload their photos to the P52 Facebook group, with Don offering to approve new members who join the group.
Luxury Is a Visual Decision
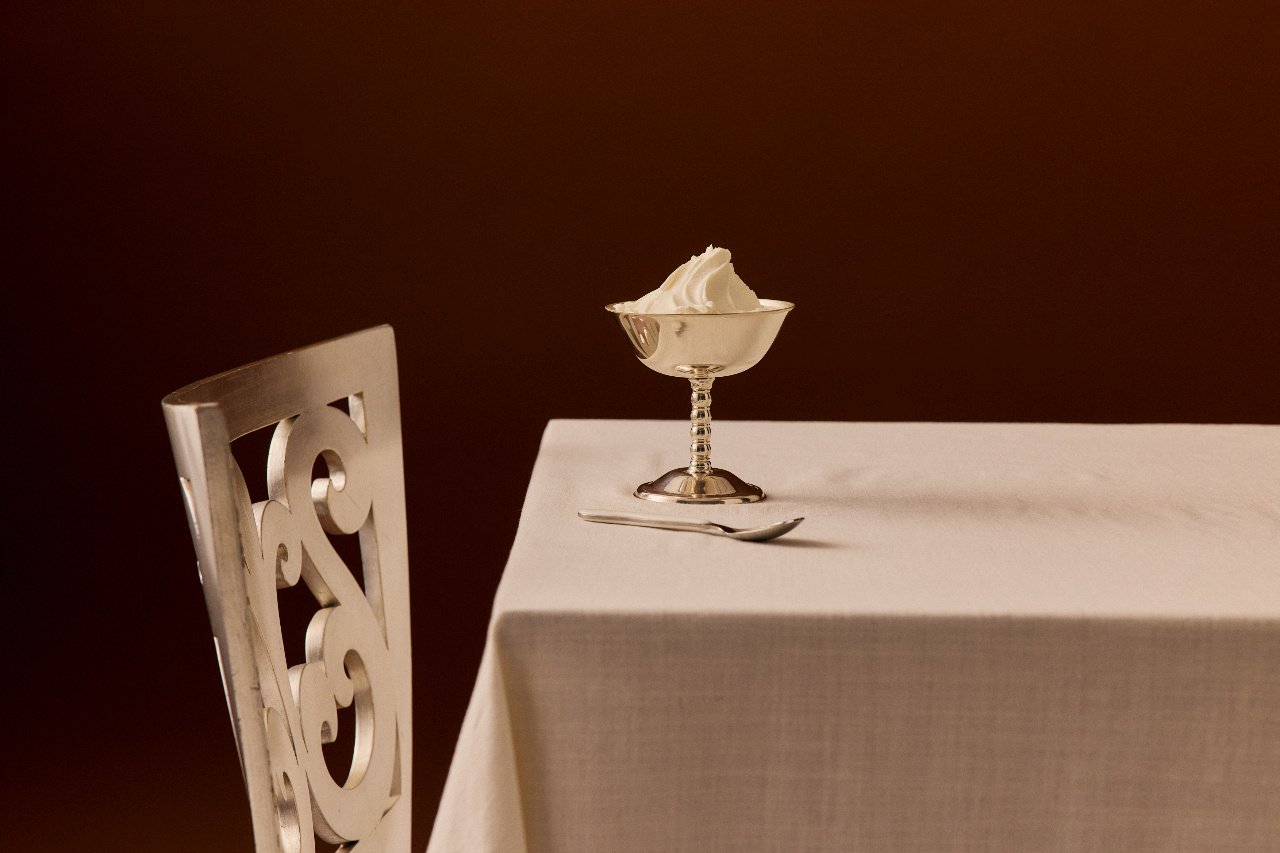
I’d build the first lecture around one central idea:
The camera has no idea what something costs. Neither does the light.
A $6 bottle of hand soap and a $260 bottle of perfume are simply objects with shape, surface, color, typography, and reflectivity.
Price is information. Luxury is perception.
That’s where the photographer comes in.
Let’s start here:
Let’s look at Nicholas Duers, a New York product photographer.
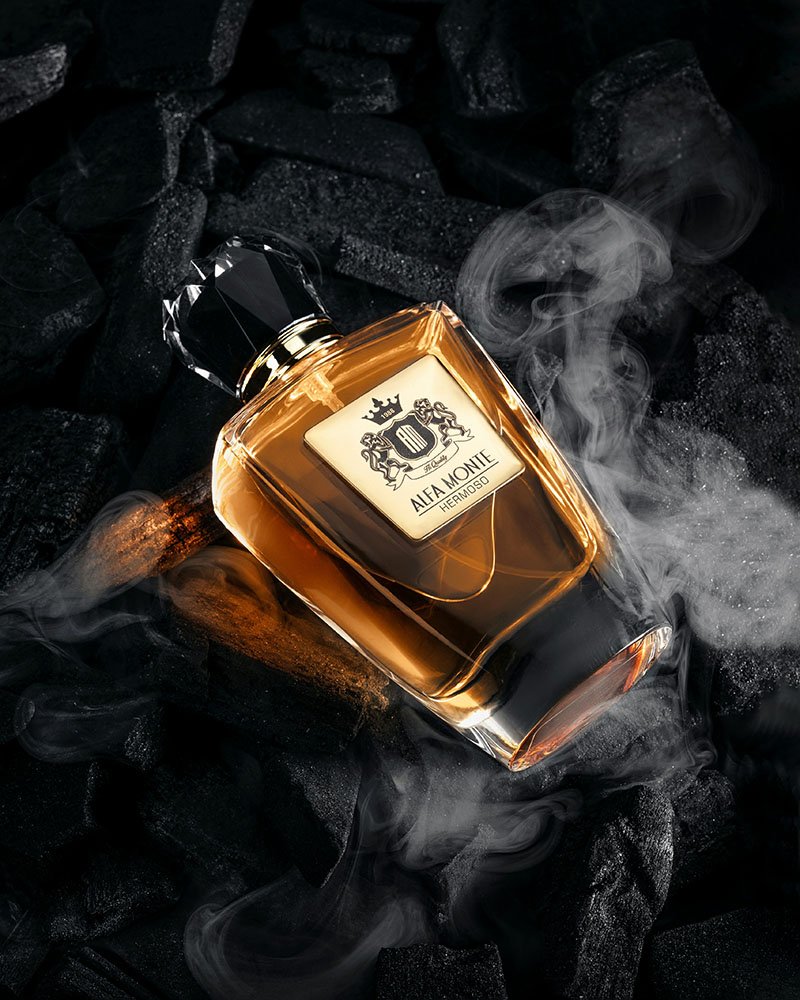
What is the visual evidence that this is luxury?
- Simple composition
- Beautiful lighting
- Darker or restrained colors
- Fewer props
- Better materials
- More sophisticated typography
- Controlled reflections
- Dramatic shadows
- Lots of negative space
- Precise retouching
None of those things requires an expensive product.
The Five Things That Create Visual Luxury
Five Concepts for Luxury
1. Restraint
Cheap advertising often screams.
Luxury tends to speak quietly.
Not always, obviously. But luxury photography frequently removes things rather than adding them.
One object.
One surface.
One idea.
One beautiful highlight.
Ask yourself this:
Before you add another prop, ask whether removing something would make the photograph stronger.
This is especially important for beginners because the instinct is often to decorate the set.
Flowers! Rocks! Fabric! Water! Leaves!
Suddenly our $8 perfume is sitting inside a botanical garden.
Luxury often comes from confidence in the object itself.
Restraint is the practice of elegant choices.
2. Materials Matter More Than Props
Here’s where the dollar store becomes interesting.
Don’t think “prop.”
Think surface, shape, texture, reflection.
A $2 piece of black foam board can become an endless black environment.
A sheet of inexpensive acrylic becomes a polished reflective surface.
Tracing paper becomes diffusion.
A piece of glass becomes architecture.
A scrap of satin becomes softness and movement.
A ceramic tile becomes marble.
A mirror becomes a second product.
Aluminum foil can become a specular light source.
Don’t shop for objects.
Shop for visual properties.
That’s a much more sophisticated way of thinking.
3. Light Describes Value
Luxury product photography isn’t necessarily about complicated lighting as much as it’s about controlled lighting.
You’re designing what the object reflects.
That’s a big conceptual leap.
And it’s particularly important with bottles, glass, chrome, cosmetics, jewelry, watches, and glossy packaging.
4. Precision Creates Expensive
This is our bridge into Photoshop.
We will shoot RAW photographs, and use Photoshop to make them elegant and perfect.
Dust removed.
Edges cleaned.
Labels straightened.
Gradients smoothed.
Reflections controlled.
Color corrected.
Highlights refined.
Background rebuilt.
Tiny manufacturing imperfections removed.
Maybe even combine several exposures.
Remember:
Retouching isn’t there to rescue careless photography. It’s there to finish deliberate photography.
That’s going to matter throughout this workshop.
Shoot as cleanly as possible, then use Photoshop to take the image somewhere the camera alone couldn’t quite get it.
5. Luxury Requires Intent
This might actually be the most important lesson.
Don’t photograph the bottle.
Decide who the bottle wants to become.
Is it Chanel?
Tom Ford?
Aesop?
Apple?
Tiffany?
A boutique Japanese cosmetics company?
A strange little $450 bottle of Scandinavian gin?
Different answers create completely different photographs.
So before touching the camera, finish this sentence:
I want this product to feel __________.
Not “look good.”
That’s useless.
Quiet.
Precise.
Indulgent.
Masculine.
Delicate.
Architectural.
Mysterious.
Clinical.
Sensual.
Minimal.
Exclusive.
Once we nail that down, we have something to photograph.
Now we have something to photograph.
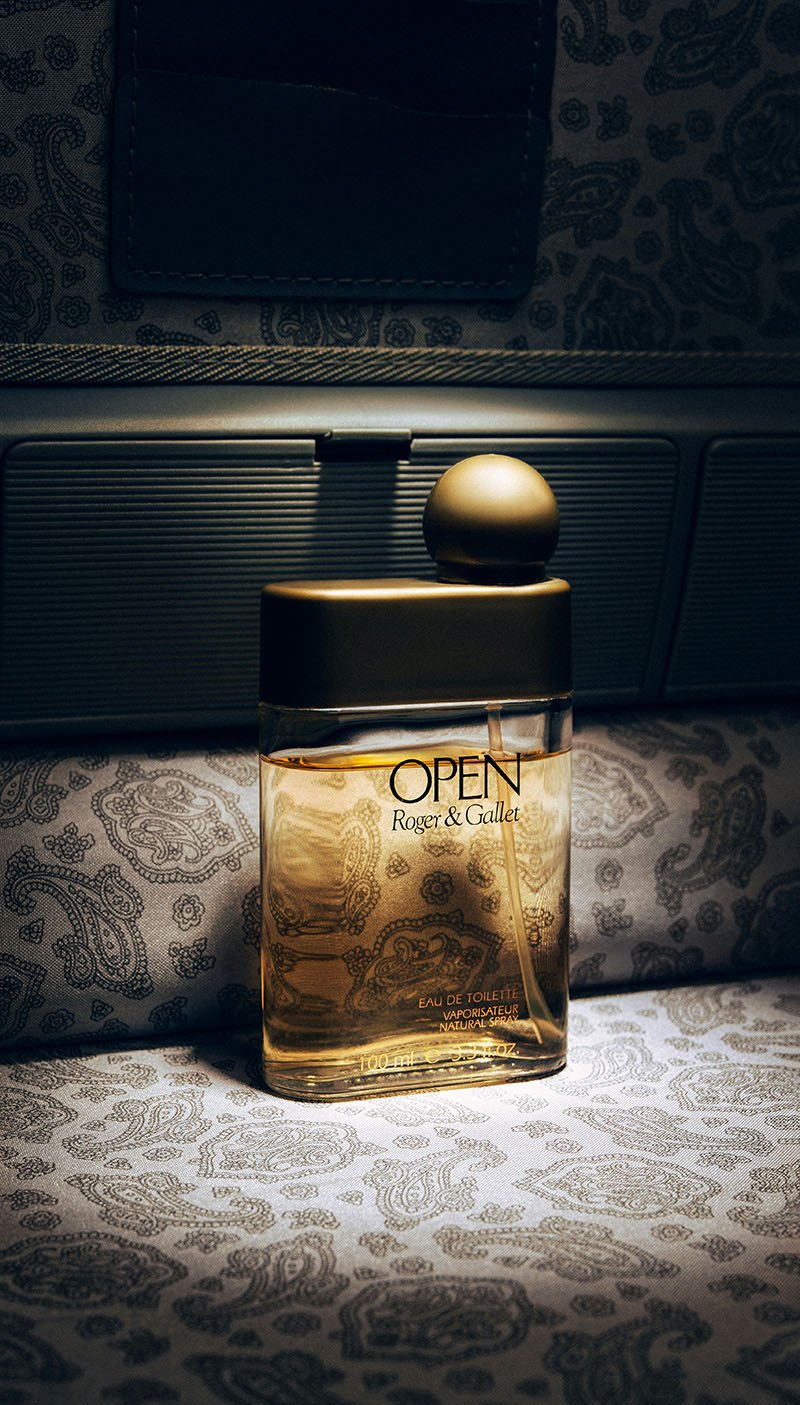
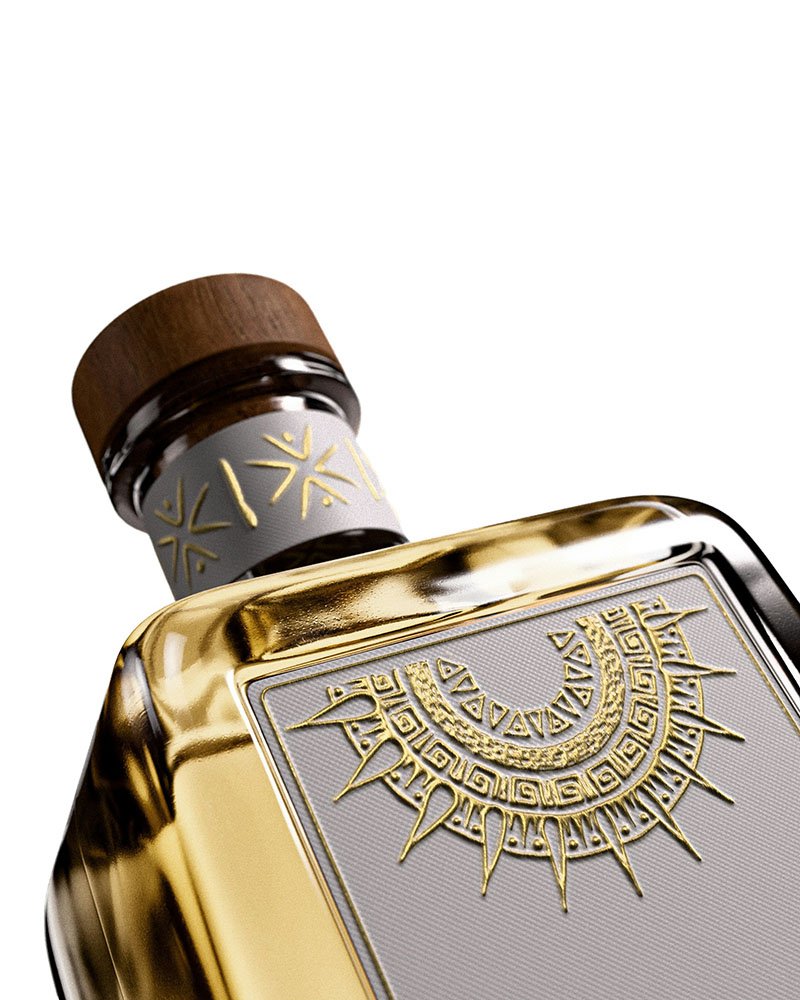
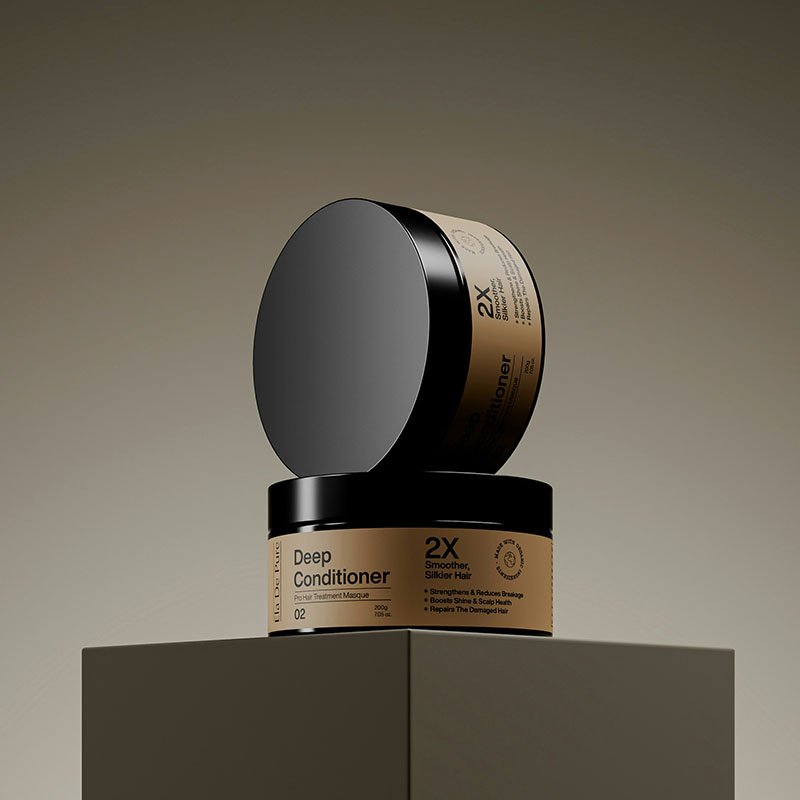
ASSIGNMENT:
Two perfected images.
+ three shots you did on the way to get there. I want to see how you arrived.
1. The $100 Bottle
Choose an inexpensive bottle—hand soap, shampoo, hot sauce, olive oil, lotion, anything with a reasonably attractive shape.
Brief: Photograph it as though it sells for $100.
Use one surface, one background, and no decorative props. Your tools are light, composition, reflections, color, and Photoshop.
Goal: Make the viewer believe the price without being told the price.
2. The Ordinary Object
Choose something nobody would normally consider luxurious: a vegetable peeler, scissors, paintbrush, kitchen utensil, flashlight, stapler, or similar everyday object.
Brief: Create an elegant magazine advertisement that makes the object feel beautifully designed and desirable.
No supporting props. The object must carry the photograph.
Goal: Discover how much perceived value can come entirely from presentation.
3. Glass, Light, and Nothing Else
Find an inexpensive glass object: drinking glass, small vase, bottle, candle holder, perfume bottle, etc.
Brief: Create a sophisticated image using only the object, light, and a simple background. Paper, foamcore, glass, mirrors, and homemade diffusion are fair game.
Pay particular attention to edges and reflections.
Goal: Don’t light the glass. Design what the glass reflects.
4. Cheap Packaging, Expensive Photograph
Choose something with ordinary commercial packaging: tea, chocolate, soap, coffee, cosmetics, spices, canned goods—something you’d normally walk right past.
Brief: Imagine the company has hired you to reposition this as a premium boutique brand. You cannot redesign the packaging. You have to elevate it photographically.
Maximum of one additional object or material in the finished image.
Goal: Use composition, lighting, environment, cropping, and post-production to change the product’s perceived market position.
5. One Dollar, One Hero
Go to a dollar store, thrift store, supermarket, or junk drawer and find something visually interesting for almost nothing.
Brief: Treat it like an object worthy of a full-page ad in a high-end design magazine.
You may use cardboard, paper, foil, fabric scraps, glass, mirrors, water, or anything else you already own—but nothing purchased specifically because it looks expensive.
Goal: Create luxury without using the usual visual shorthand for luxury.
And I’d add one rule to all five briefs:
You are not allowed to make the set look expensive. You have to make the photograph look expensive.