LUXURY PRODUCTS
The $10 Watch Experiment
Meeting notes
Quick recap
The meeting was a photography class focused on product photography, specifically shooting inexpensive sunglasses and watches. Participants shared their experiences with extreme heat and air conditioning issues, which affected their ability to complete assignments. Debra and Luciana presented their sunglass photos, discussing lighting setups, retouching challenges, and techniques like focus stacking and using mirrors. Don provided feedback on their images and demonstrated how AI tools like ChatGPT can assist with retouching, though he noted their limitations. The group also discussed upcoming assignments, including a $10 watch project, and the use of tools like Helicon for focus stacking. The session ended with a discussion about rescheduling due to a class member’s personal emergency.
Next steps
Debra
Don
- Send an email to all participants tonight with the confirmed schedule and links for the upcoming sessions (Thursday and Friday).https://tasks.zoom.us?
meetingId= 8v3AhYuYRSuSxAFerjZj5g%3D%3D& stepId=8bbea063-951a-11f1- 85b8-fe8ad5e852c8 - Call Laura to check on her situation regarding the domestic violence issue and discuss her availability for the class sessions.https://tasks.zoom.
us?meetingId= 8v3AhYuYRSuSxAFerjZj5g%3D%3D& stepId=8bbea4cb-951a-11f1- 8b93-fe8ad5e852c8
Luciana
Trish
Collaboration
- All participants (Debra, Luciana, Trish, Morgane): Bring a file that needs retouching to the next class session for review and potential work.https://tasks.zoom.us?
meetingId= 8v3AhYuYRSuSxAFerjZj5g%3D%3D& stepId=8bbea8ba-951a-11f1- bdbd-fe8ad5e852c8 - All participants: Work on the “$10 watch” assignment for the next class, focusing on highlight burning, dodging, selective color, and background gradient work.https://tasks.zoom.us?
meetingId= 8v3AhYuYRSuSxAFerjZj5g%3D%3D& stepId=8bbeac2a-951a-11f1- a7b0-fe8ad5e852c8
Summary
Heat Impact and Air Conditioning
The group discussed the extreme heat and humidity affecting different regions, particularly in Florida and Atlanta. Trish shared that her air conditioning system broke down and she’s been waiting for parts to be delivered, with repair expected the next day. Due to the heat, Trish has been unable to work on her class assignments and is using portable air conditioning units to keep her home cool. The conversation ended with Don briefly mentioning his recent trip, which encountered smoke.
Recent Challenges Discussion Meeting
The group discussed recent challenges, with Don describing smoke and fires affecting his area, limiting visibility to about 2 miles. Trish shared that she has been without air conditioning since last Tuesday due to HVAC issues, with parts expected the next day to repair the system under warranty. The conversation ended with Don asking Trish about her week and challenges, though the specific details were not captured in the transcript.
Photography Post-Processing Techniques Review
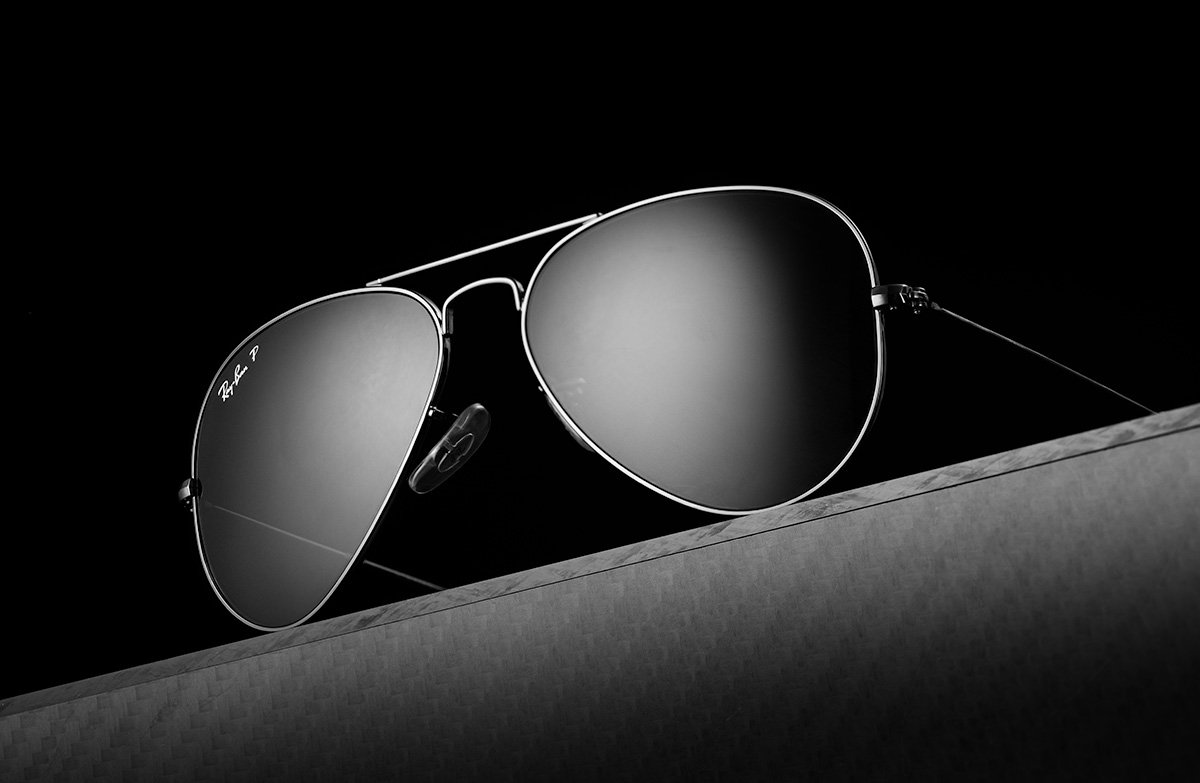
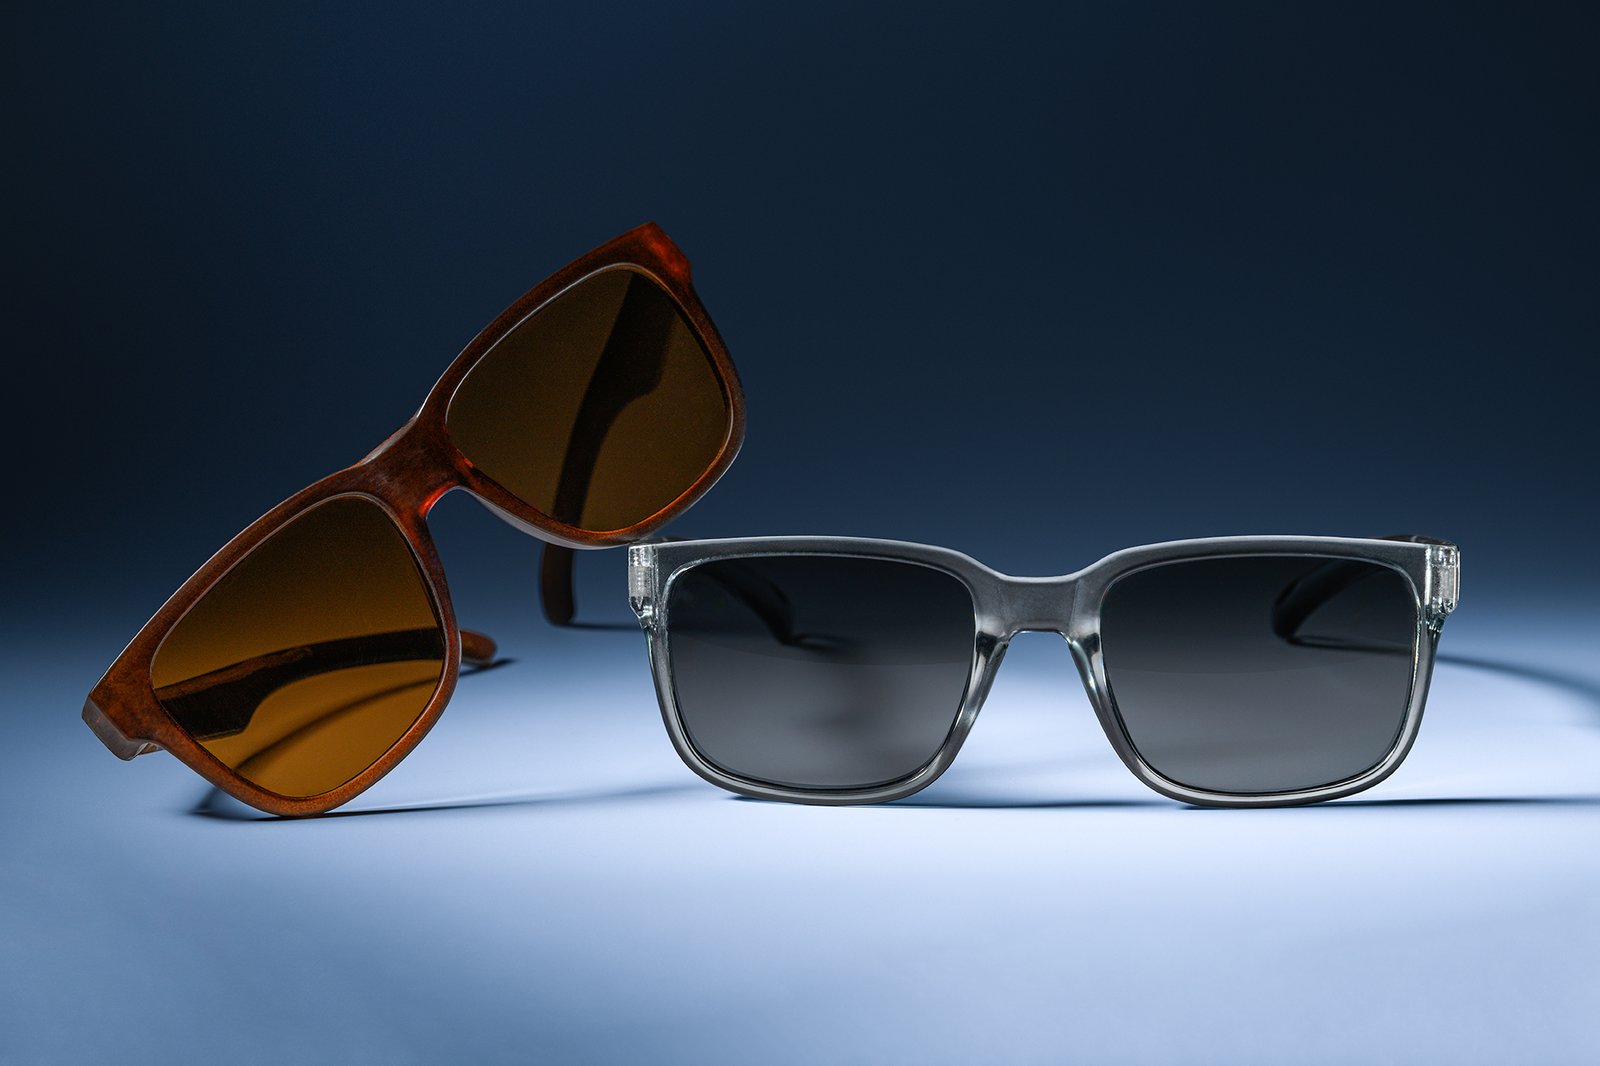
The group reviewed Debra’s photography work, focusing on post-processing techniques for shots of cheap sunglasses. Don provided feedback on lighting and highlights, suggesting adjustments to make certain highlights brighter using the burn tool at 7% opacity. Debra explained her challenges with the low-quality glasses and how changing diffusion filters affected the appearance of the lenses, including a natural horizon line visible in the glass. The discussion included technical details about using diffusers and lighting setups, with Luciana sharing her own experience with similar diffusion cross patterns.
Photography and Pricing Discussion
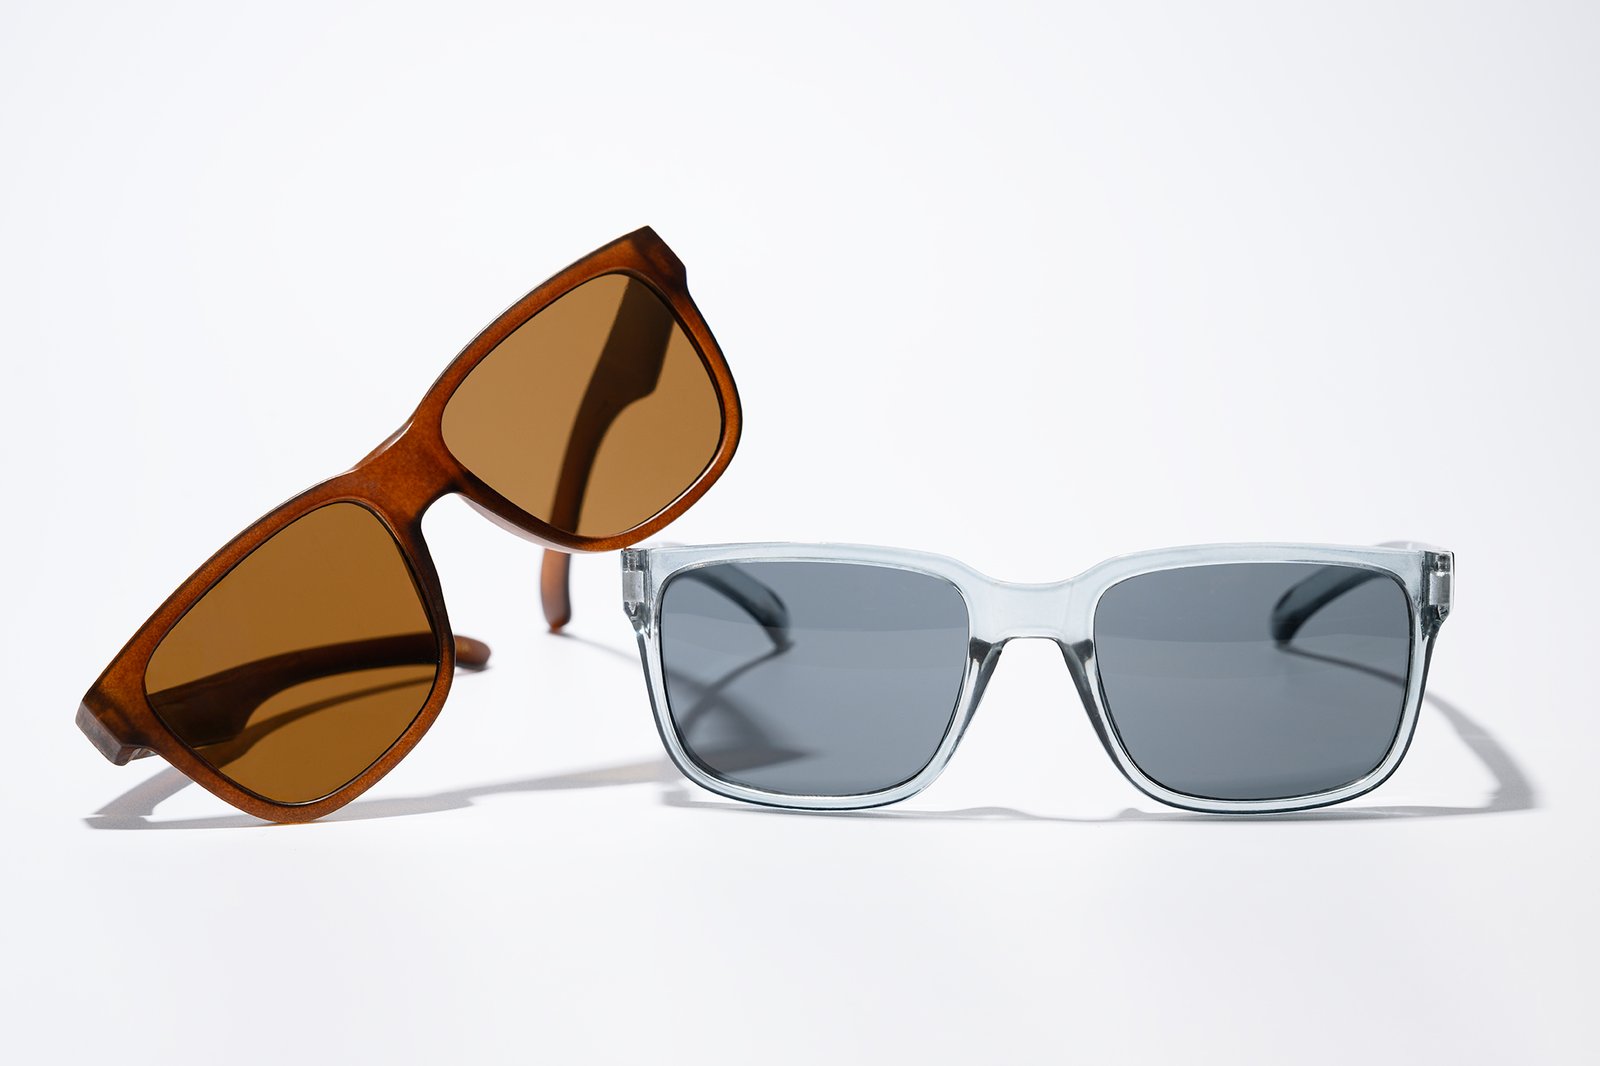
Debra presented her photography work featuring sunglasses, discussing technical challenges with diffusers creating cross-hatching patterns and the solution of using leaf filter 216 instead. Don provided feedback on the lighting setup, suggesting the addition of a kicker light and recommending cutting the glass to create light patterns through Photoshop radial gradients. The group discussed pricing potential for the photos, with Don sharing an anecdote about similar products selling for $15.99-$18.99 in a remote Arizona store, and acknowledged the significant post-processing work required to make the affordable sunglasses look appealing in the photographs.
Photography Techniques with Fresnel Lights
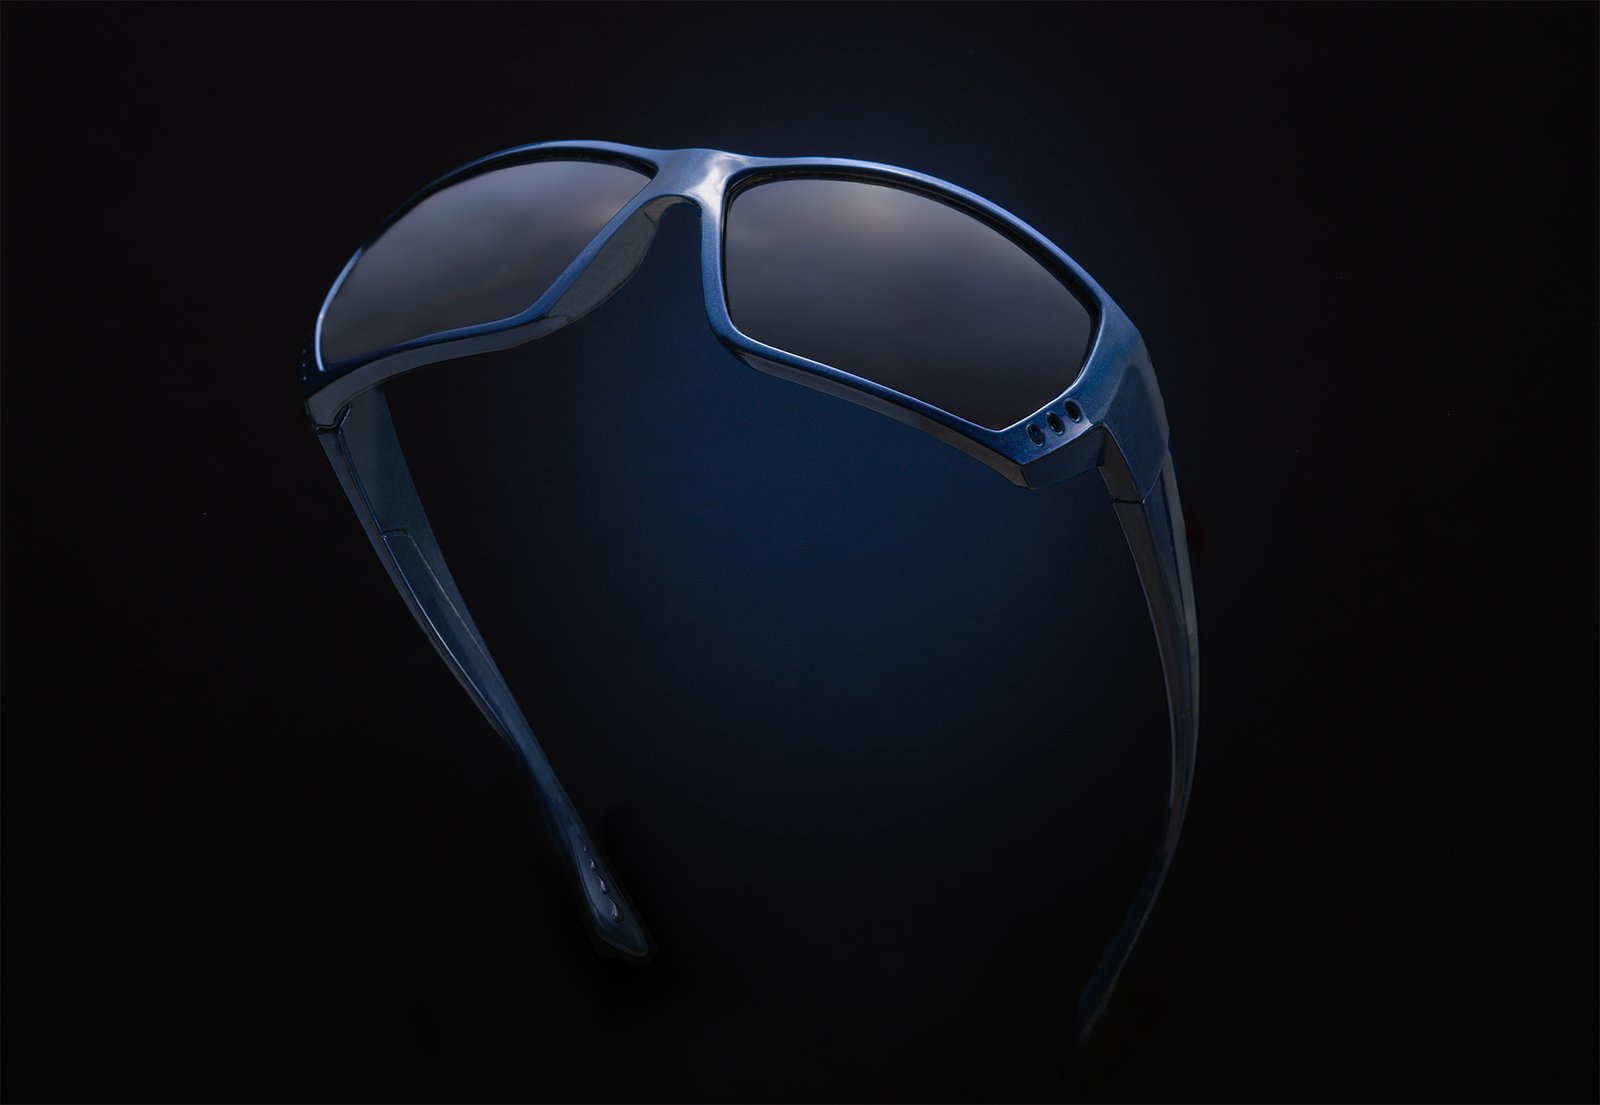
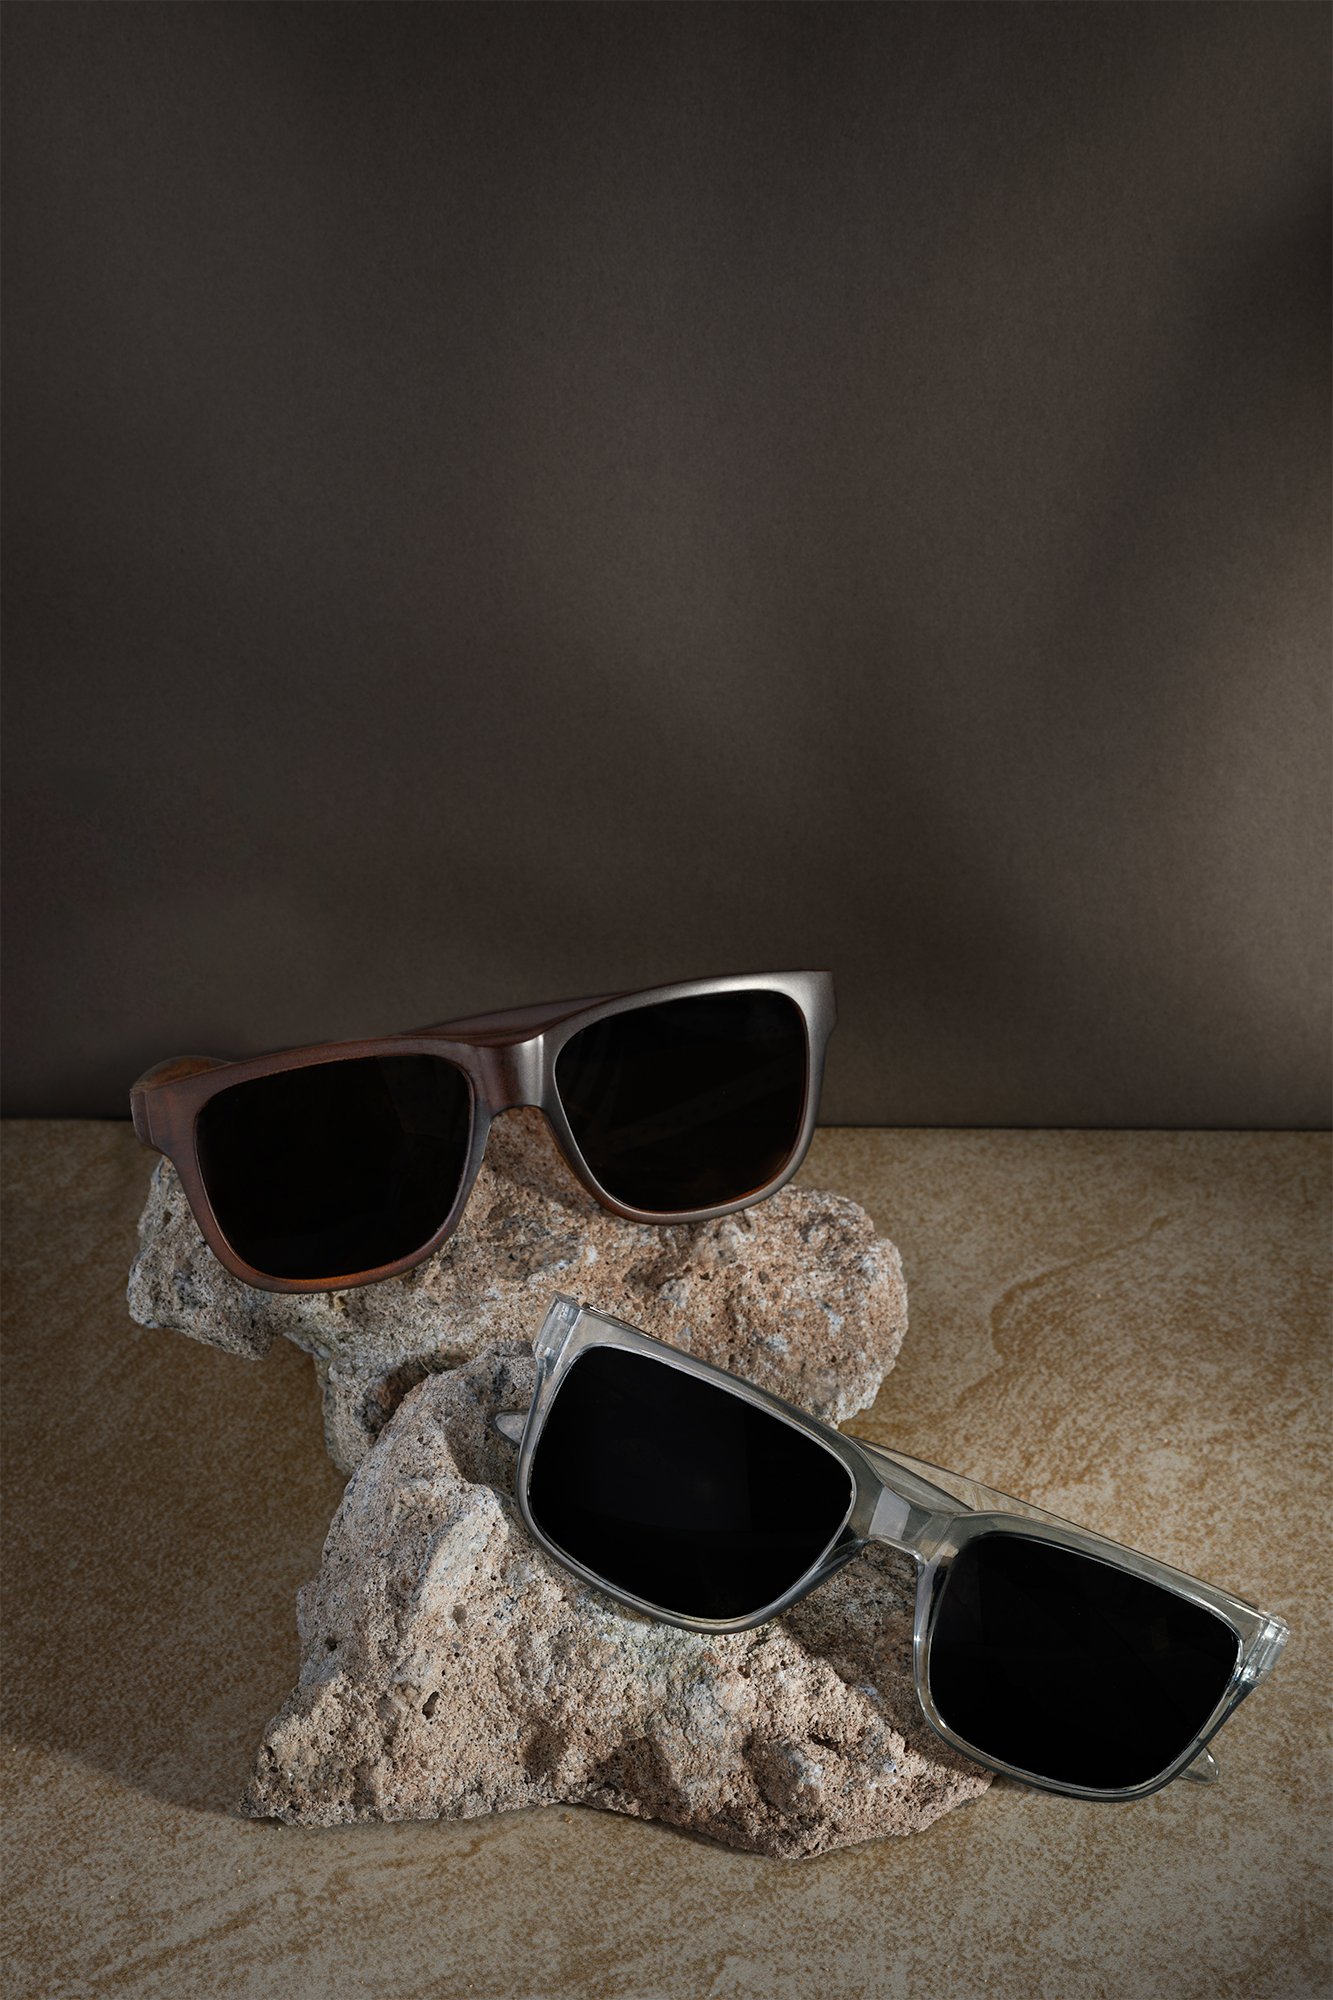
Luciana presented her photography work using Fresnel lights and sunglasses, demonstrating techniques for creating shadows and using gobos with a single light source. She explained her use of focus stacking and discussed how she added sparkles in Photoshop while trying to maintain natural-looking results. Don provided technical guidance about file naming conventions and shared insights about using mirrors in photography, explaining the difference between reflective surfaces like mirrors versus diffusive surfaces like white boards.
Glass Photography Lighting Techniques
Luciana explained her lighting setup for creating sparkles in glass photography, using a Fresnel light with bundles positioned behind the glass and an acrylic mirror to reflect light back into the glasses. She discussed the technical challenges of keeping the glasses stable while creating the desired graduation effect, noting that she learned to achieve this in-camera rather than in Photoshop. Don provided guidance on achieving the graduation effect by positioning a whiteboard and adjusting the light placement accordingly.
Photography Graduation Effects Techniques
Luciana discussed techniques for creating graduation effects in photography, with Debra recommending using Camera Raw and masking tools instead of Photoshop’s gradient tool. Luciana shared her challenges with photographing glasses, including issues with fishing thread slipping and using an acrylic mirror to bounce light for better coverage. The group reviewed Luciana’s completed photos, with Don and Debra praising the results and suggesting she could have done the glasses separately for easier processing.
Photography Technique for Glasses Capturing
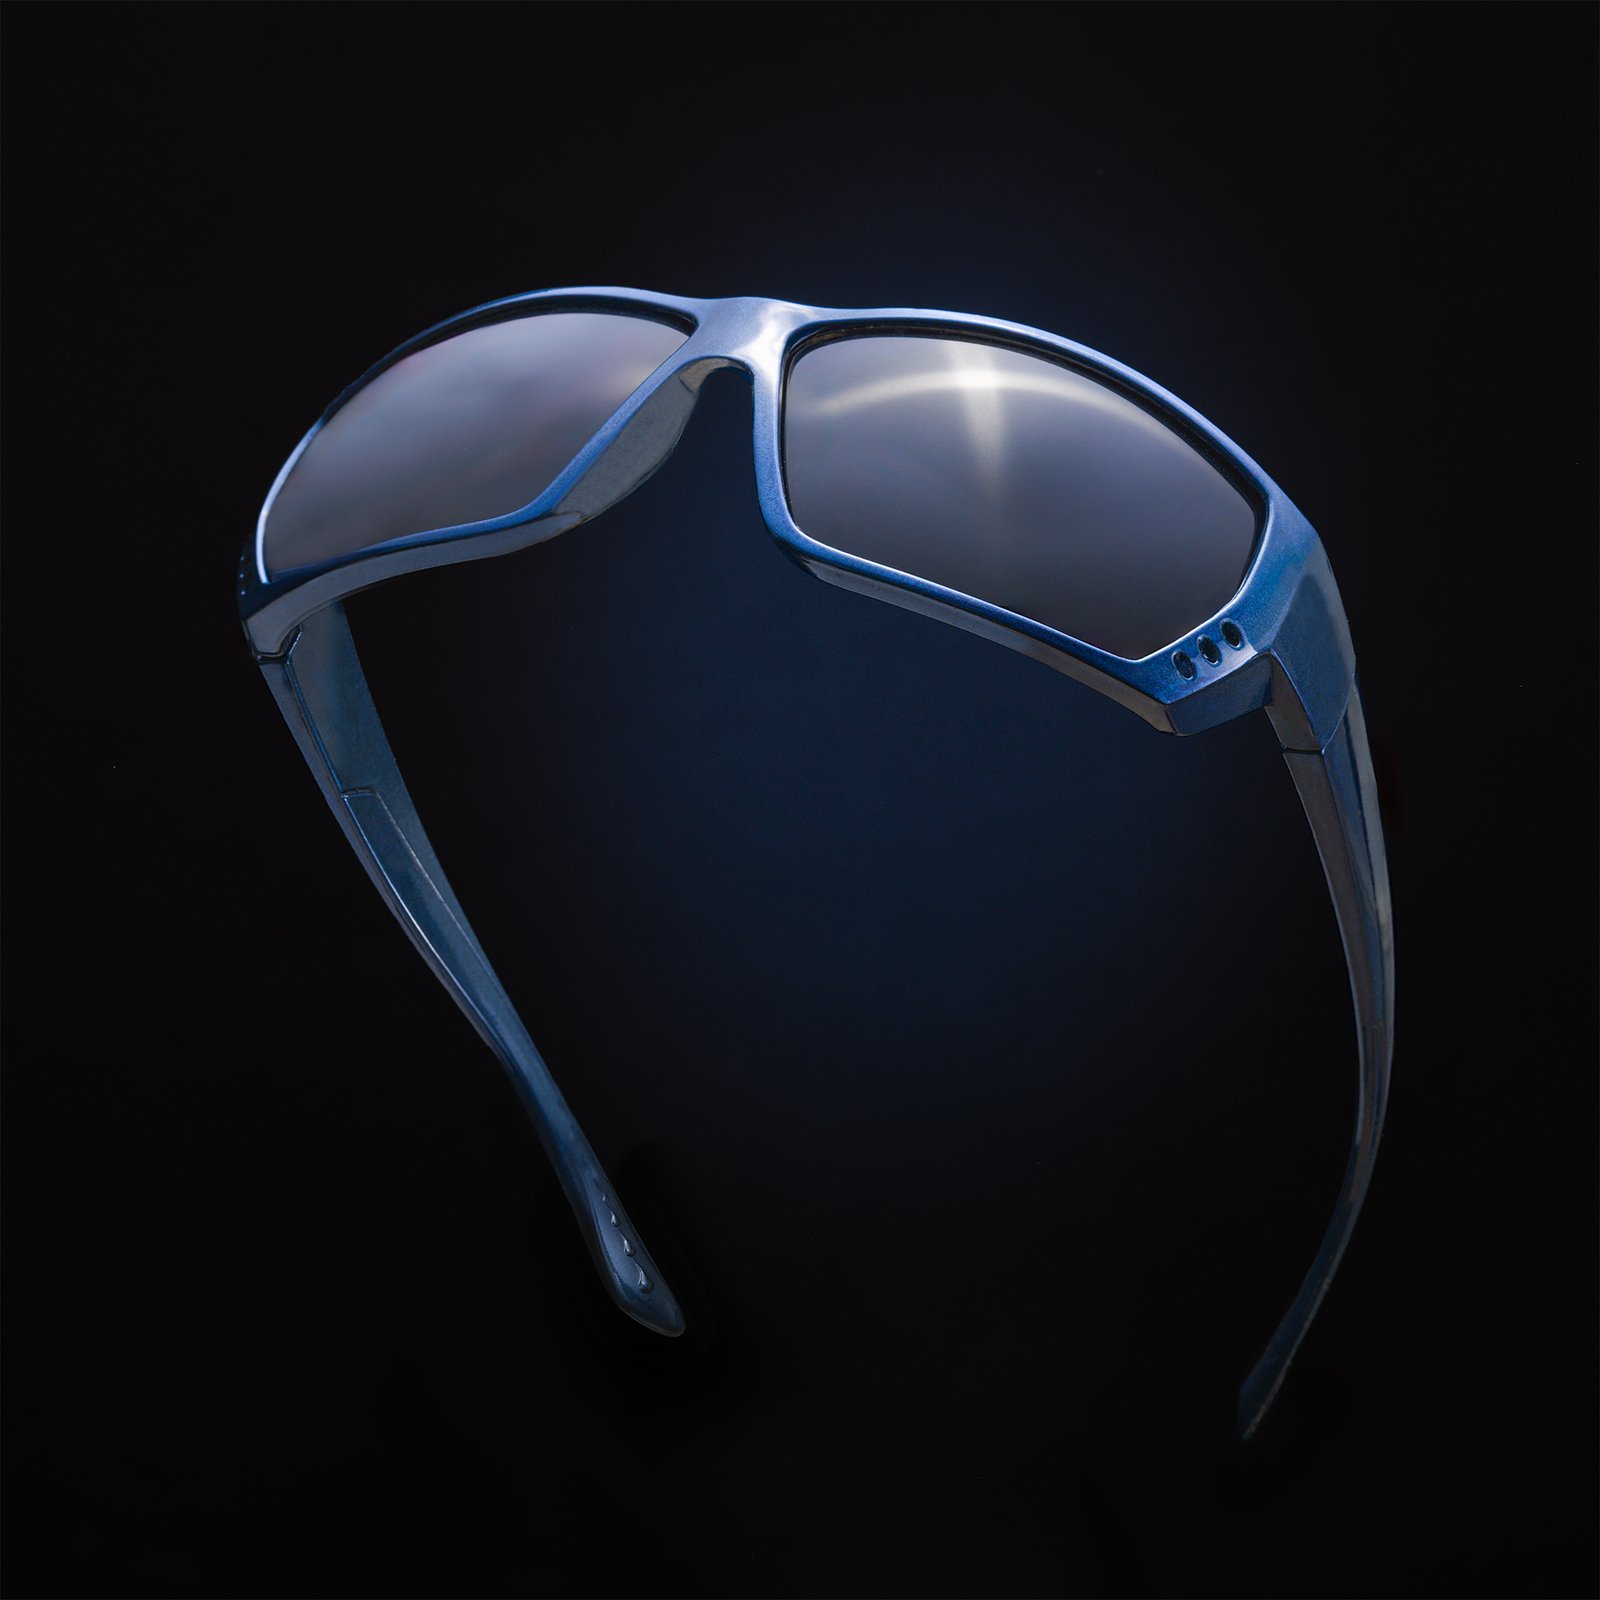
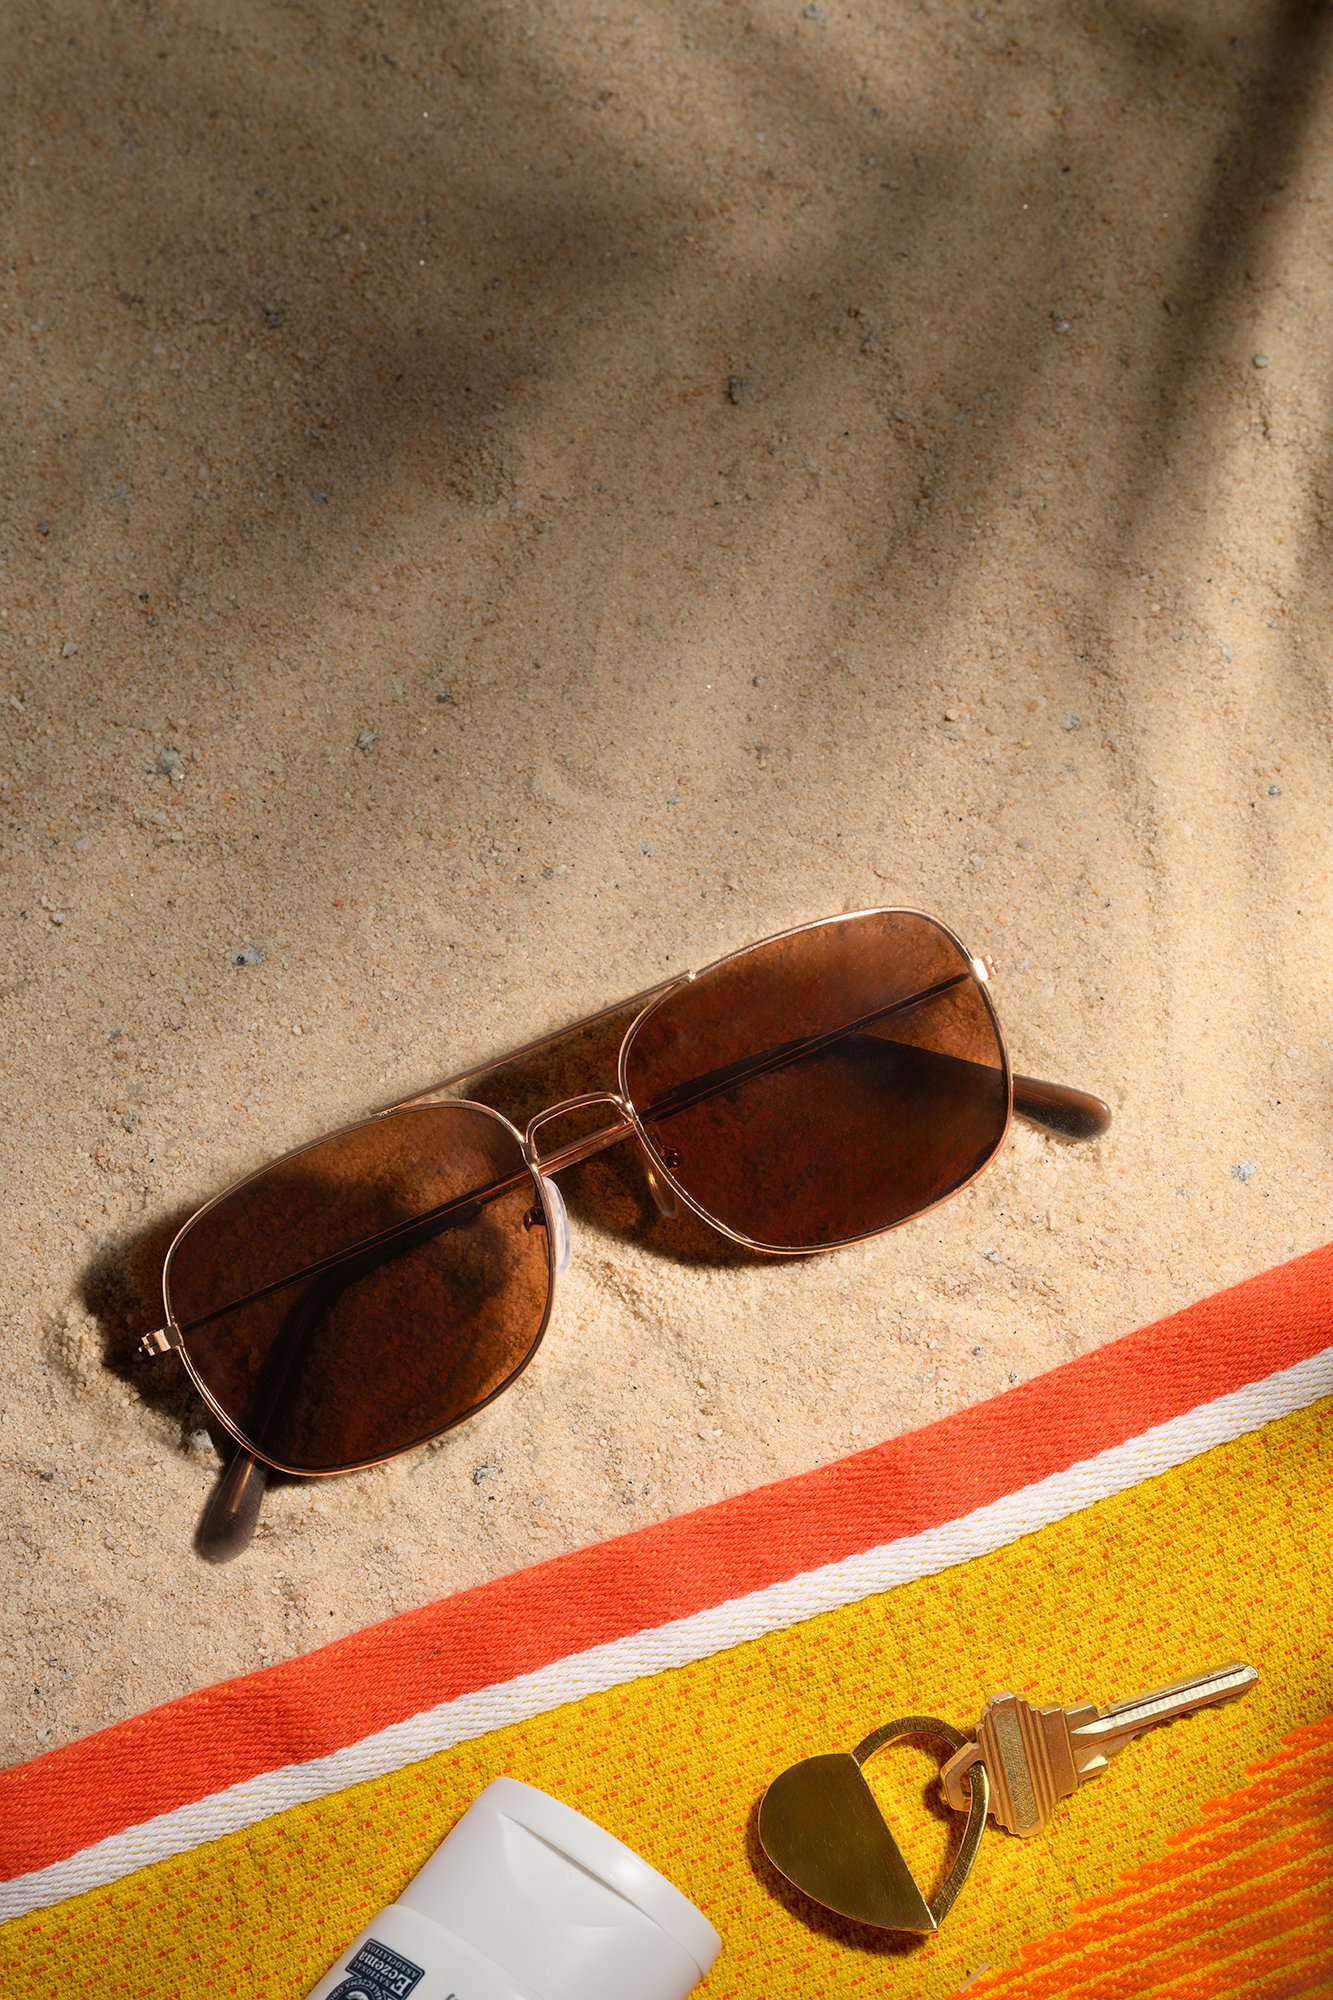
Luciana discussed her photography technique for capturing glasses, explaining how she used multiple exposures to address overexposure issues and created a composite shot. She shared details about photographing her Ray-Ban glasses with a graduation effect on the lenses, using specific lighting equipment including a Godox AD600 and AD200. Don provided feedback on the images and clarified that the “stacked” metadata in the photo names was coming from the image metadata rather than the file names.
Image Cleaning with ChatGPT
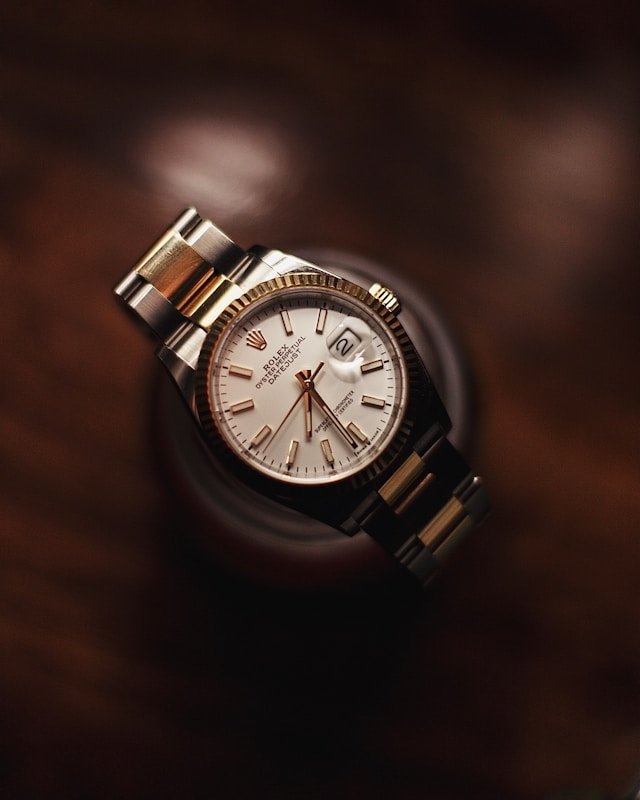
Don demonstrated how ChatGPT could be used to clean up a poor quality image from Unsplash, showing before and after results. The team observed that while ChatGPT successfully cleaned up the bracelet and improved the overall image quality, it also made unintended modifications including changing the time display from “10 past 10” to “quarter to 12” and removing a second watch. Luciana suggested being more specific with ChatGPT instructions to avoid altering certain parts of the image.
ChatGPT Photo Retouching Discussion
The group discussed using ChatGPT for photo retouching, with Don demonstrating how it successfully cleaned up and enhanced images by removing unwanted elements and improving shine and chrome details. Don explained that while ChatGPT works well for retouching, Firefly performs poorly on photographic content despite working well for illustrations and graphics. Debra agreed that ChatGPT produces better results than Firefly for retouching tasks, though she noted she uses fewer Photoshop credits since trying ChatGPT for smaller tasks.
Photography Lighting and Retouching Techniques
Don explained lighting techniques for photography, demonstrating different light sources and their effects on an image. He advised Luciana and Debra that they could use either ChatGPT or their own methods for image editing, emphasizing the importance of choosing efficient approaches rather than spending excessive time on detailed retouching. Don clarified that the deliverable requires retouching work including highlight burning, dodging, selective color, and background gradient adjustments, and he will create instructional videos on Wednesday to demonstrate the retouching techniques.
Photography Techniques and Focus Stacking
The group discussed photography techniques, focusing on focus stacking and post-processing in Lightroom and Photoshop. Don explained the benefits of using Helicon for focus stacking and demonstrated a new feature in Lightroom that allows saving files as DNG format for further processing. Morgane shared her recent experience shooting a wedding photoshoot in Brooklyn, expressing enthusiasm for learning more photography techniques.
Session Rescheduling and Updates
The team discussed rescheduling upcoming sessions due to Laura’s absence and a concerning email she sent about a domestic violence situation. Don agreed to call Laura to confirm her availability and determine if she could participate in the rescheduled sessions. The group decided to hold two sessions on Thursday and one on Friday, with Don committing to send updated details via email that evening. The team also briefly discussed their workload, with Luciana mentioning challenges with glasses work and Debra needing to complete a motion.
If the UpLoader does not work, zip your files and send them to me:
don.giannatti@gmail.com
|
Upload files
|
|
|
|
|
|
|



|
|
LUXURY PRODUCTS
The Drugstore Watch Assignment
(Swap the object if you want. A watch just happens to be the best possible subject for this lesson: metal, glass, a dial, a band. Four surfaces, four problems, four opportunities. If you’d rather use something else, the lighting lesson still applies exactly the same way.)
One Light Made It Look Good. A Second Light Makes It Look Expensive.
Last class, one light and good decisions were enough to turn a two-dollar object into something believable.
This class, we add a second light. Then, for some of you, a third.
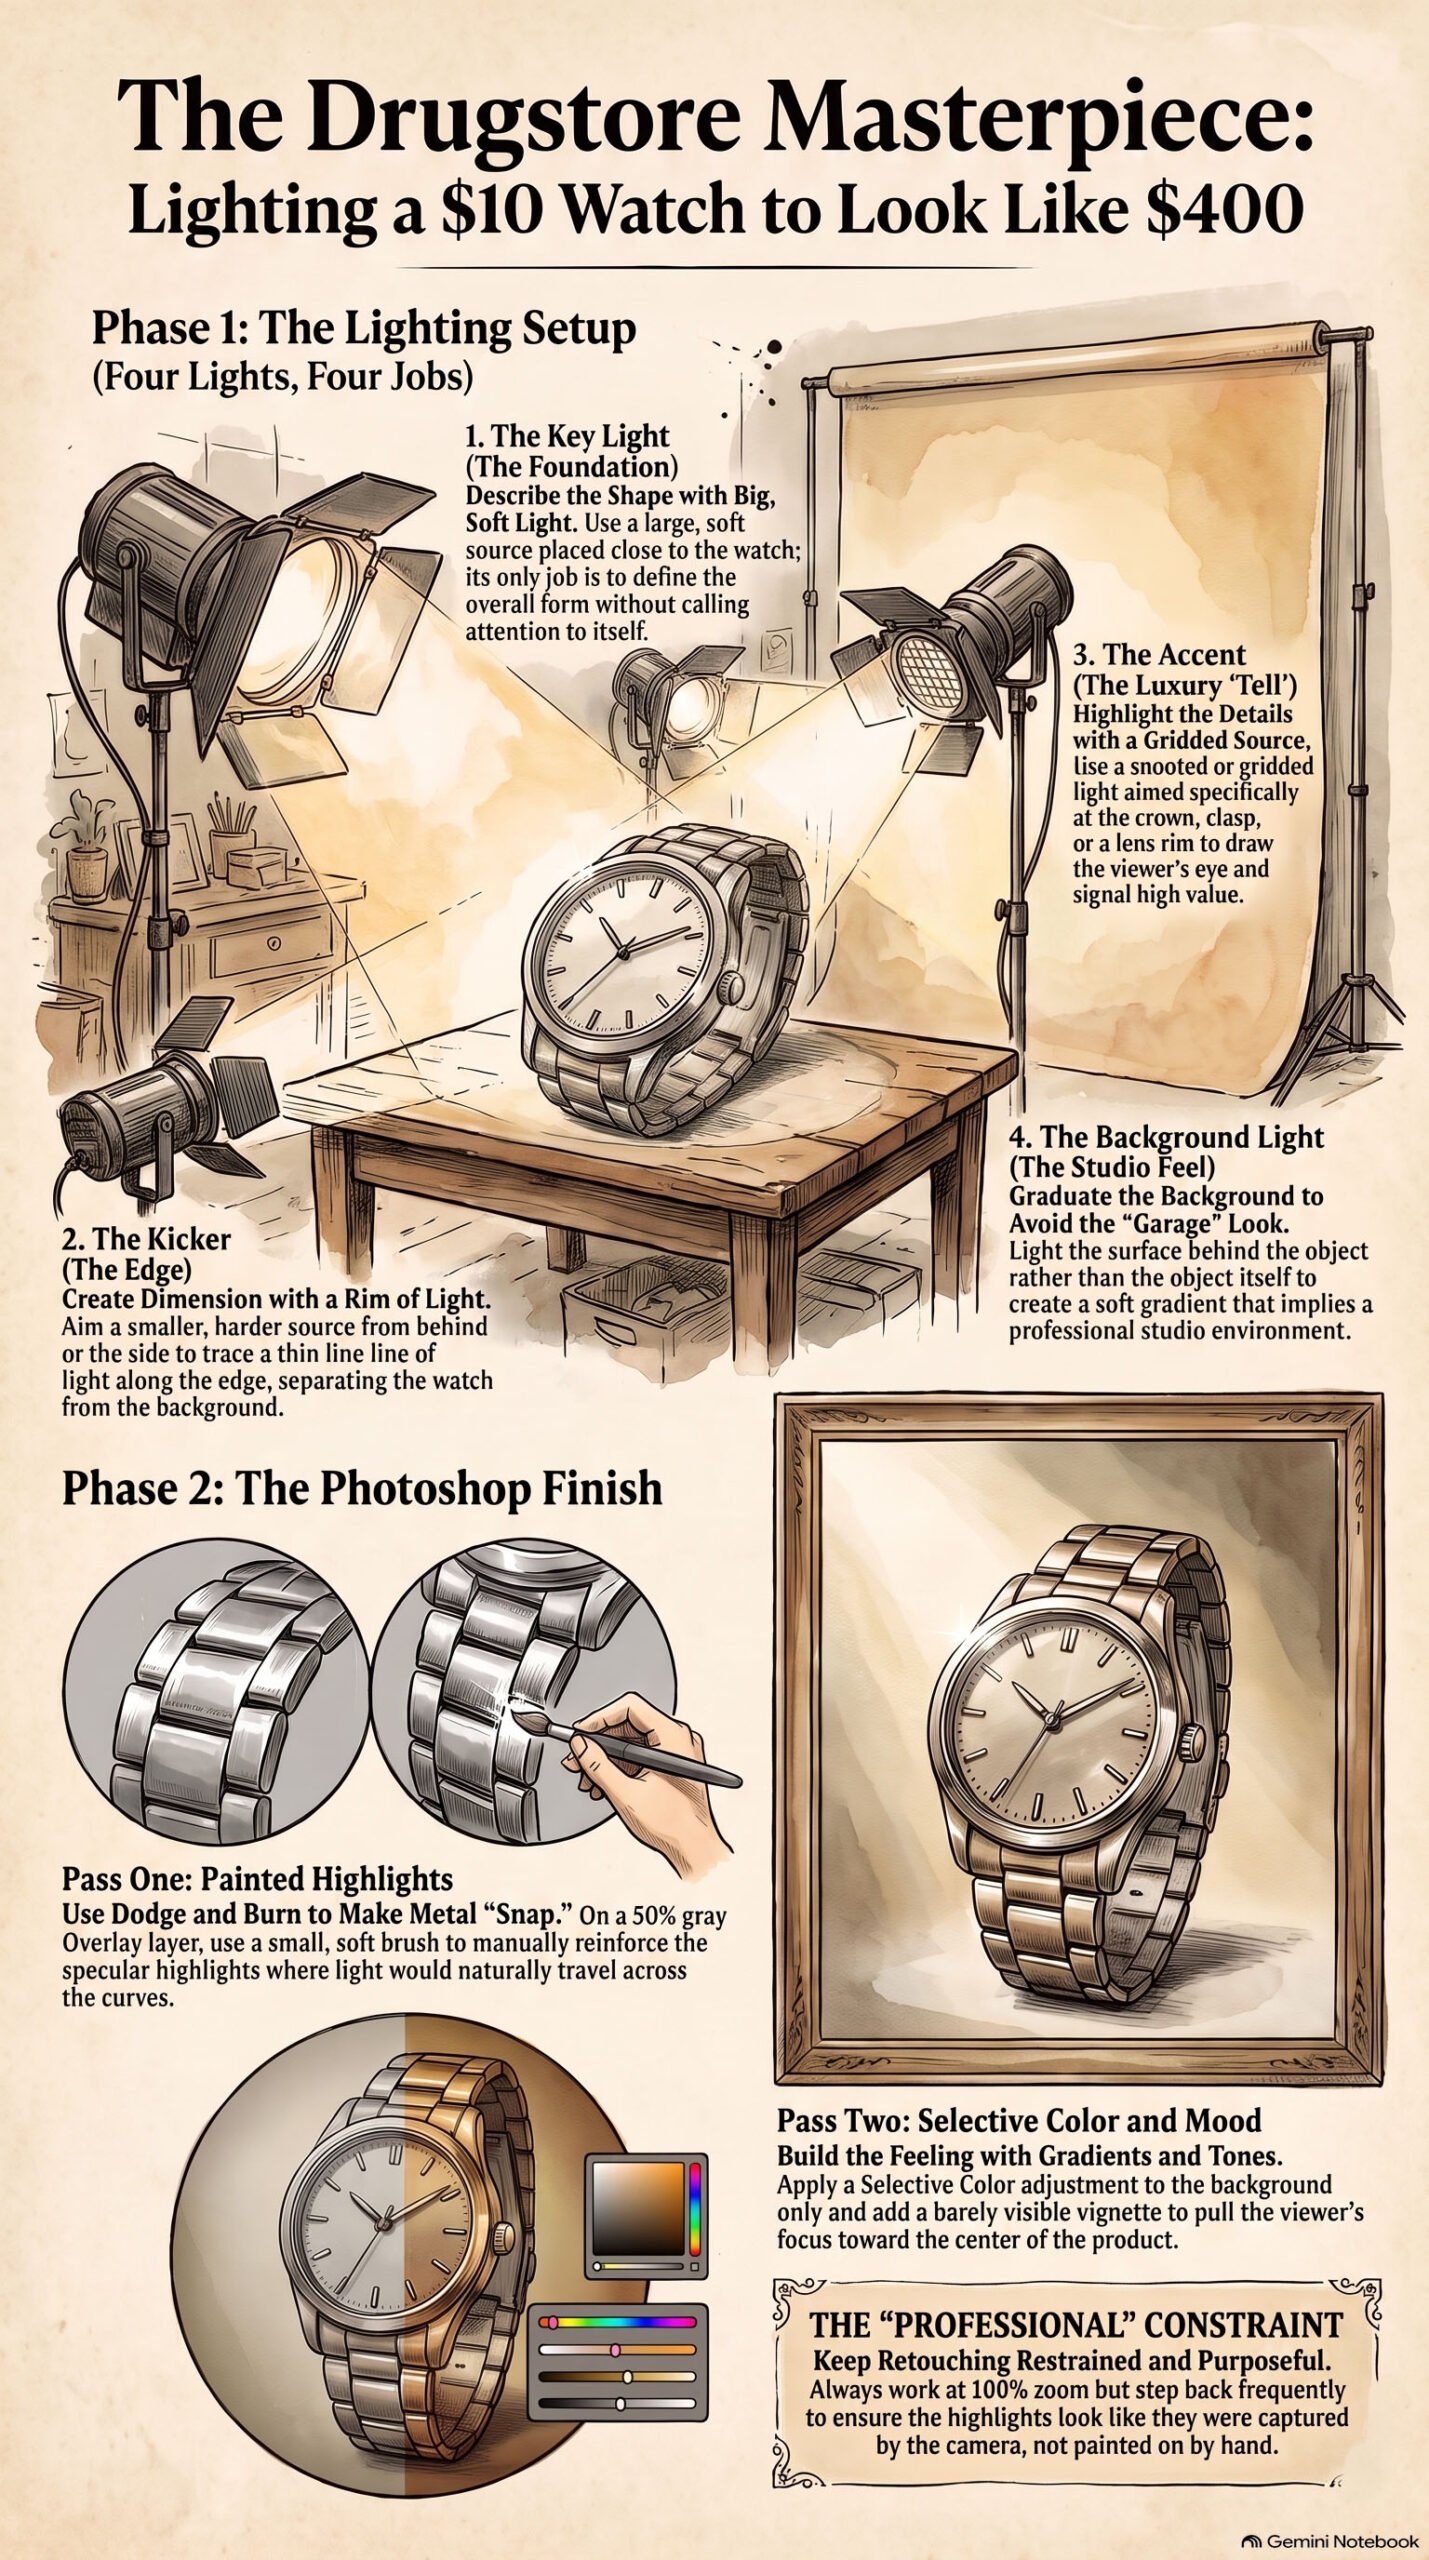
The basis for luxury: expensive-looking product photography depends less on how much light you use and more on how controlled each source is. A single soft source can make an object look clean. It takes a second and third source, each doing one specific job, to make an object look like it belongs on a shelf next to a bottle of Chanel No. 5.
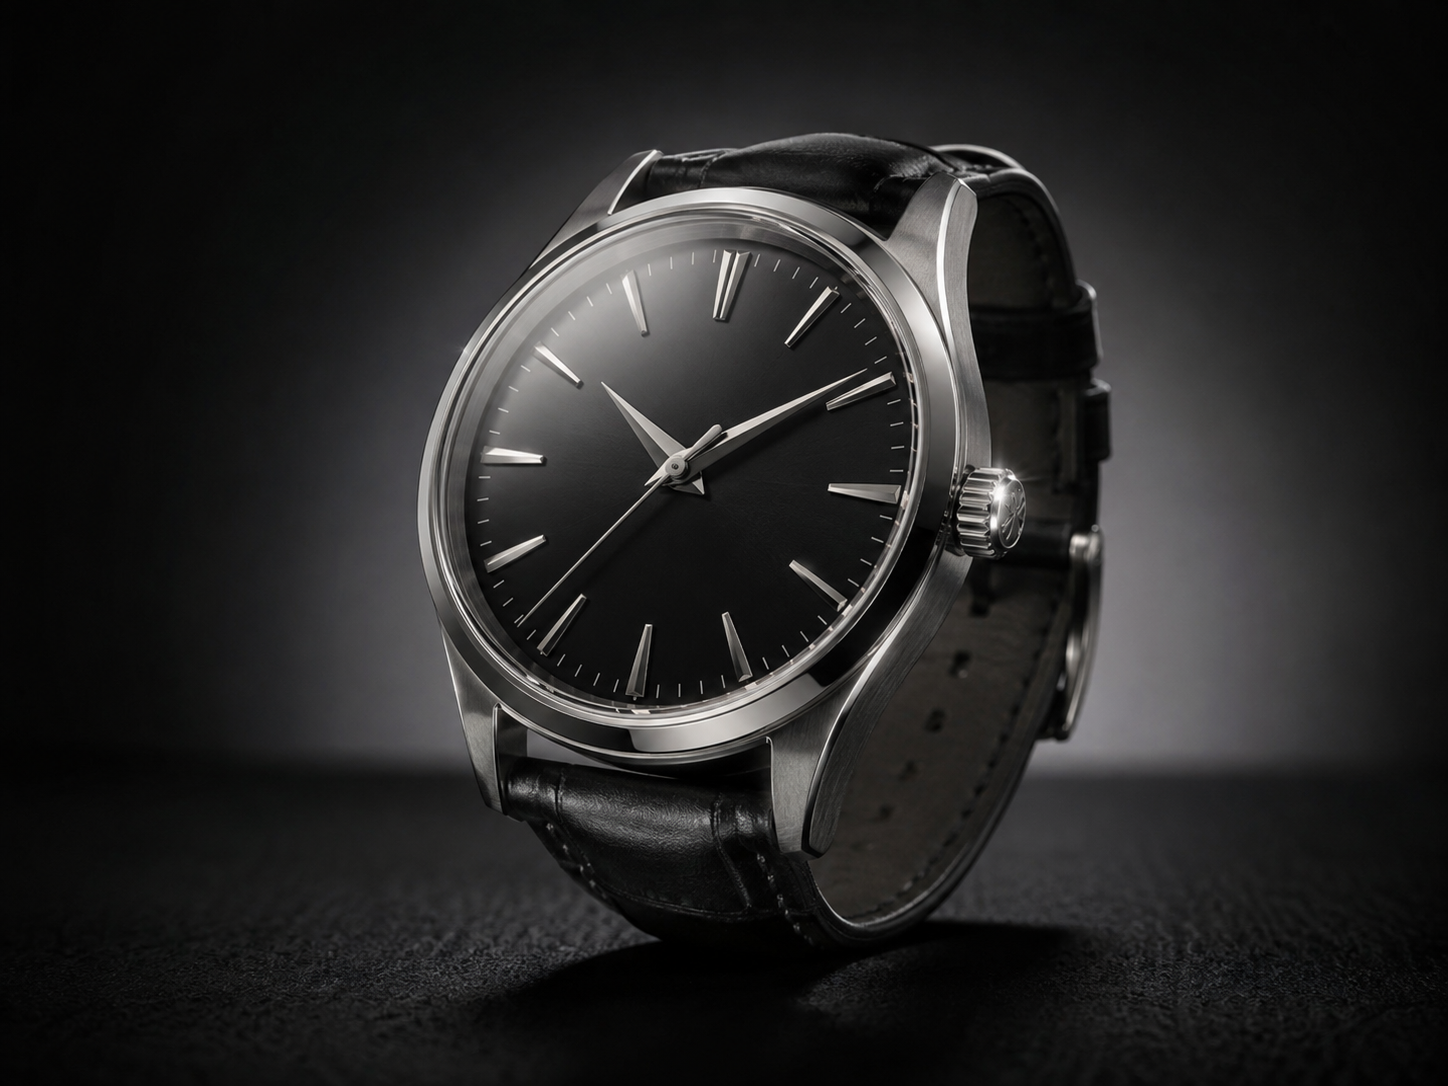
Watch ads are the best classroom for this. Look at any Rolex or Omega campaign. The dial has one hard highlight. The bezel has a separate rim of light tracing its edge. The crystal has a tiny, controlled flare in one corner and nowhere else. The background glows faintly behind the case, separating it from the dark surface below. Count the sources in that description. Three or four lights, each aimed at one small job, none of them stepping on the others.
That’s what we’re building this week.
Extra light is about definition. A second source aimed at the edge of an object turns a flat outline into a shape you can feel with your eyes. A third source, small and gridded, dropped onto a single highlight point, does more to sell “luxury” than any amount of fill ever will.
The habit to break: reaching for more light because the shot looks dull. The dullness is rarely a lack of light. It’s a lack of a plan for what each light is doing.
Your assignment
Find a cheap object with at least two different surface types. Metal and glass. Plastic and rubber. Ceramic and cork. A drugstore watch is the recommended subject because it gives you all four: case, crystal, dial, and strap.
Spend under ten dollars. Then light it like it costs four hundred.
Submit three images:
- The two-light hero shot. Key light plus one rim or kicker light. Nothing else.
- The three/four-light mood shot. Add a background or accent light to the setup above. Show the difference the extra lights makes.
- The finished piece. Take your favorite of the two and run it through both Photoshop passes below.
Four Lights, Four Jobs
1. The Key
This is the light that does the most work and gets the least credit. Big, soft, close. Its only job is to describe the shape of the object without calling attention to itself.
2. The Kicker
A smaller, harder source aimed low and from behind or the side. Its only job is the edge. A thin line of light that separates the object from the background and gives it the look of dimension a flat key light can’t produce alone.
3. The Accent
A small, gridded, or snooted source aimed at exactly one point. The clasp. The crown of the watch. The rim of a lens. This is the light that makes a viewer’s eye land somewhere specific. Most beginners skip this one. It’s the one that reads as “expensive” the fastest.
4. The Background Light
Aimed at the surface behind the object, not the object itself. A soft gradient of light behind a dark subject reads as a studio with a real lighting budget. A flat black background behind a flat black object reads as a garage.
Use two of these four this week. Use three if you’re ready. Nobody needs all four to make this work, and cramming in more light than the object needs is its own kind of amateur mistake.
Two Photoshop Passes
Outline only this week. We’ll walk through both live in class, but here’s what each one is doing and why.
Pass One: Painted Highlights and Dodge and Burn
The goal is to add back, by hand, the specular detail your lighting almost got but didn’t quite nail. Metal and glass need highlights that snap. If yours are soft or slightly broken up, this is how professionals finish the job the camera couldn’t.
- New layer, filled 50% gray, blend mode Overlay.
- Small, soft brush, low opacity, white to add light and black to add shadow.
- Build the highlight where the light would naturally travel across the curve, not where it’s convenient.
- Zoom to 100%. Work in small strokes. Step back and check the whole frame every few passes.
- Keep it restrained. The goal is a highlight that looks like it was always there, not one that looks painted on.
Pass Two: Selective Color and a Background Gradient
The goal is mood. Two lights can build the shape. This step builds the feeling.
- Curves or Camera Raw for an overall contrast pass first.
- Selective Color adjustment targeting only the background tones, not the product.
- A soft vignette, barely visible, to pull the eye back to center.
- Final sharpening pass sized for how the image will actually be viewed.
We’ll cover both from start to finish on screen.
Bring a file that needs the work.
Watching it happen on someone else’s image teaches you less than doing it on your own.
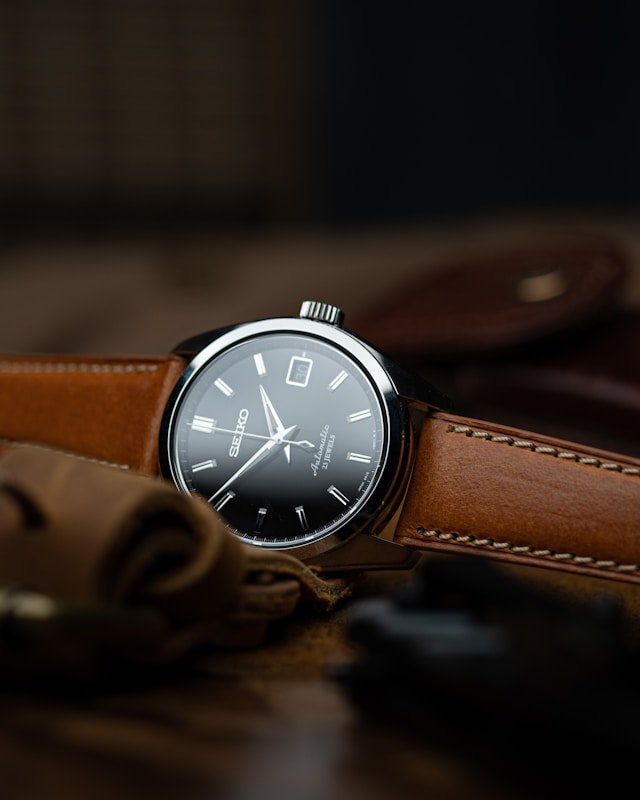
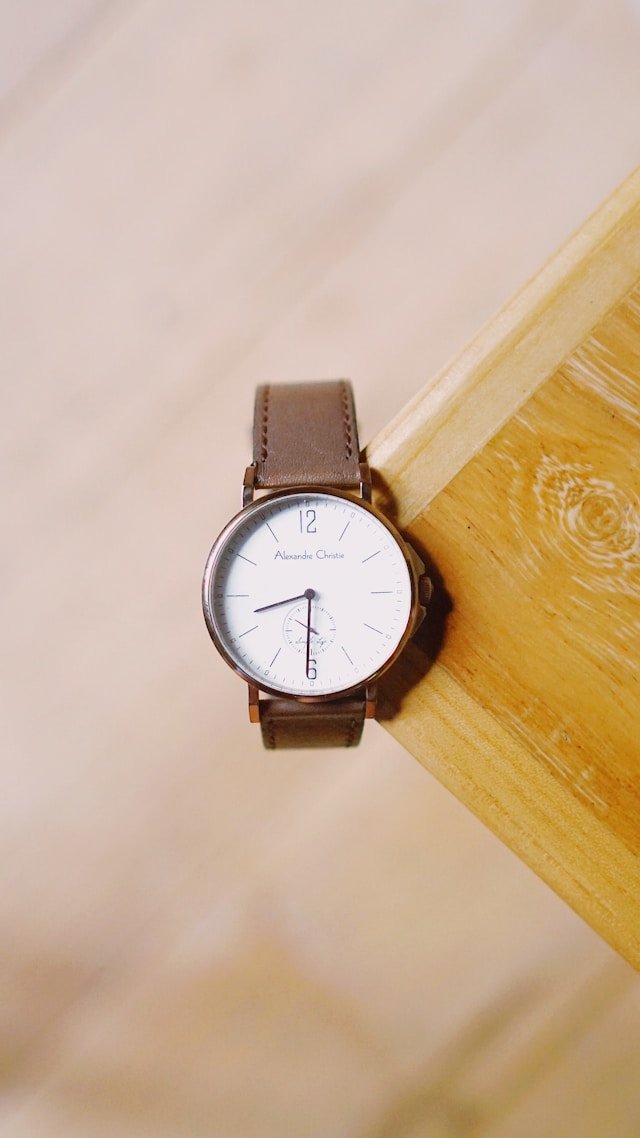
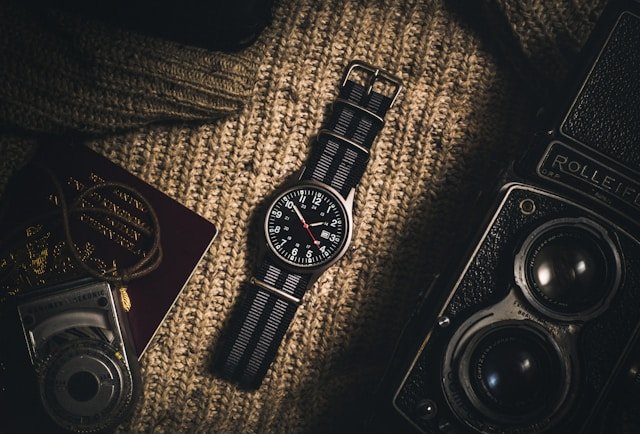
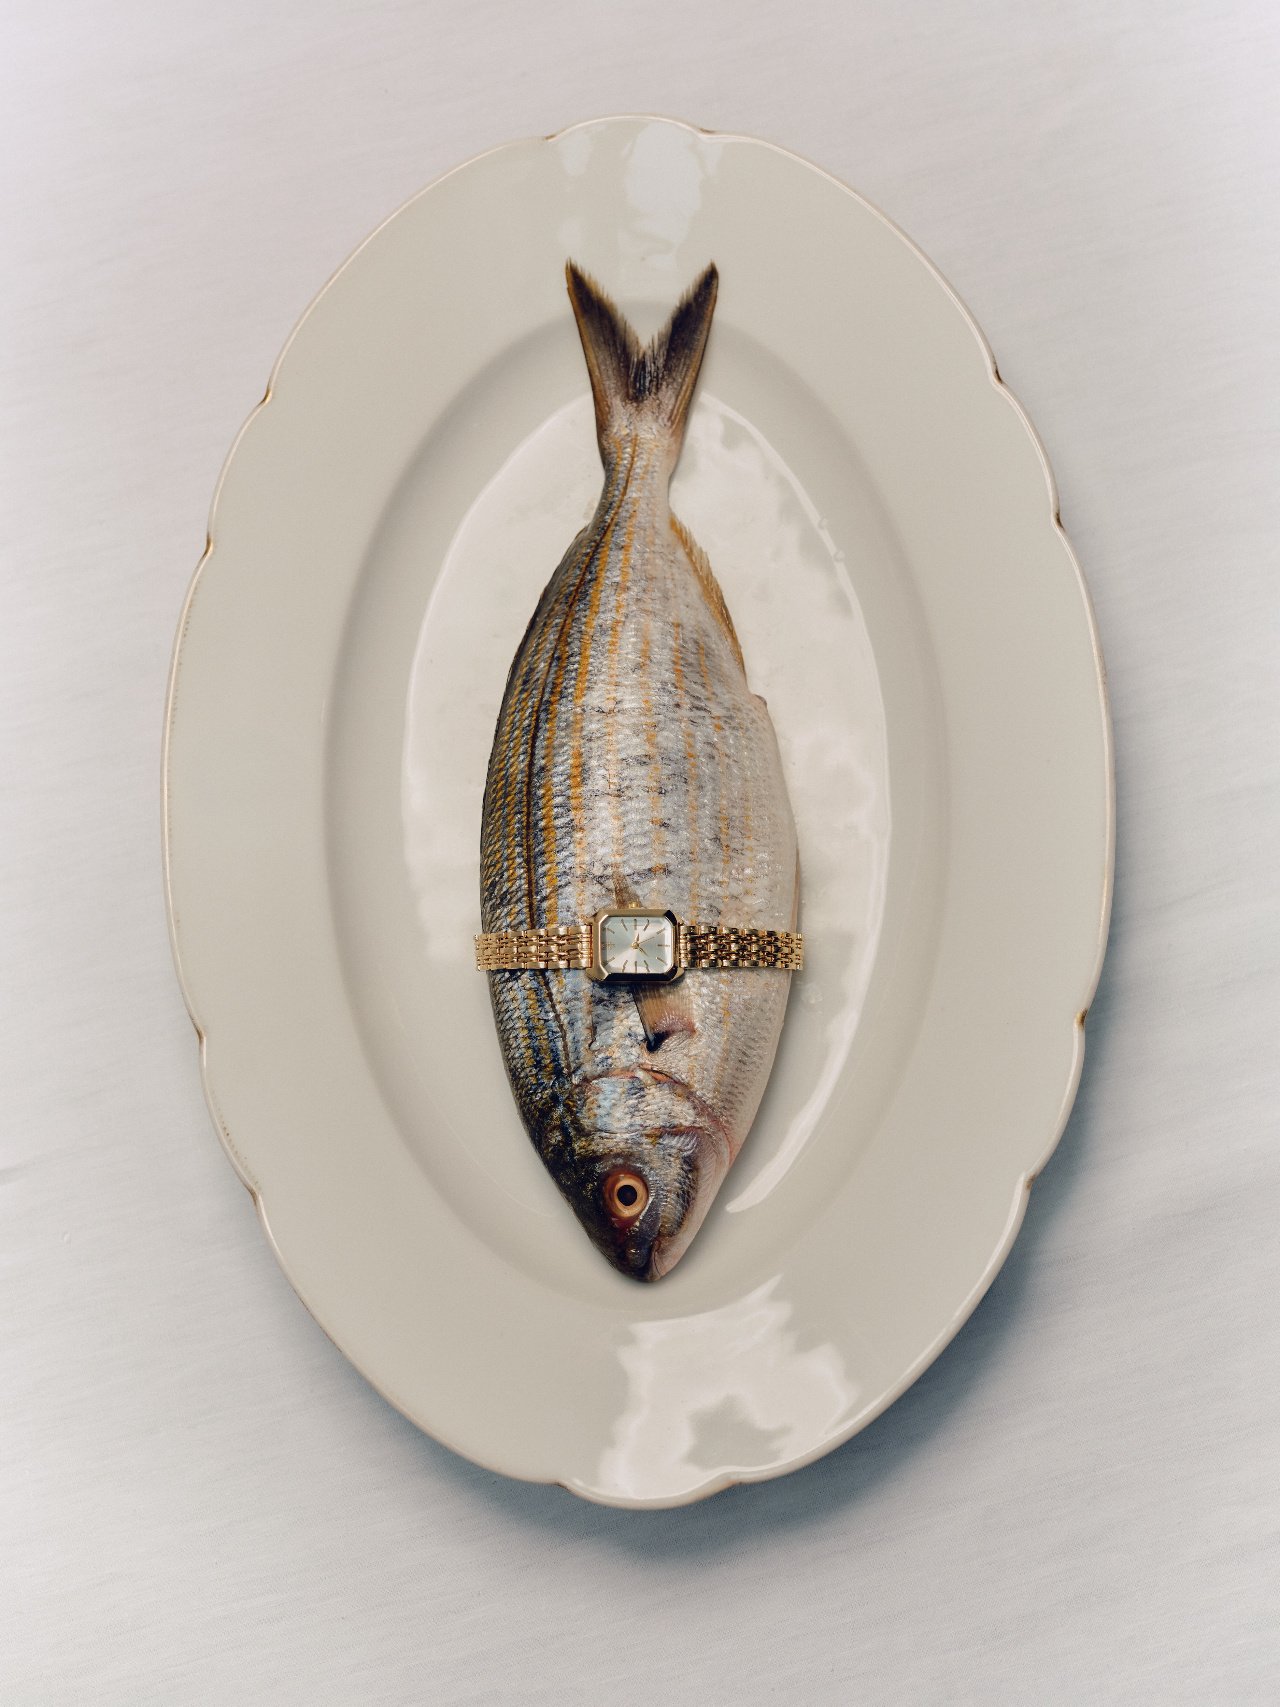
Check out this page for inspiration:
Click the image below to save.
-
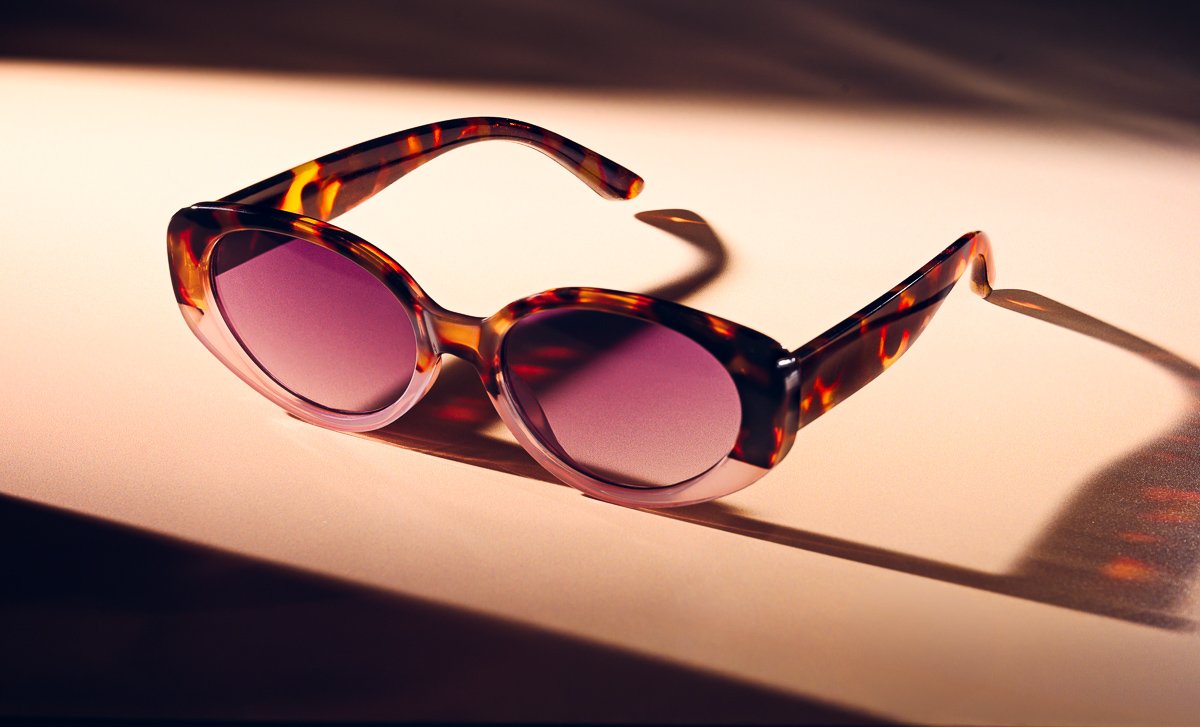
- Stacked from 2 images. Method=B (R=8,S=4)
-
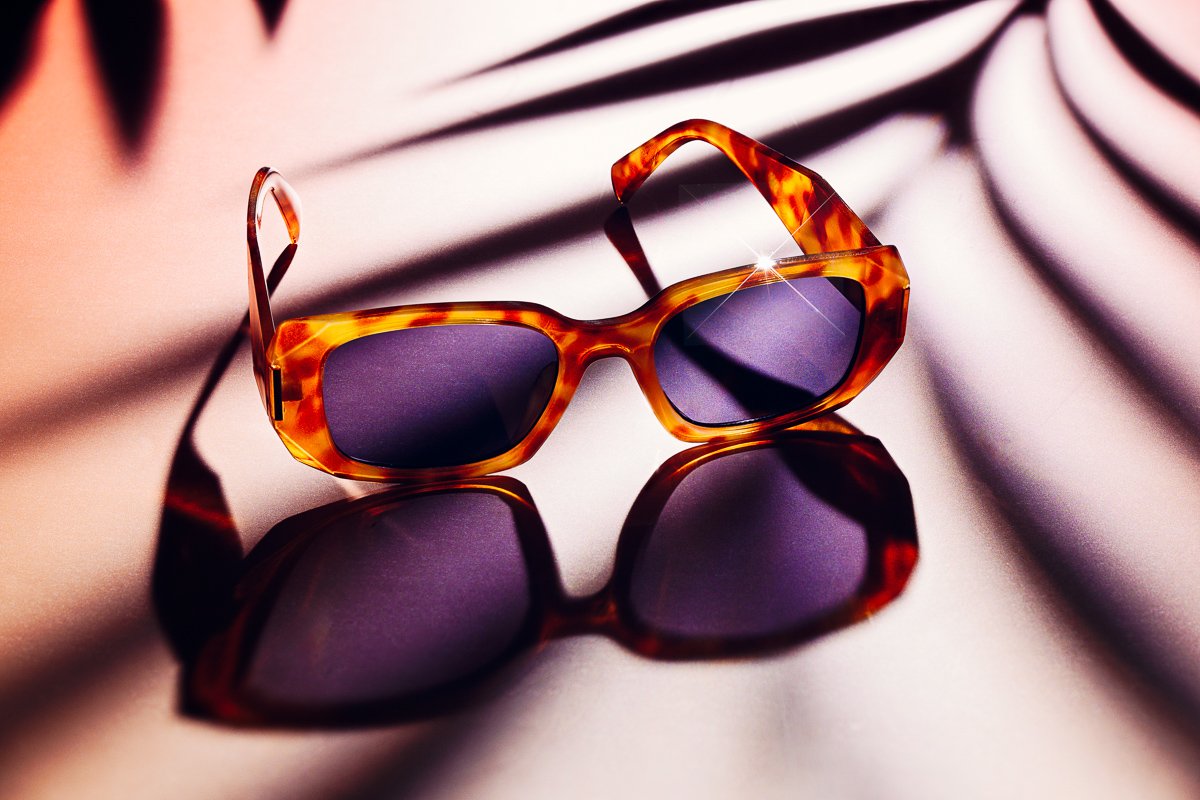
- Stacked from 4 images. Method=B (R=8,S=4)
-
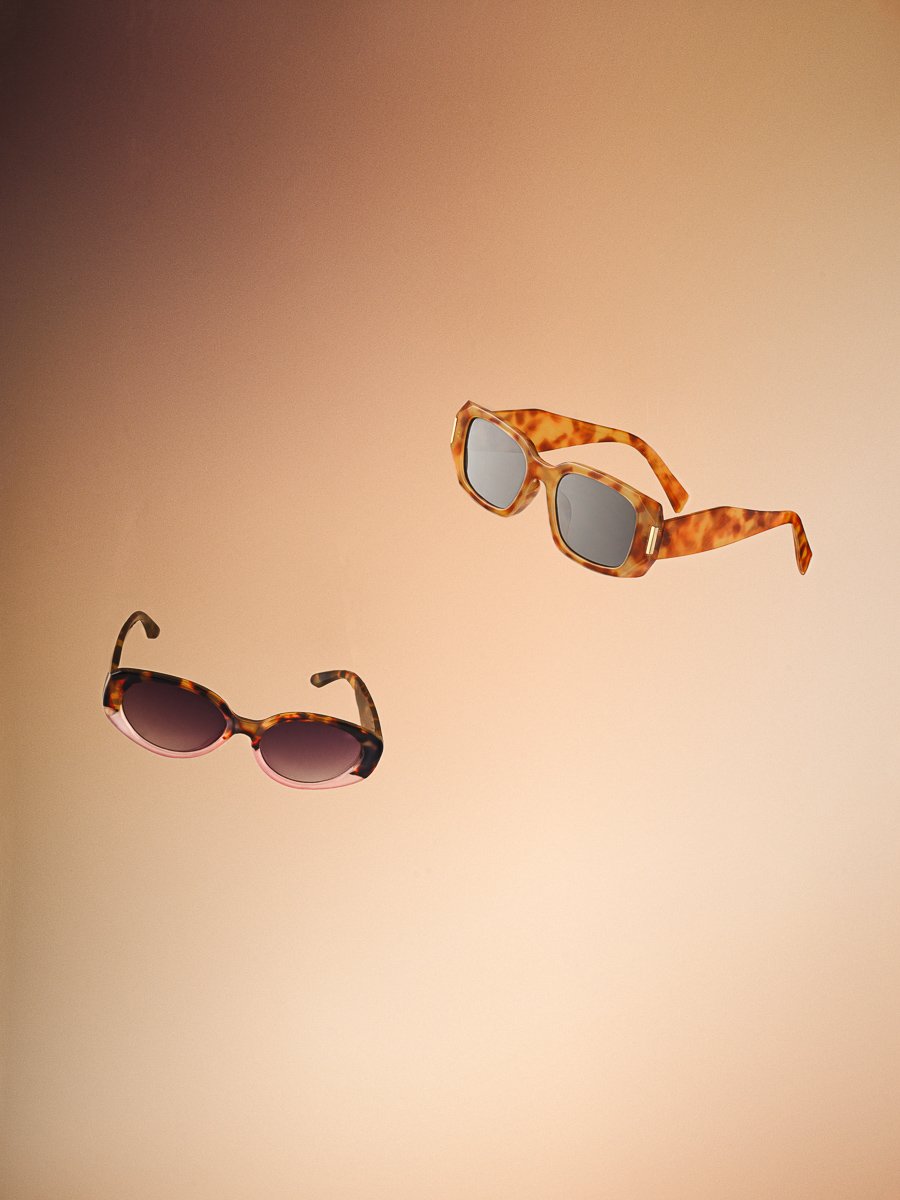
- www.LUCIANARIZZIPHOTOGRAPHY.COM